Don’t miss out on growing your own herbs this spring! If you have never grown herbs before, I highly recommend it. There is nothing more satisfying and simple than snipping from your garden for fresh flavor. I don’t have a very green thumb, but I have managed to keep my herbs alive the past several years {click here for my 2011 garden}.
This year I decided to change things up and plant all my herbs in one big bucket.

An entire pot of fresh herbs will cost you about the same price as buying them per bunch in the store for one recipe.

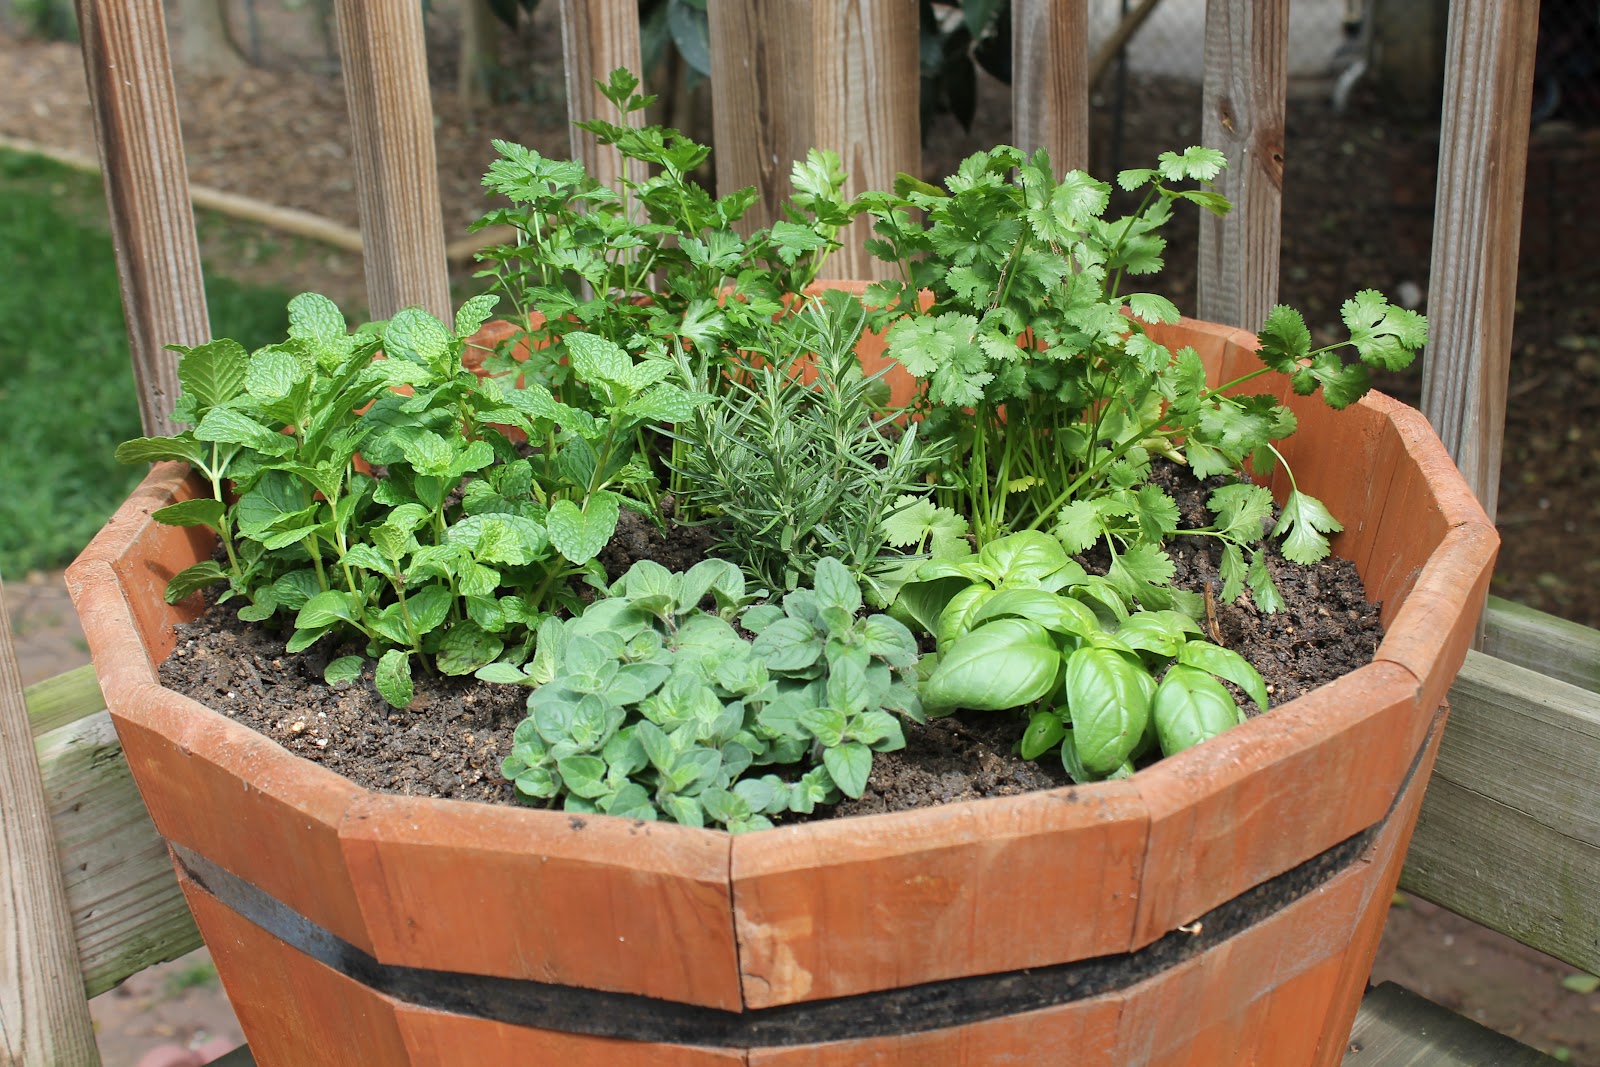
Each year I pick a different variety, and this year I decided to focus practically upon the herbs that we really use most in the kitchen: Mint, Parsley, Cilantro, Rosemary, Cilantro and Basil. Each herb cost $3.48 from Home Depot.
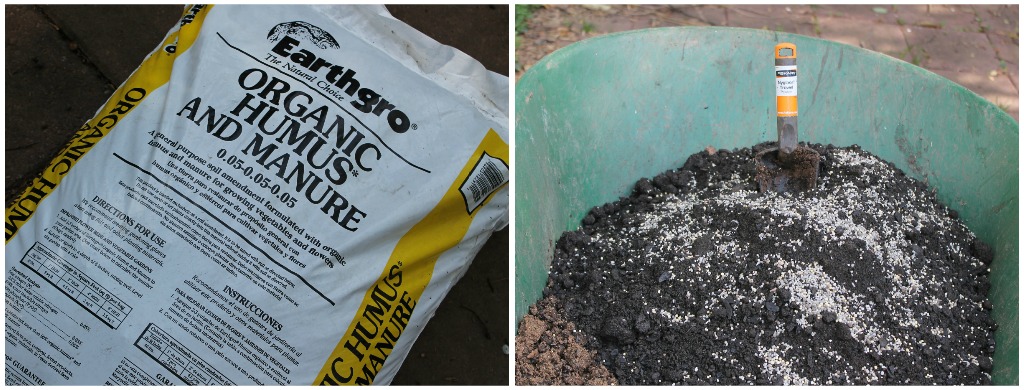
We mixed the cheapest soil we could find at Walmart {$1.98/bag}, with old soil from our old herb pots and fertilizer.
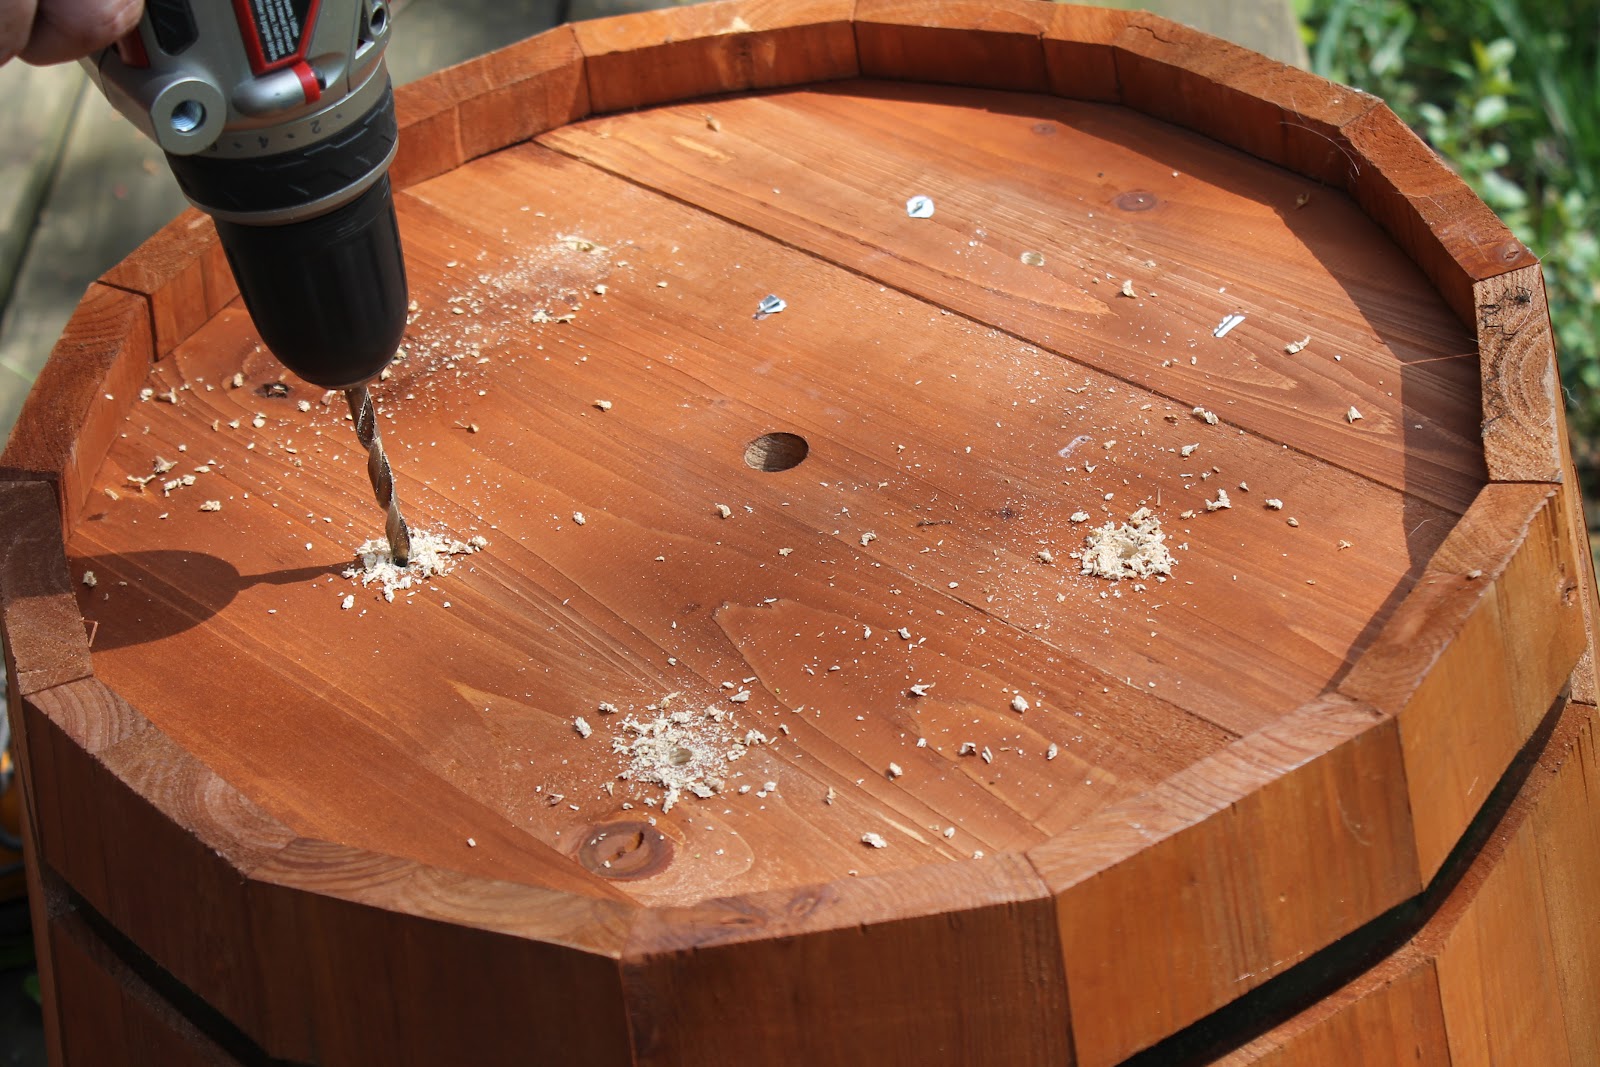
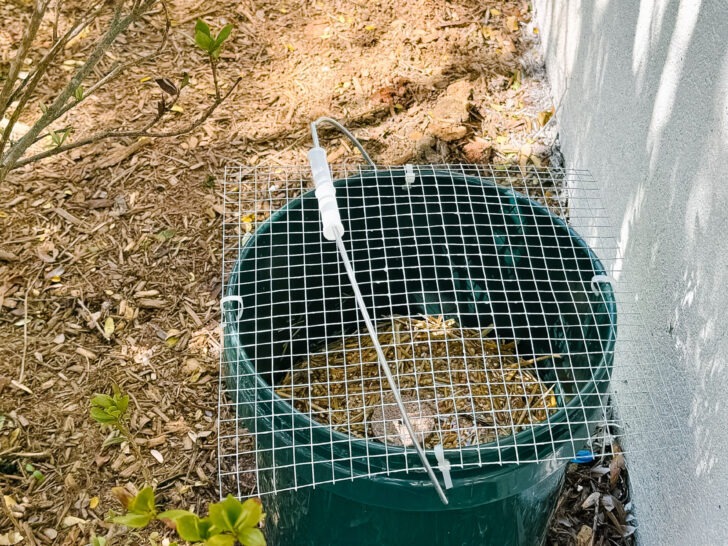
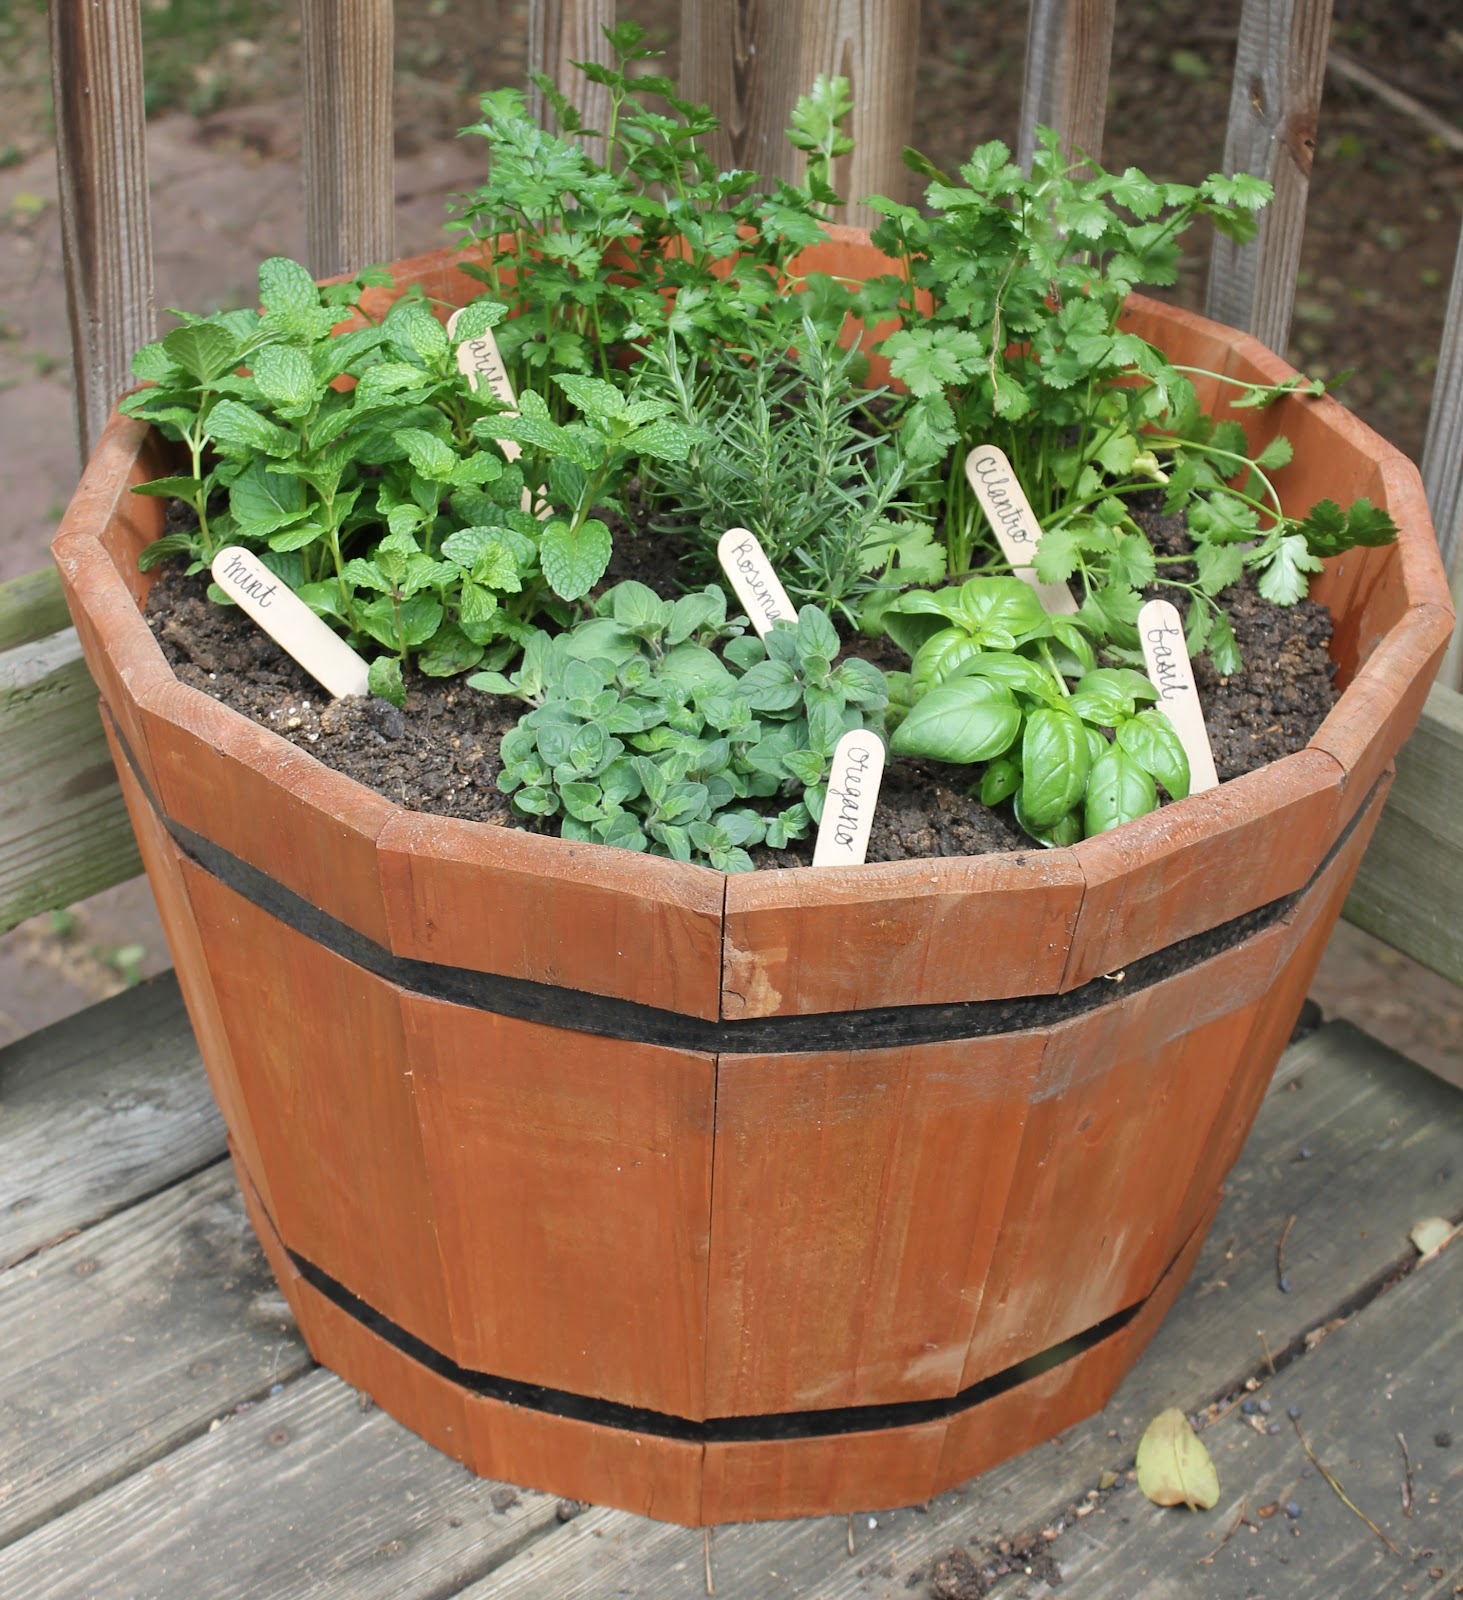
Our wood barrel came from Home Depot last season, on sale for $20. It is so important to drill extra holes in the bottom of your pot to promote adequate drainage.
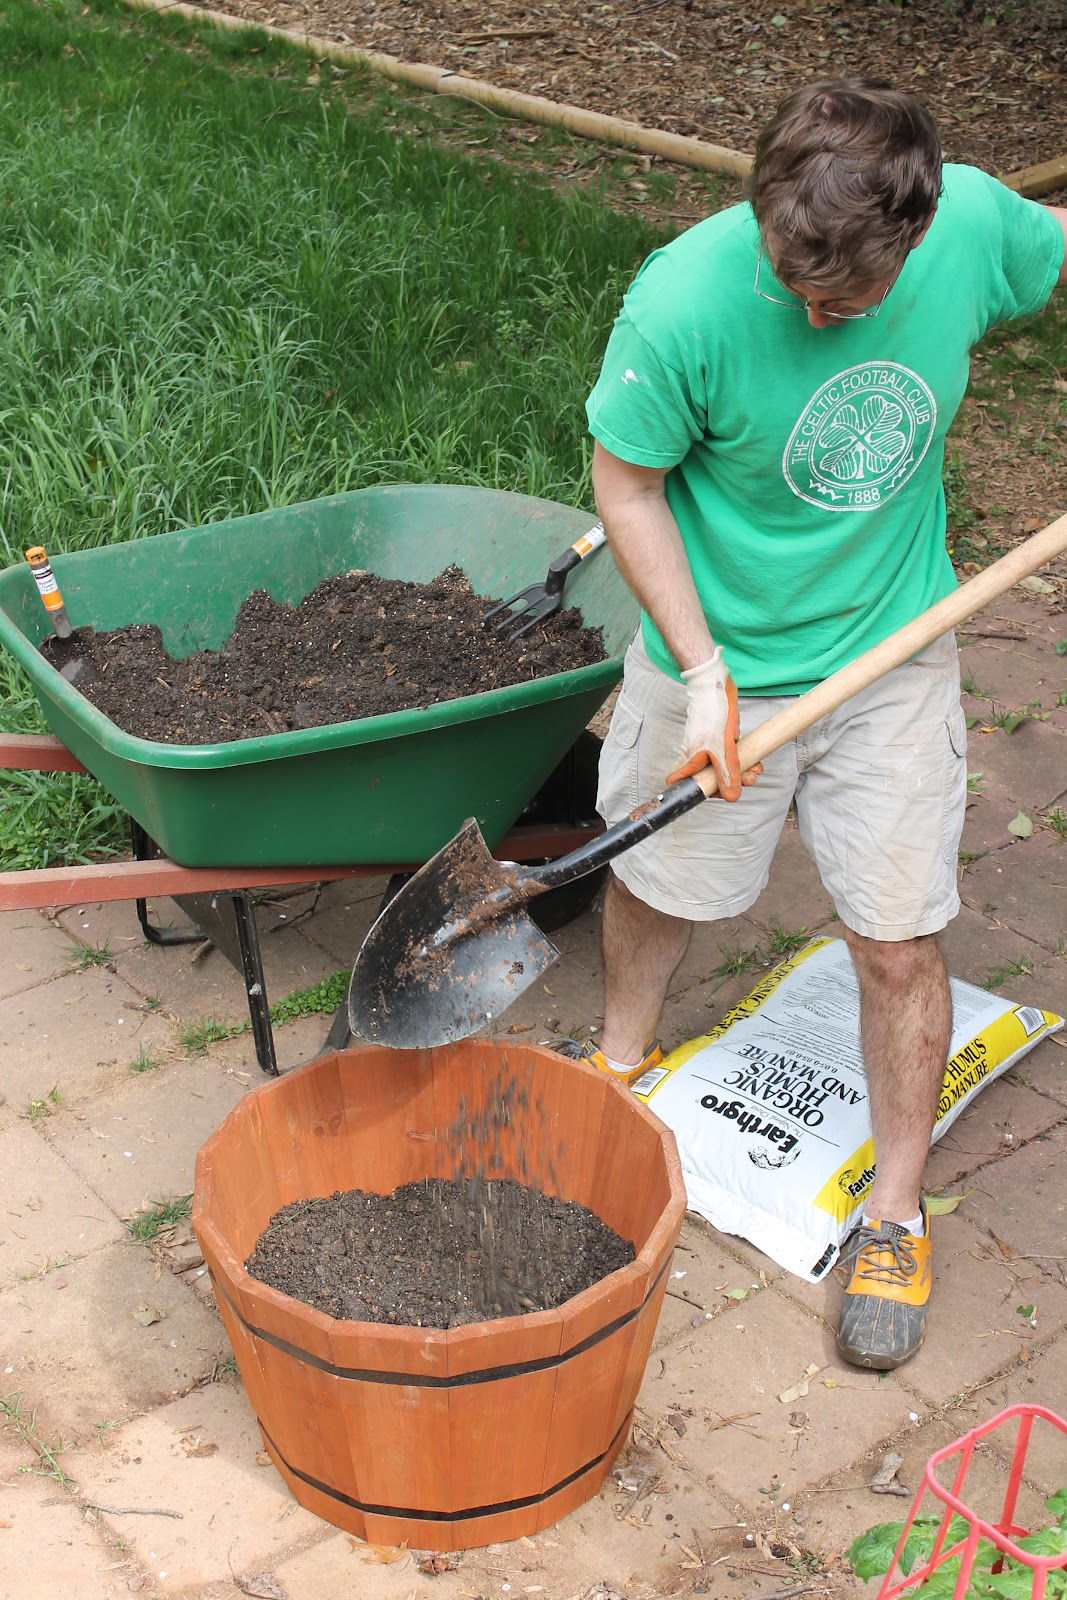
Note: If you are worried about your pot getting too heavy, or requiring too much soil, you can fill the first half with packaging peanuts, plastic water bottles, rocks, or soda cans {says the gardening experts I found on google}.
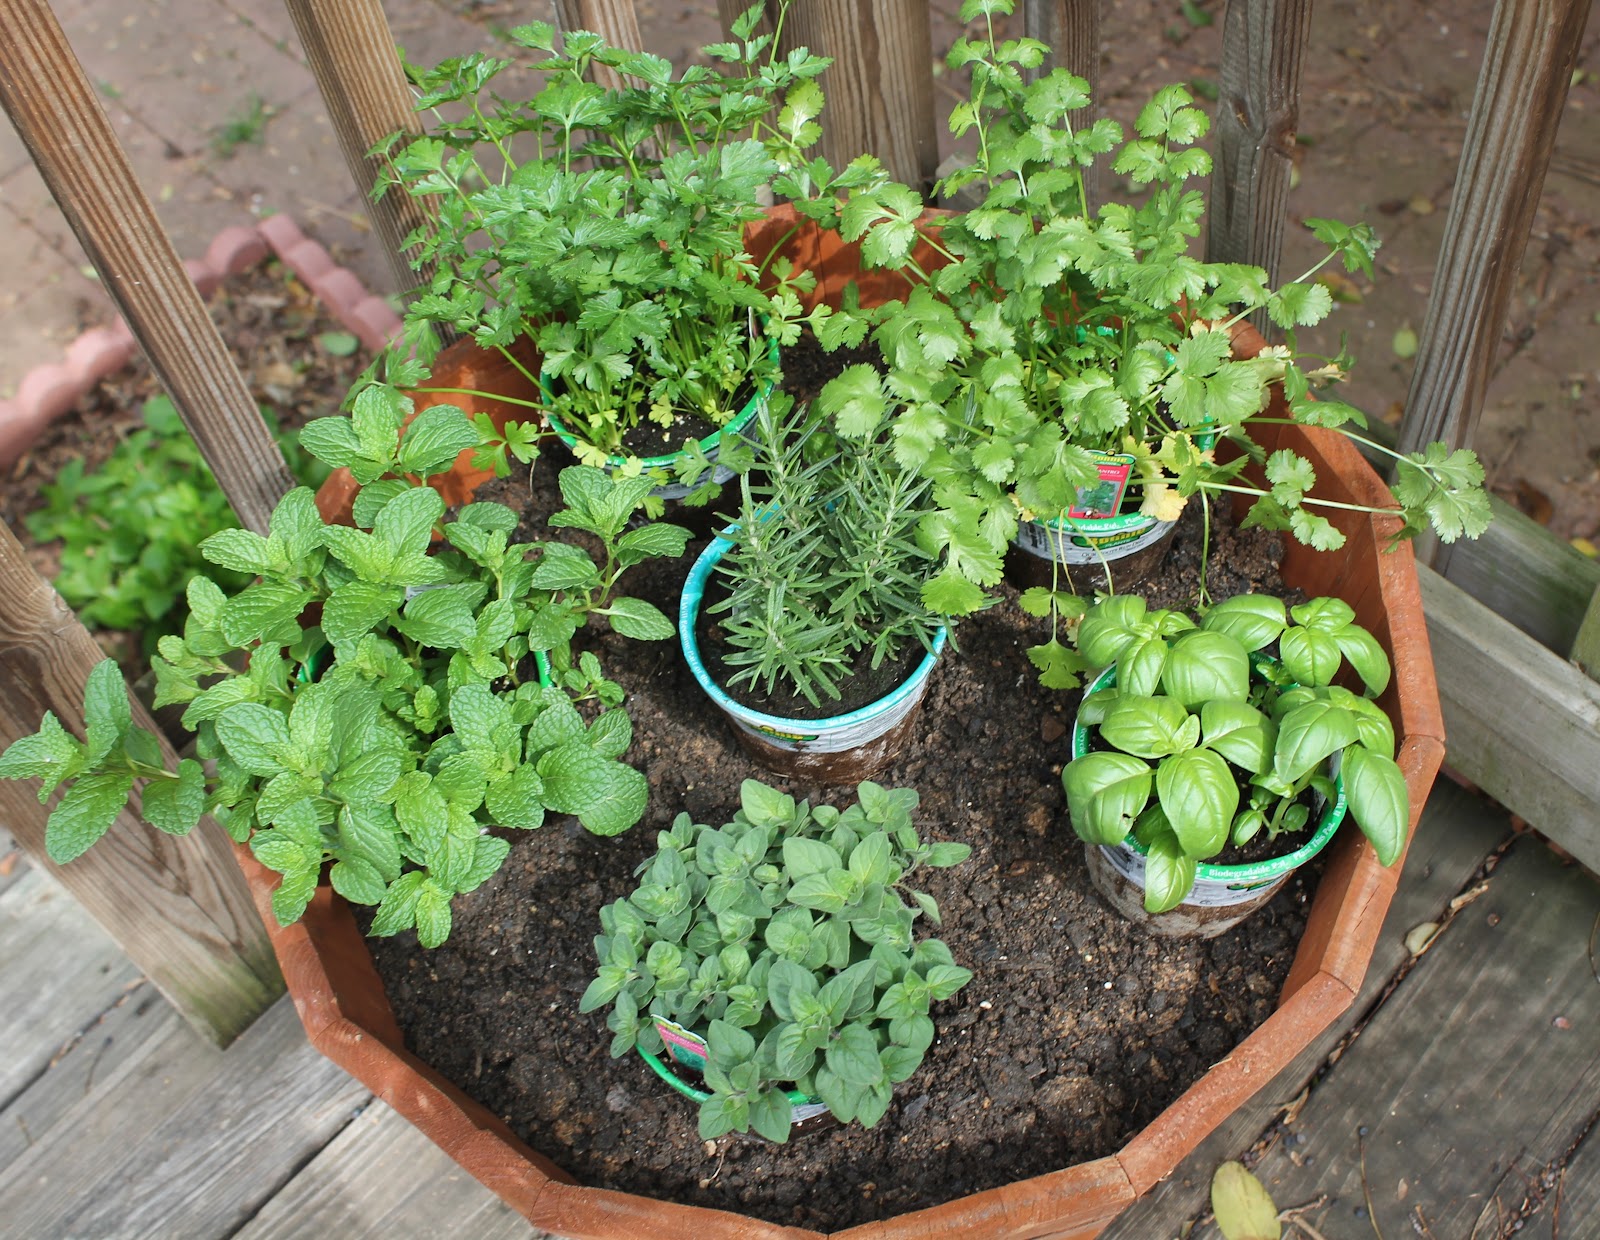
Make sure to place your pot in an area where it will receive direct sun most of the day. It is also a good idea to map out your herb placement! We did a dry run with the taller herbs {cilantro & parsley} in the back, and the shortest herb {oregano} in the front.
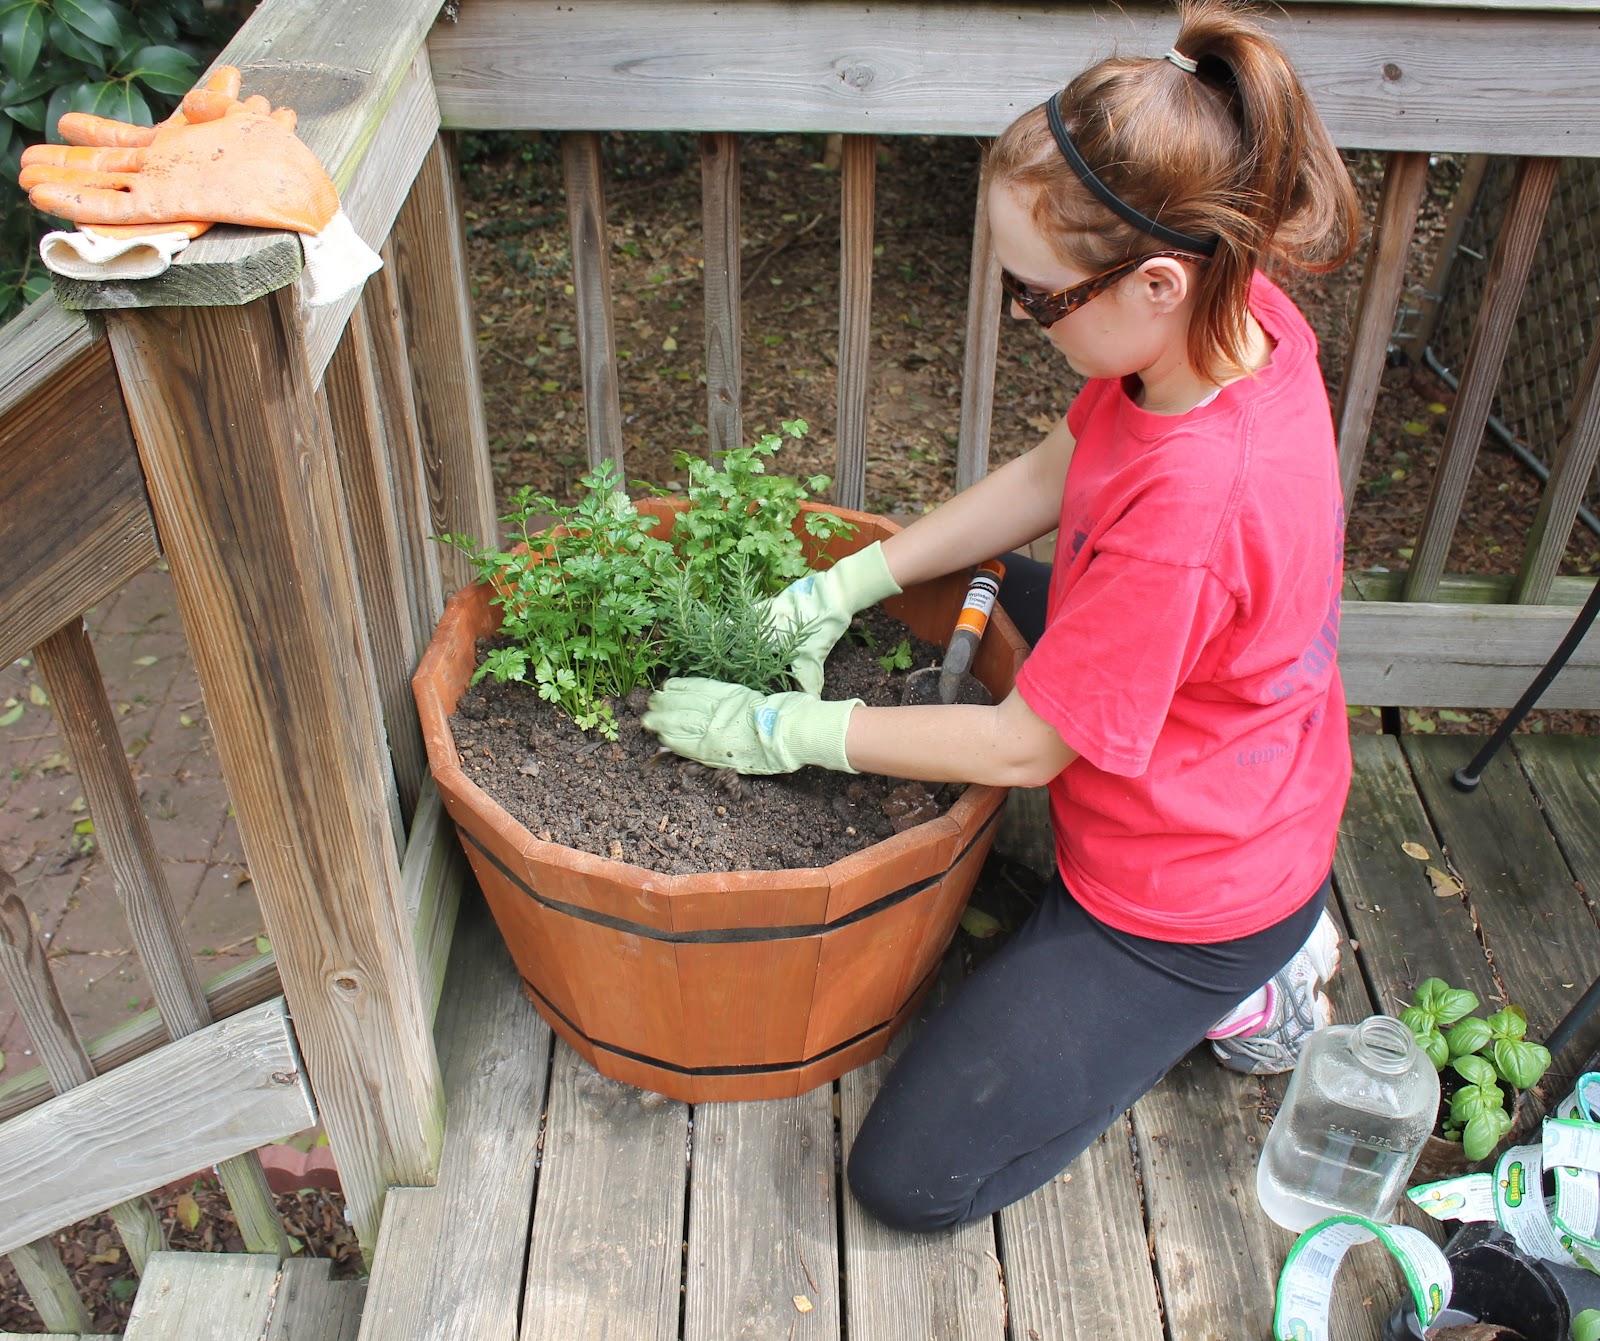
Dig a small hole, deep down. Remove one of the plants from its nursery container. Gently loosen the soil around its roots. You don’t want to tear the roots apart – just loosen them up a bit. Put in the hole and pack about an inch of dirt over top of the root ball. Repeat for the other plants, giving them several inches of room between each other.
Water when finished.
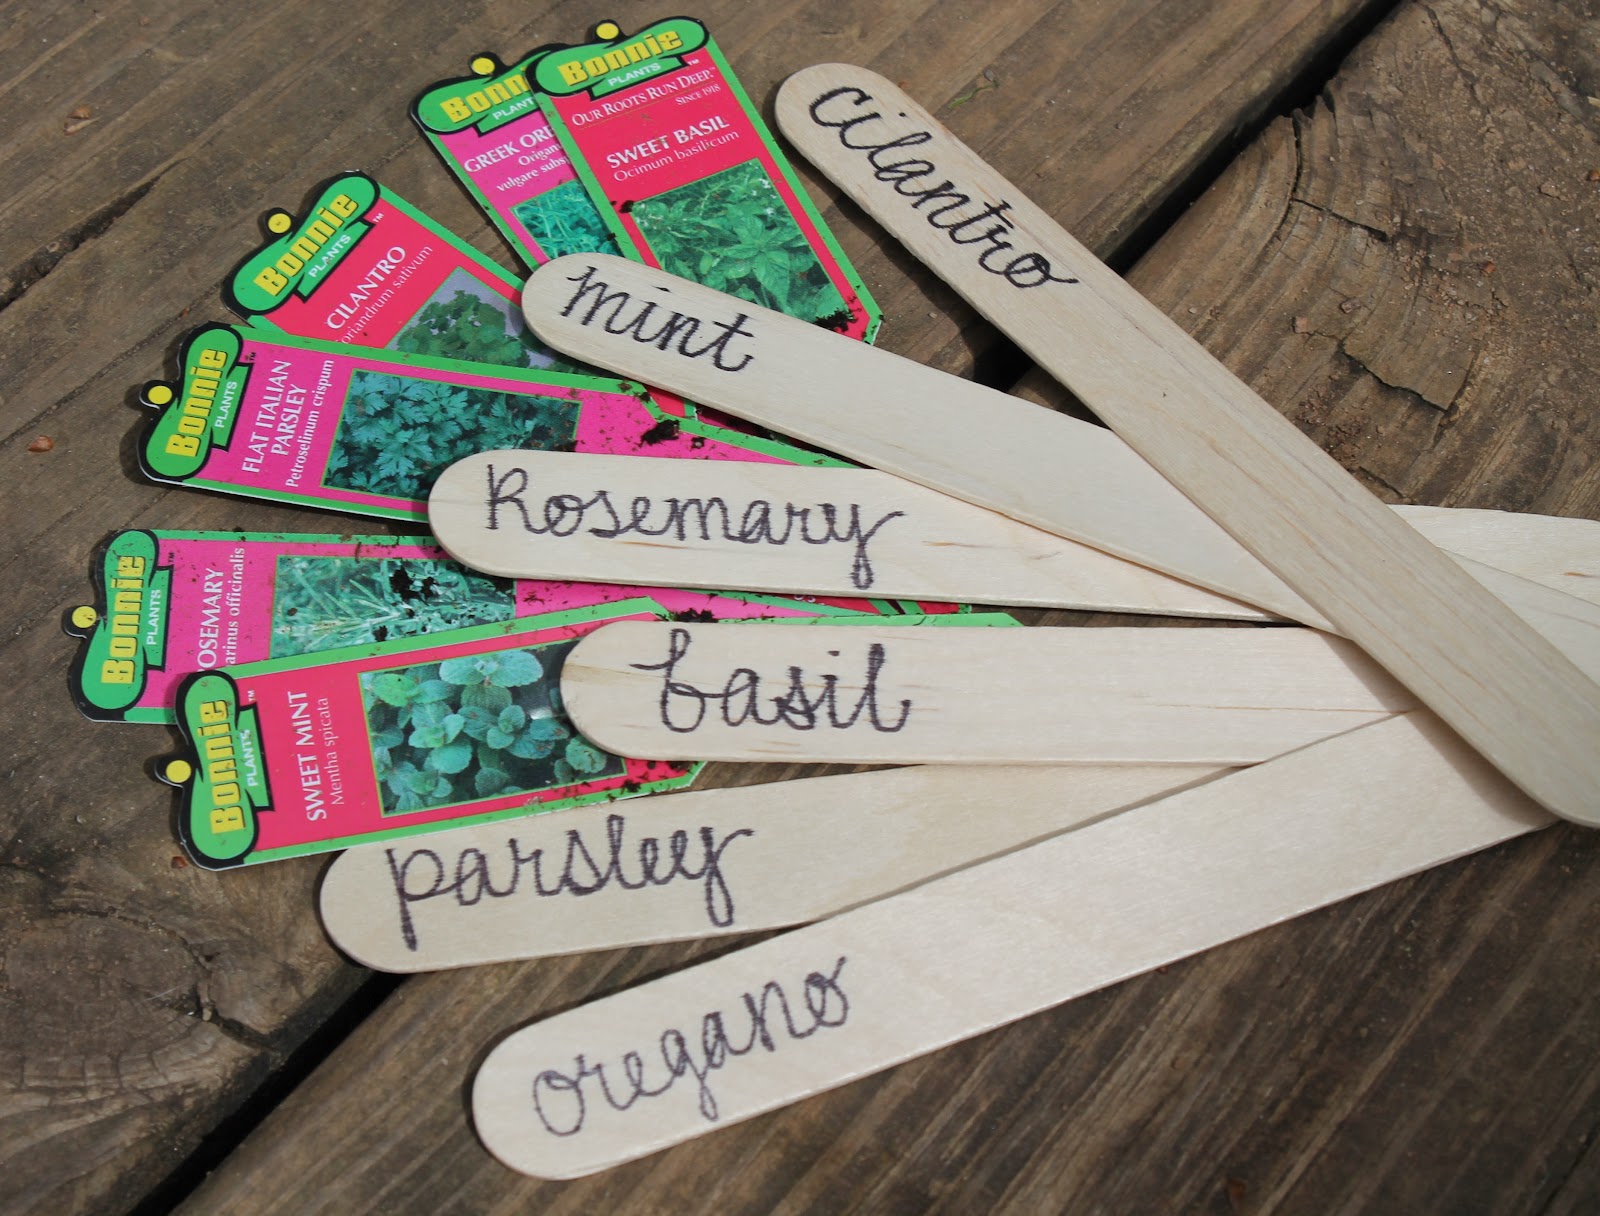

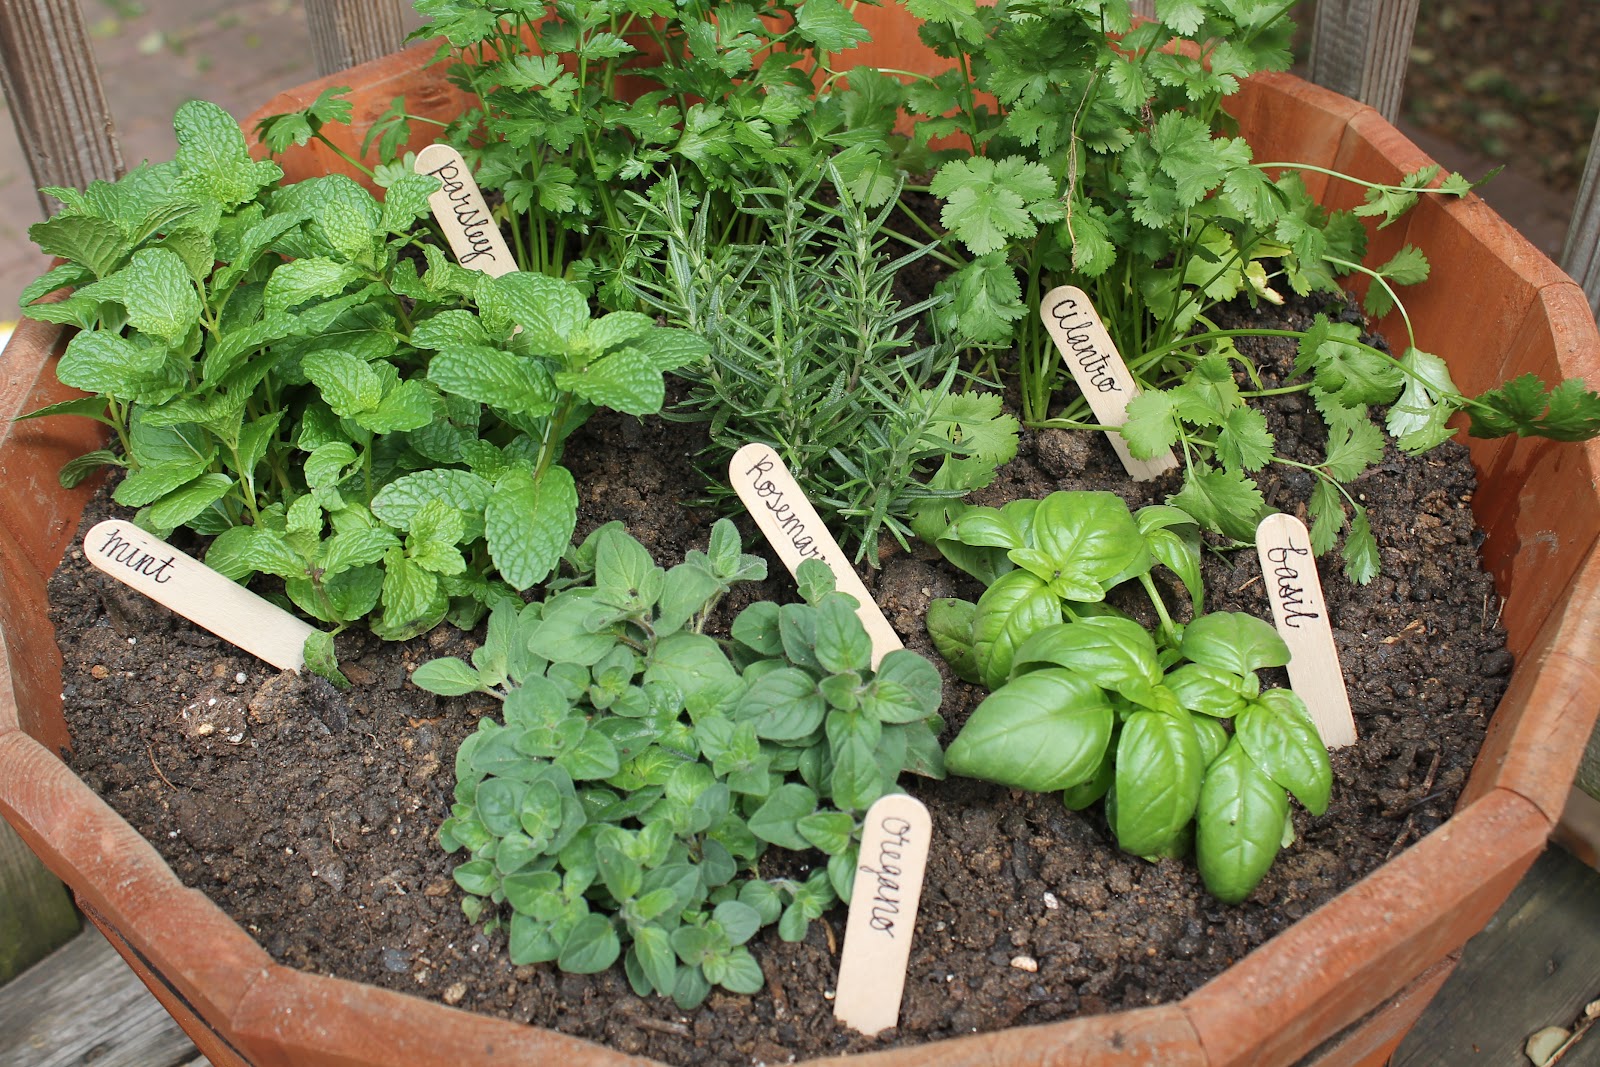
Label your herbs! I wrote on jumbo craft sticks {$1.78/pk at Walmart}.
Do not over water; pour in a cup of water only when leaves look droopy. {Note: For cooking, cut leaves and stems off the tops first – not the sides.}
What are you planting this year?