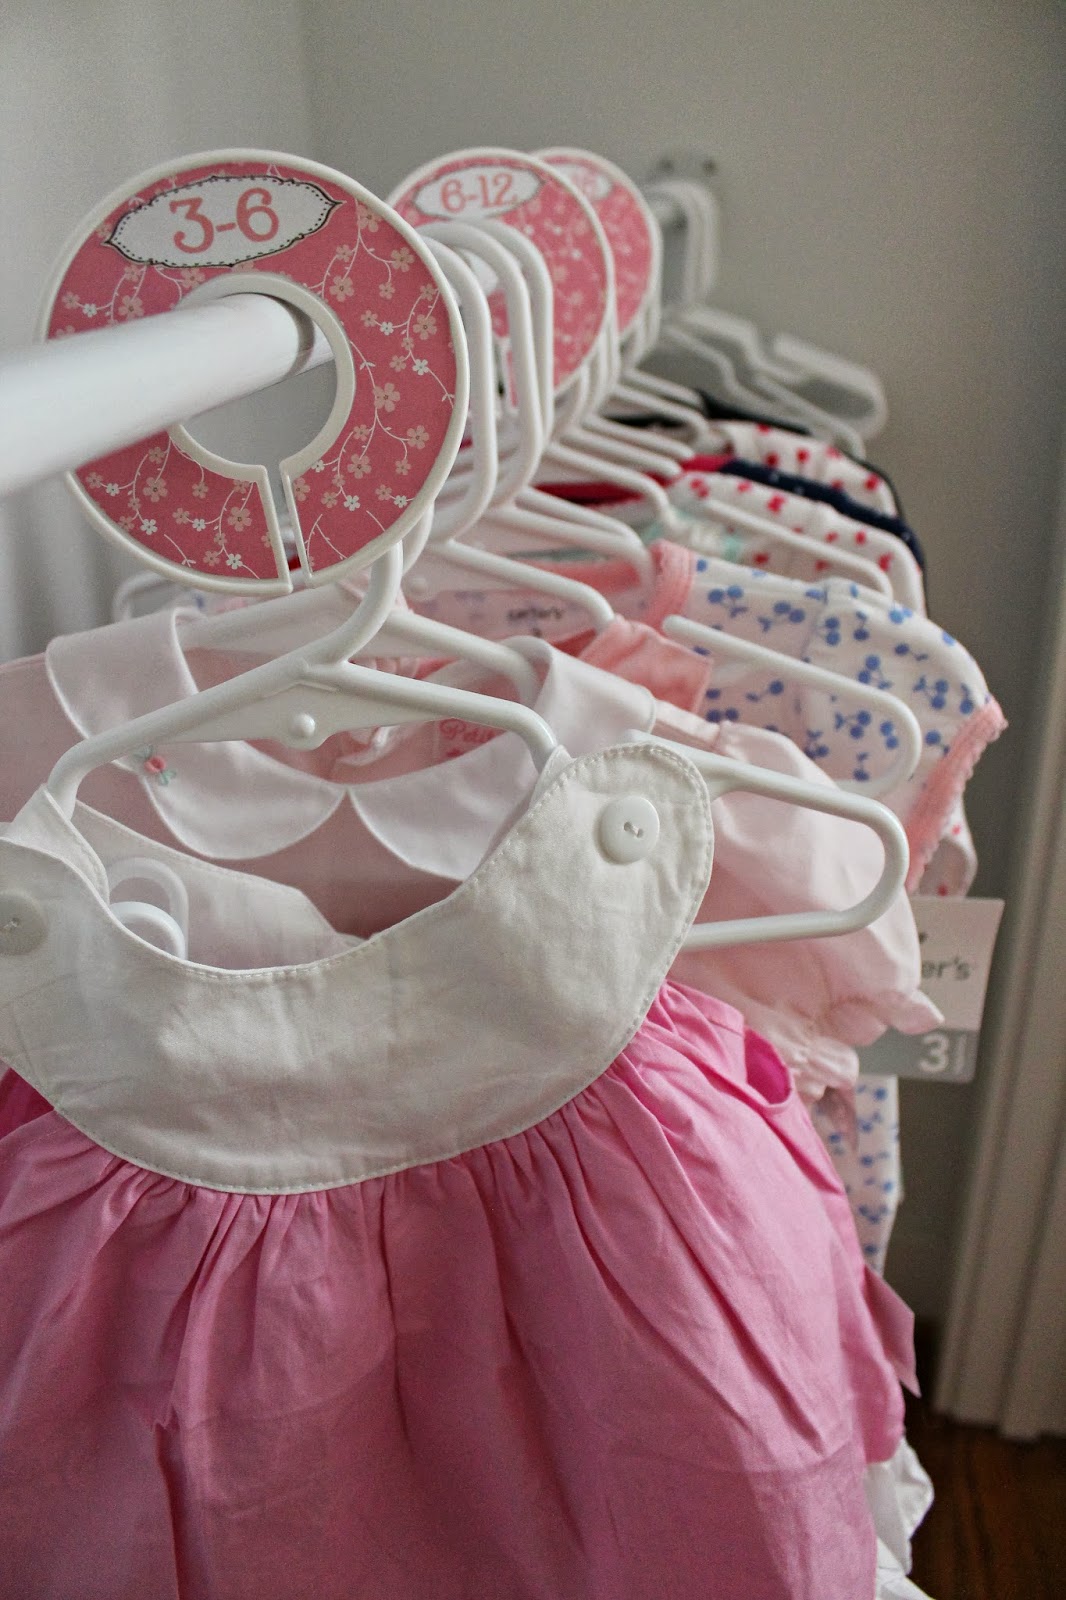
Now that Caroline’s closet is filling up with tons of pretty dresses it’s time to get organizing! Long ago I pinned Miss Dixie’s Nursery DIY: Closet Dividers tutorial and was so excited to finally use it during yesterday’s snow day!
Since I couldn’t leave the house without sliding all over the road {you do not want to see this Floridian on ice}, I had to use what I had at home already. Thankfully I had purchased the closet rings last weekend in anticipation for this project.
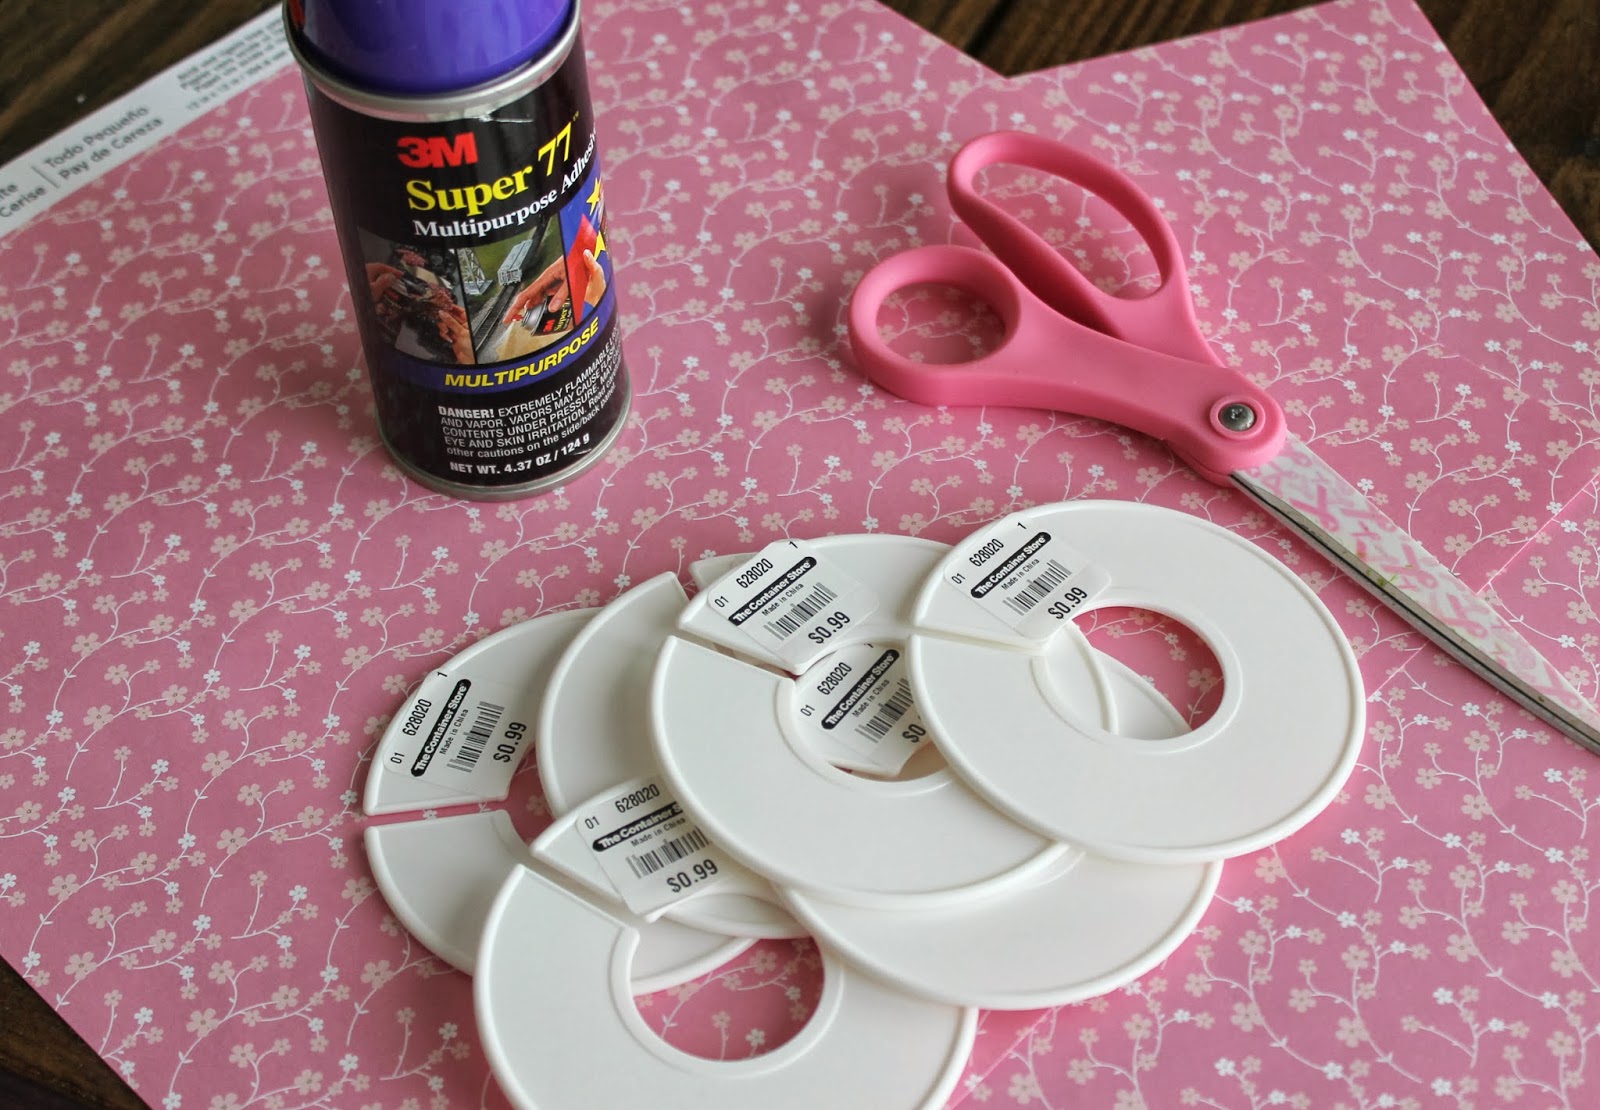
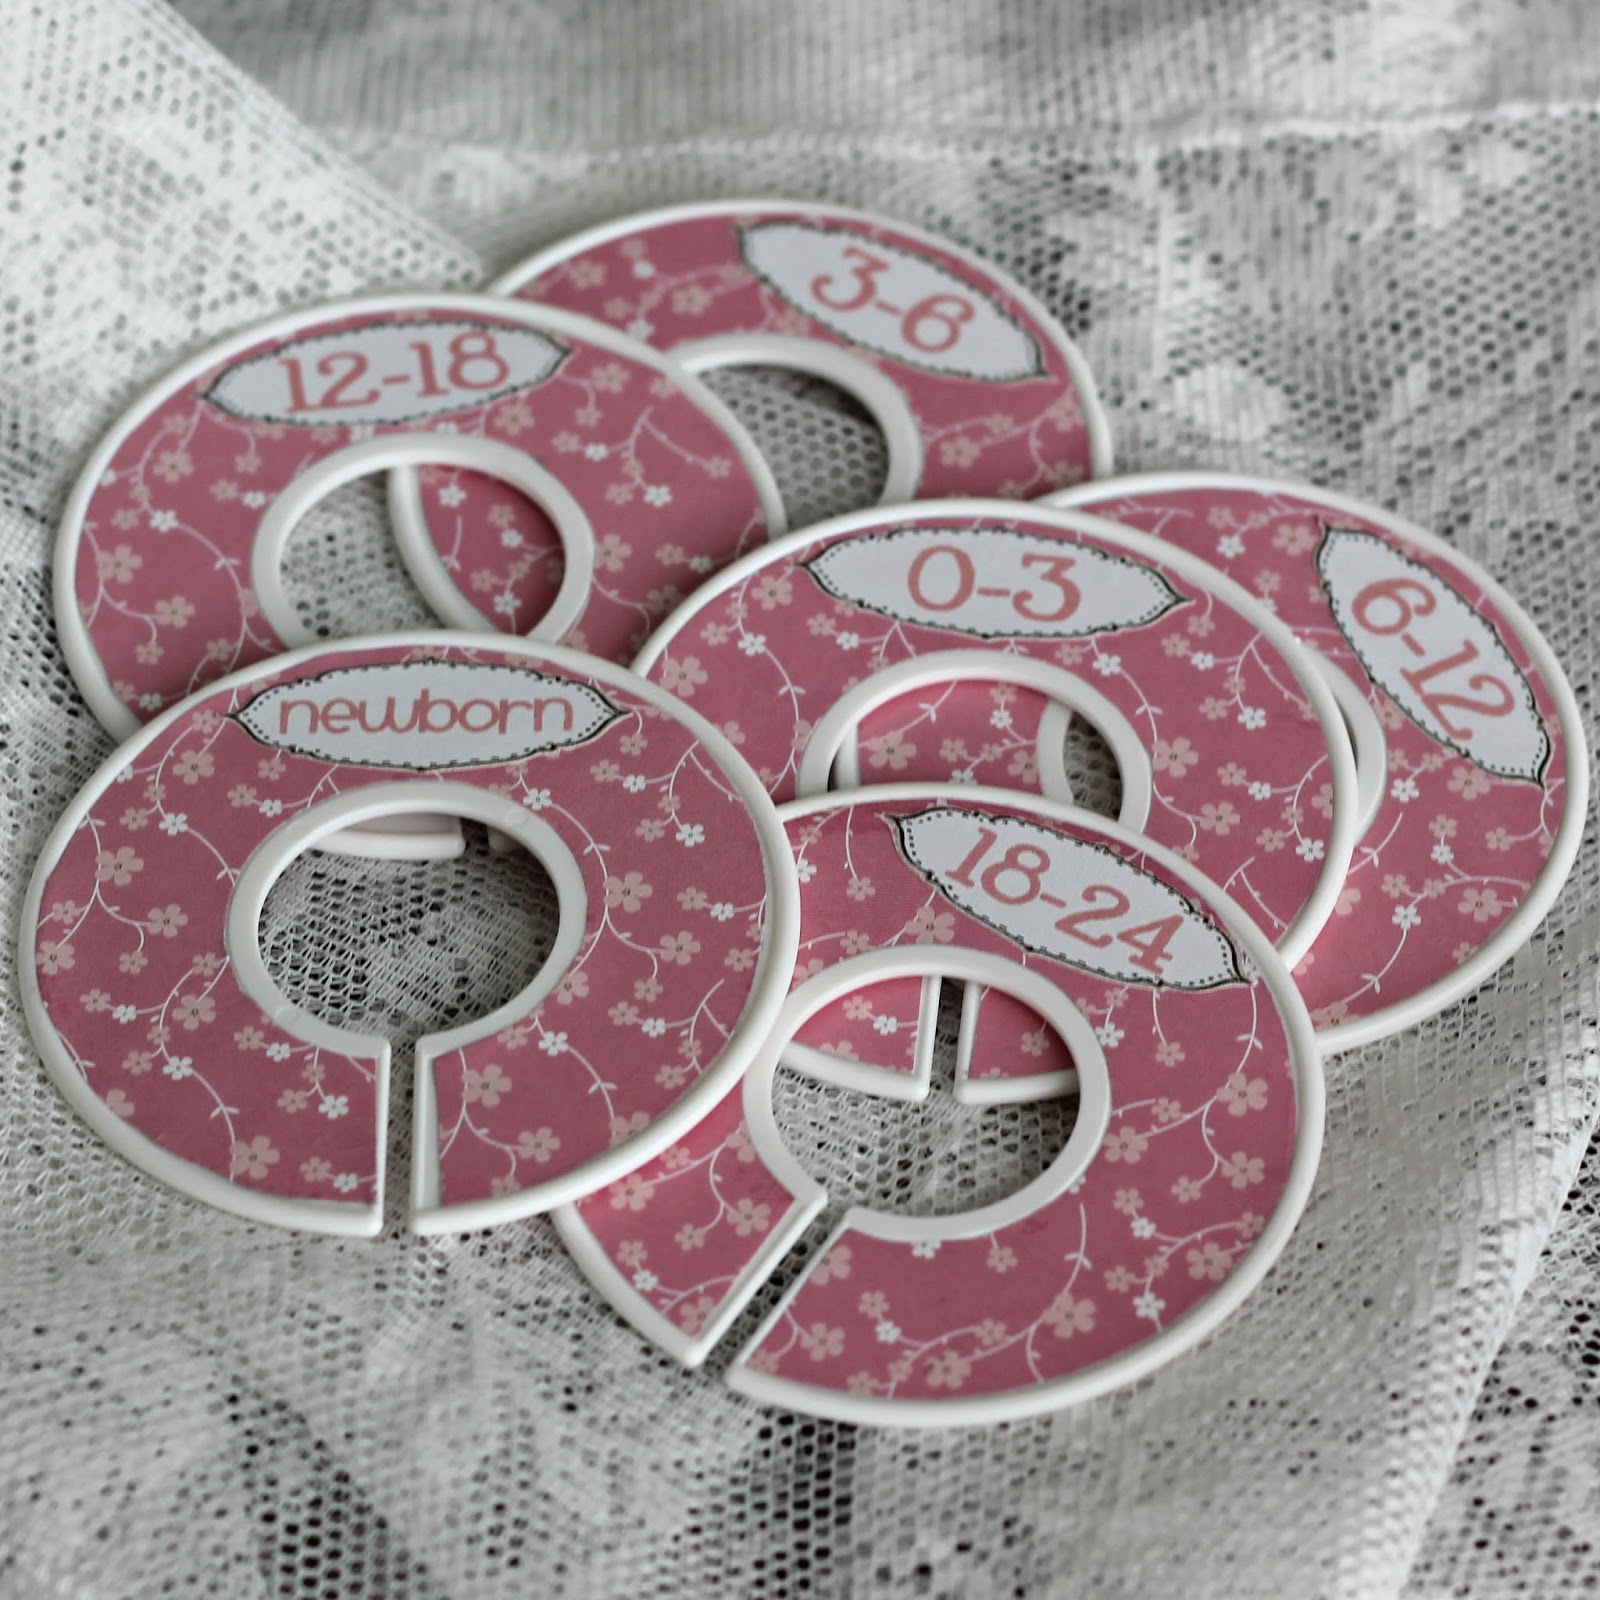
For my project, I used 2 sheets of extra large scrapbook paper {.59/each at Michaels}, 6 closet divider rings {.99/each at The Container Store}, some spray glue and size labels {Etsy shop}. Ideally, Mod Podge is the way to go instead of spray glue, but I had to make a last minute substitution when I noticed all my Mod Podge was dried up.

Originally, I had planned to take the easy route of just purchasing pre-made closet divider stickers from an Etsy shop. However, once I cut them out I realized they didn’t fit the rings I had. I was pretty disappointed because the listing only mentioned “use standard closet ring dividers” and that’s exactly what I bought. Anyway, I cut my losses and decided to at least cut out the sizes from the stickers so that’s what I used for the labels, but I’m sure you could find something free on Pinterest or make your own labels too.
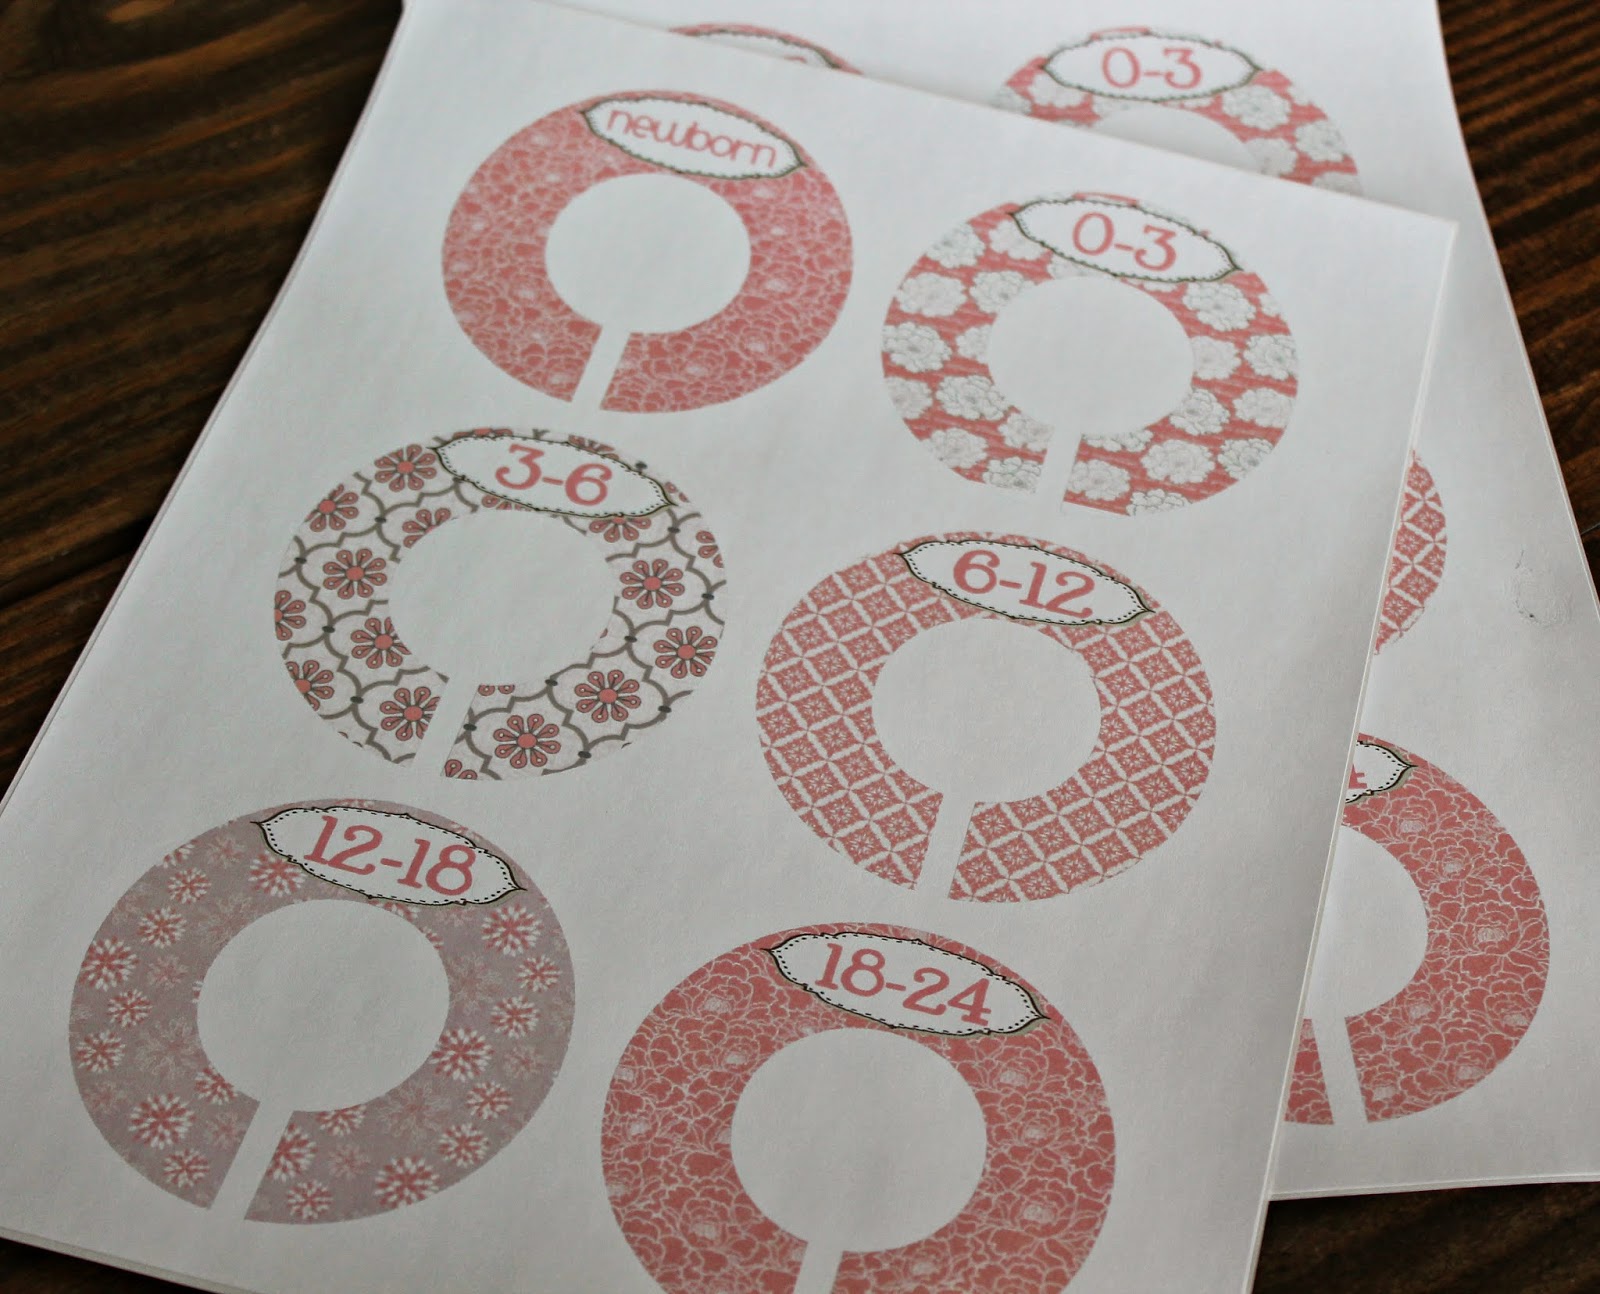
Once you have all your materials, simply trace, cut and glue {or mod podge} your scrapbook paper to the divider!