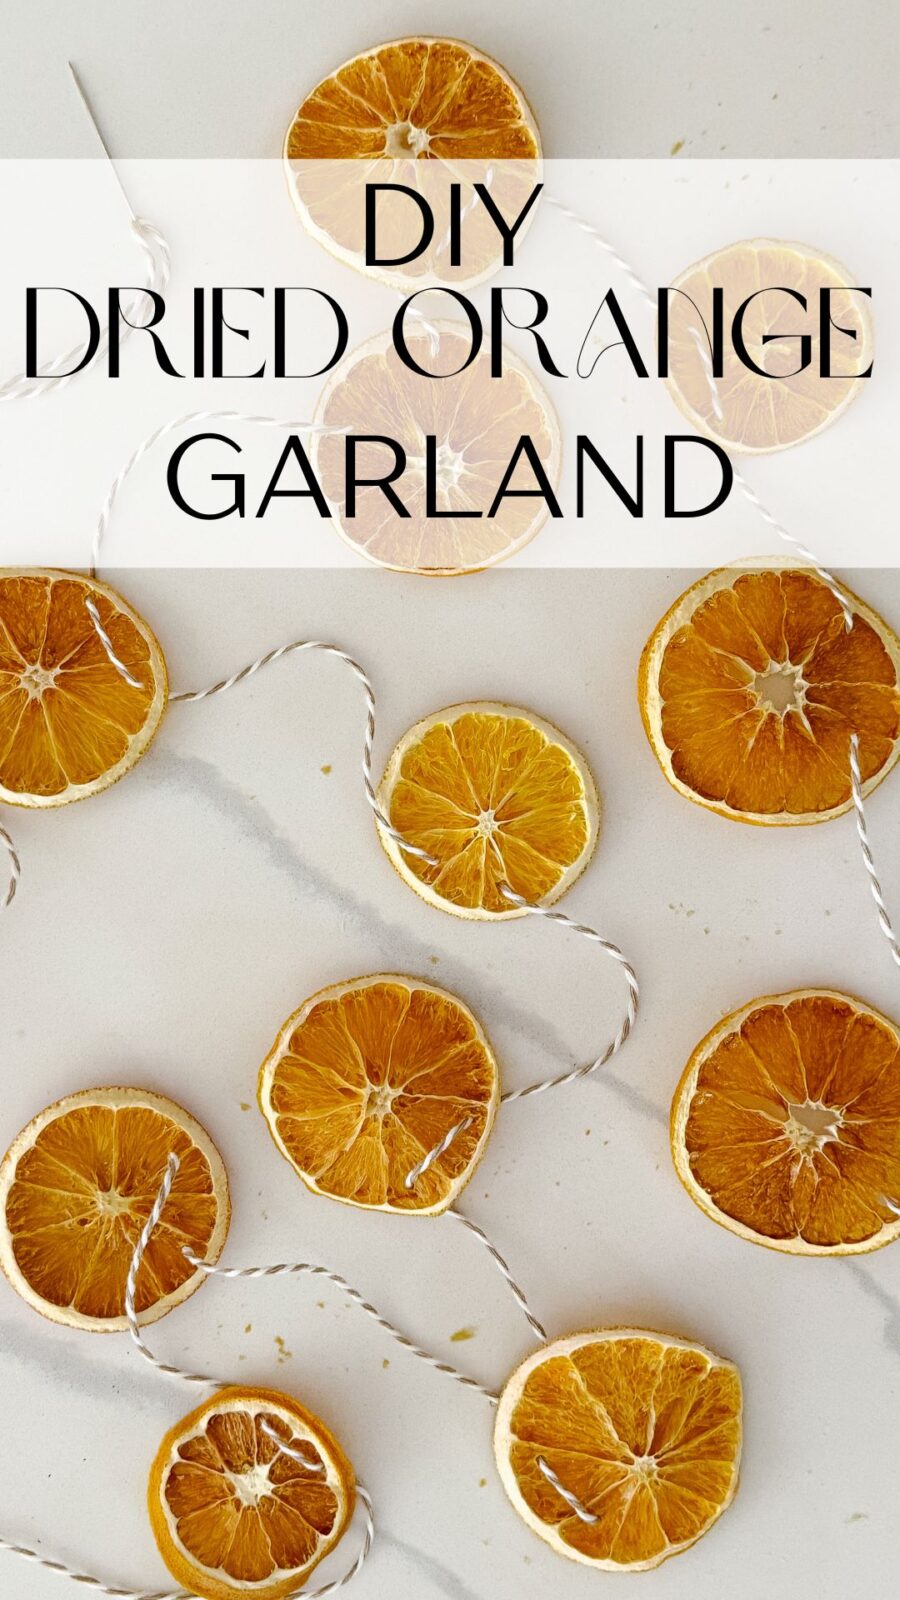
Oven dried orange slices are back in a BIG way this holiday season, and I totally get why. They’re simple, gorgeous, and make you home smell amazing. I started making these last year for garlands and gift toppers, and they’ve officially earned a permanent spot in my holiday decorating lineup. Whether you’re stringing them for the tree, adding them to a wreath, or dressing up your cocktail, this easy DIY tutorial is festive and fun.

You can use this oven dried method to dehydrate all types of fresh citrus — oranges, limes, lemons, grapefruit, etc! And the best part is it’s all done in the oven, no dehydrator necessary!
While dehydrating oranges slices is an easy process, it is time-consuming and can take up to 6 hours so you’ll need to be home to babysit your fruit. However, your oven is doing all the work for you! And your dried citrus wheels can last for years!
And if DIY’s don’t get you excited, you can also find them pre-made HERE!
Ways to Use Oven Dried Orange Slices
There are so many ways to use your dried orange slices!
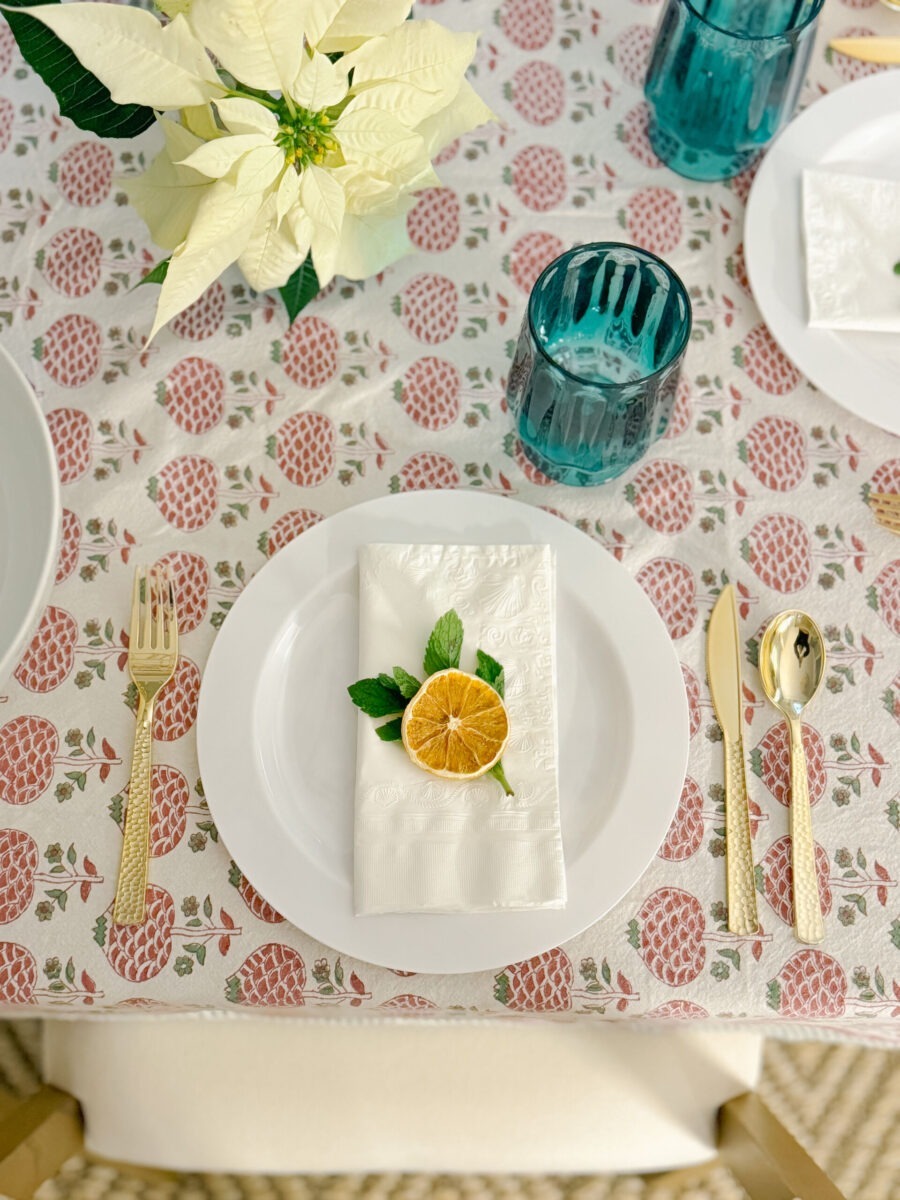
- Garnish your cocktail or favorite drink.
- Add to a charcuterie/grazing board for a pop of color.
- Decorate baked goods.
- Eat them! They are a great snack. You can also add them to granola, cereal, breads, marinades, etc. And if you prefer a sweet treat, dip them in chocolate and sprinkle a little Maldon sea salt flakes or sugar on top!
- Use them as part of a craft.
- Use them in your stove top potpourri to make your house smell like Christmas.
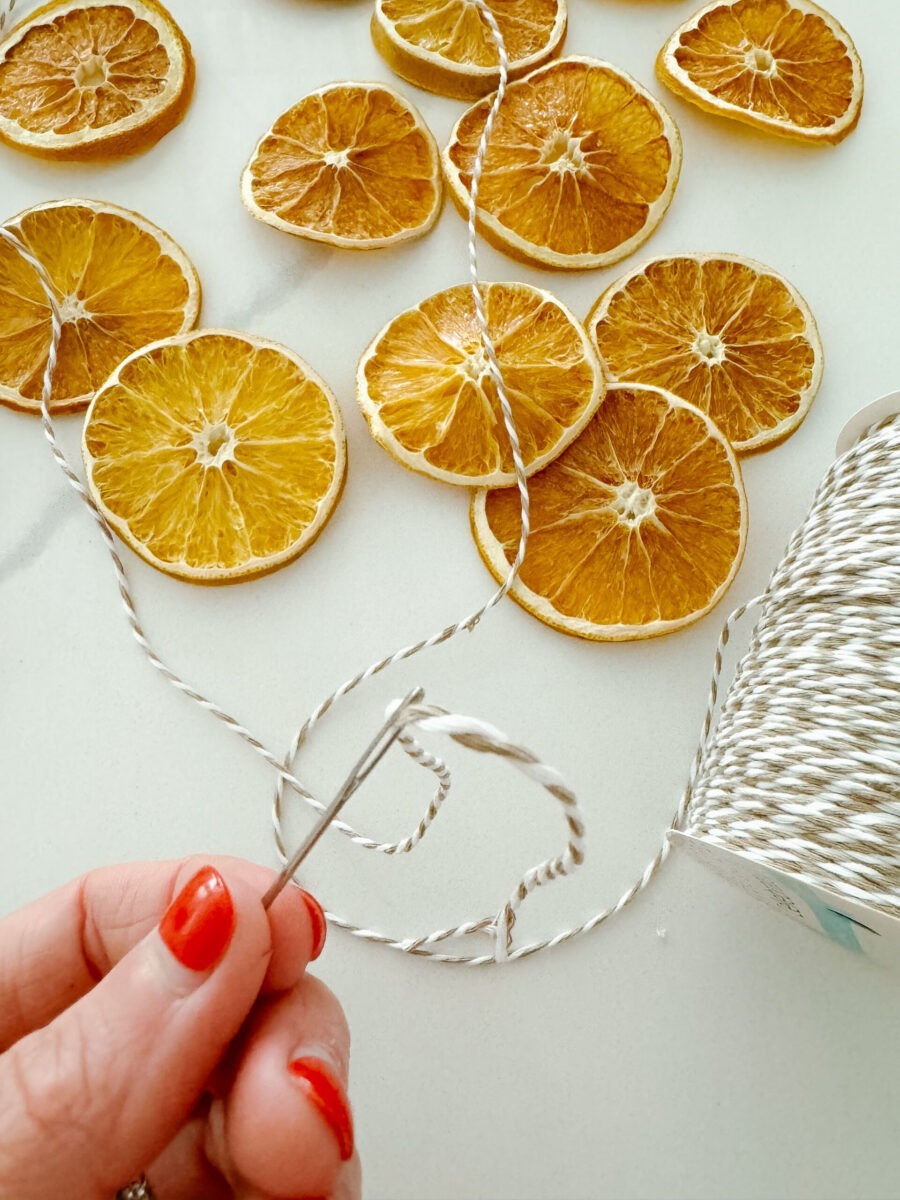
- Thread a pretty ribbon or twin through them and tie to your Christmas tree or wreaths.
- String them together to make a dried citrus garland or wreath for your home.
- Gift them! Tie your citrus wheels to wrapped gifts as a pretty embellishment or stack your culinary masterpiece in a jar and add a ribbon – perfect for the hostess, the cocktail connoisseur, baker, etc.!
Oven Dried Orange Slices Tools & Ingredients
- Oranges: Look for ripe, firm seedless oranges. I used navel oranges for this tutorial, but cara cara or blood oranges are also great options! The size of the orange is important depending on how you plan to use them. For recipe and cocktail garnishes, you may want smaller slices. And for garlands, go big!
- Oven: I love using my Breville Smart Oven Air Fryer because it has a dehydrator setting that uses the convection fan to circulate steam to remove moisture evenly.
- Optional but helpful tools: mandolin or fruit splitter.
Step 1: Preheat oven to 175 degrees
If your oven doesn’t go that low, preheat to 200 degrees. The lower and slower you can dry out your citrus, the better the color and texture will be! Use the convection setting if you have it to circulate steam and remove moisture evenly.
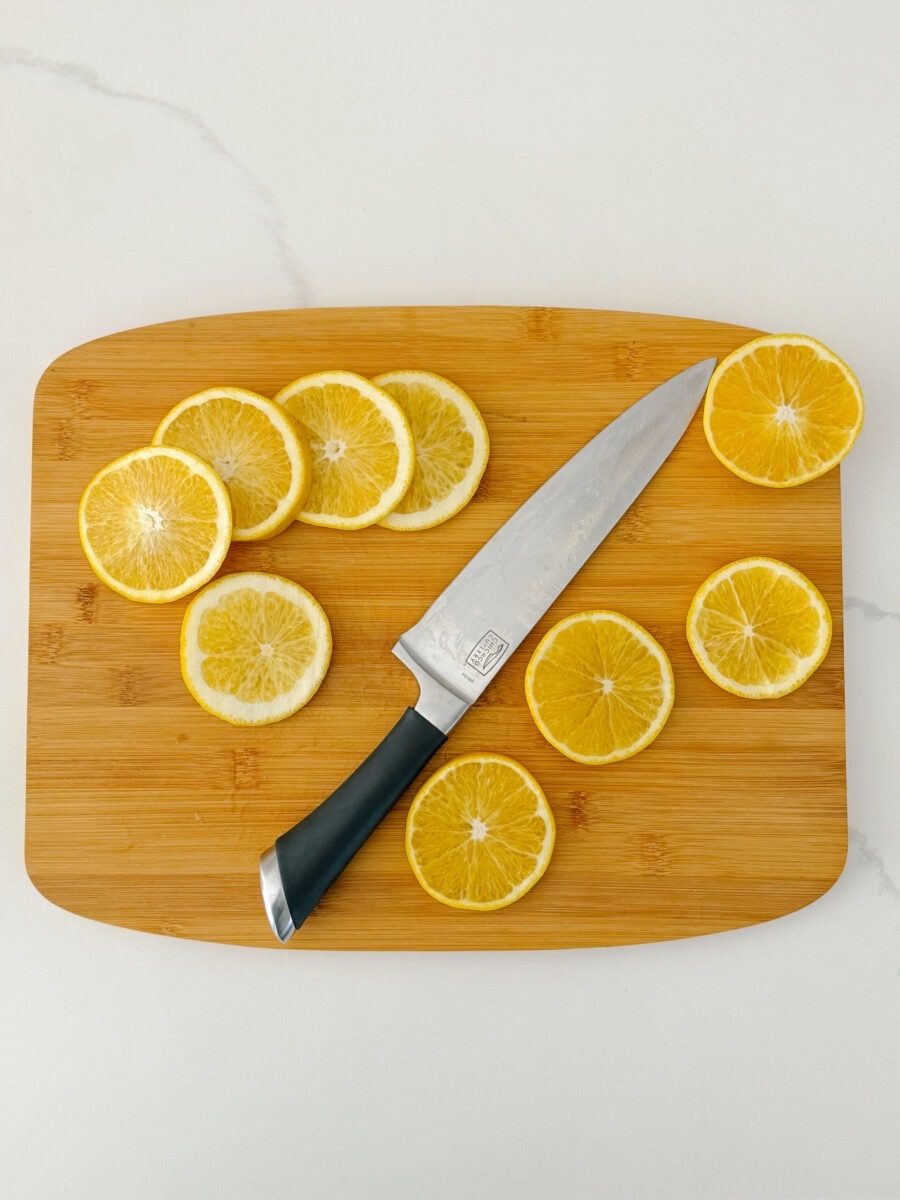
Step 2: Thinly slice your oranges
Using a sharp knife or mandolin, cut your oranges into 1/4-inch thick slices. You’ll want all your slices to be around the same thickness so they all dry evenly. I like using a fruit splitter to ensure all my slices are ultra thin and even. Next, pat the slices dry with a paper towel to remove any excess moisture.
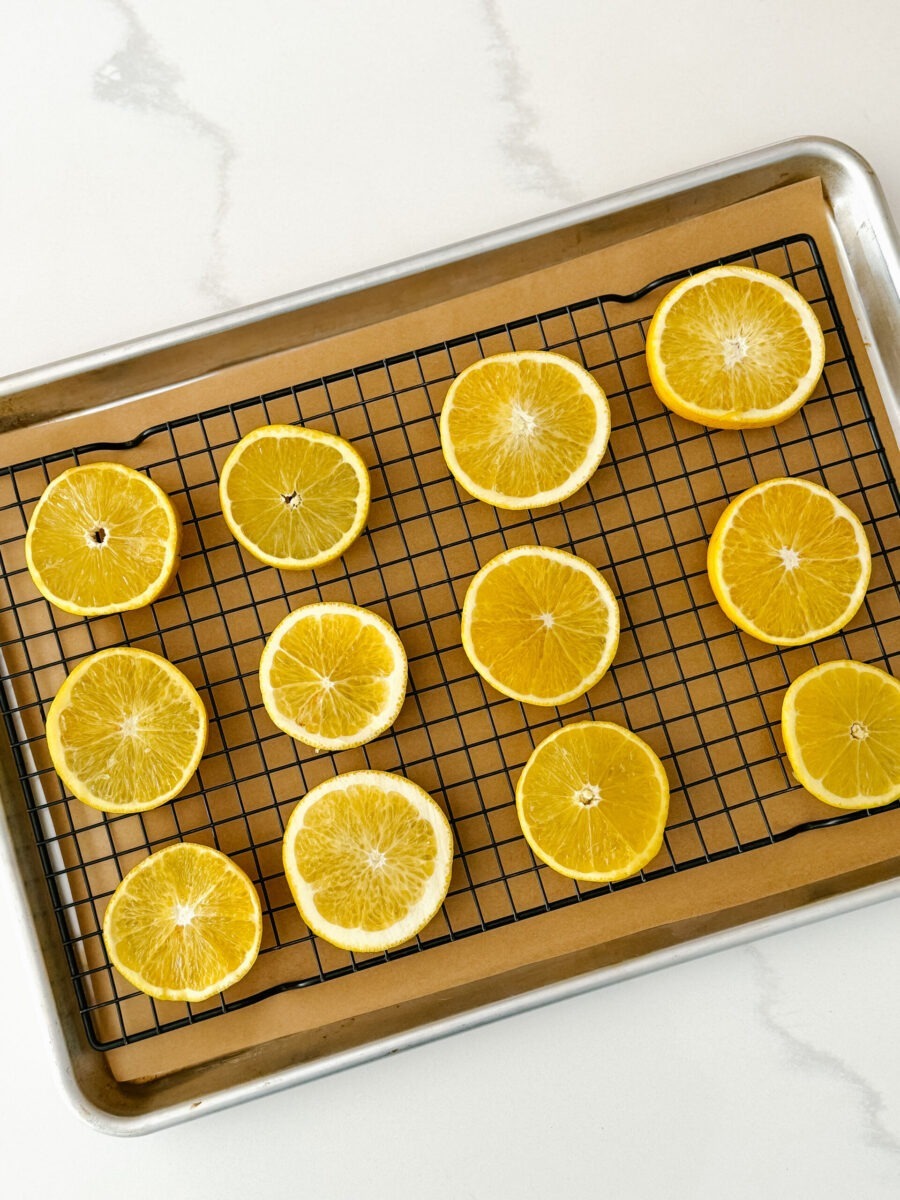
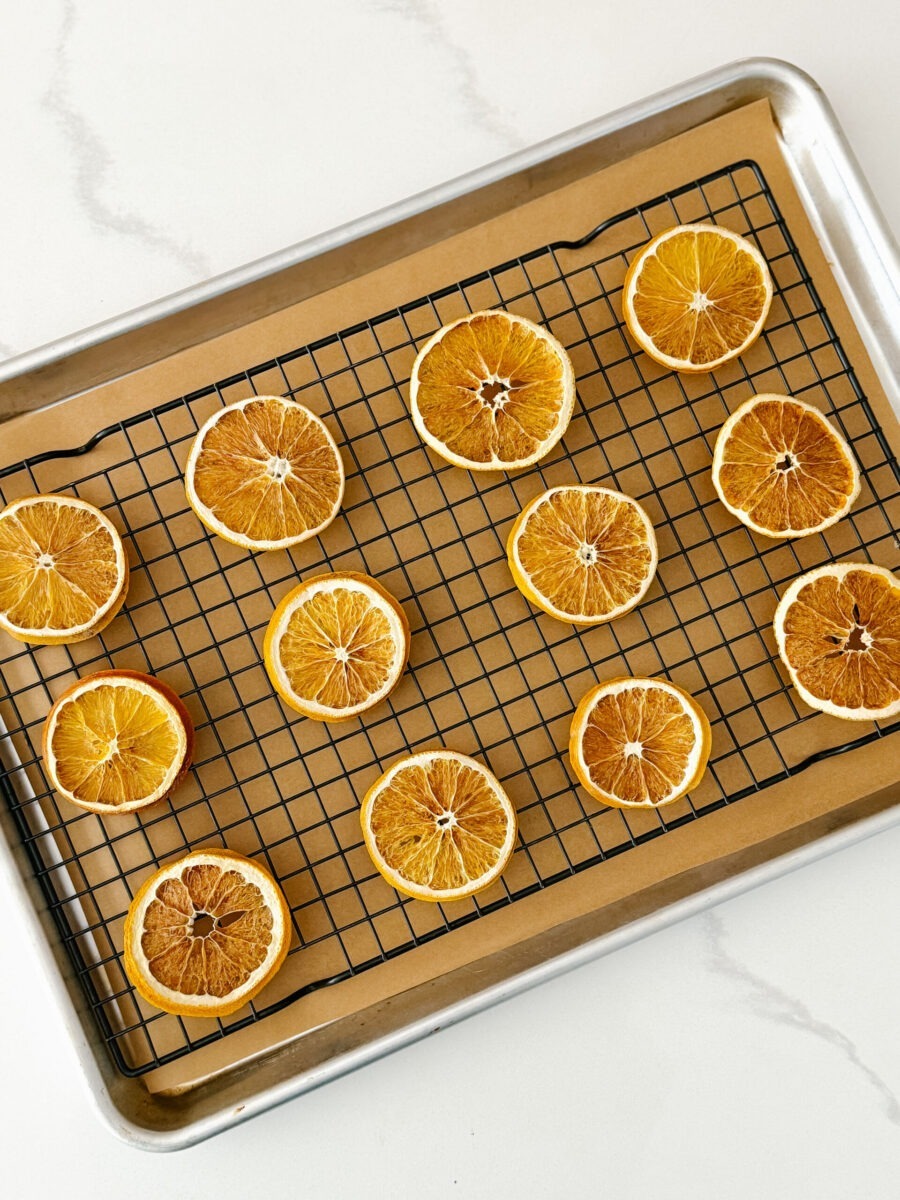
Step 3: Arrange on baking sheet
Place orange slices in a single layer on a baking rack on top of a cookie sheet lined with parchment paper. If you don’t have a baking rack, place the slices directly on top of the parchment paper, spreading them out to prevent sticking.
Step 4: Bake
Bake the slices in the oven for about 6 hours, or until completely dry. Flip the slices every hour or so to help the oranges dry evenly and retain a nice flat shape. If your oranges are sticky or tacky, add more time until all the moisture is removed to prevent mold. If sine slices are drying faster than others, remove the dried pieces to avoid overly processing them and return the rest to the oven.
Step 5: Cool and store oven dried orange slices
Allow your dried orange slices to cool at room temperature then store in an airtight container or Ziploc bag in a cool, dark place. If properly stored, your dried slices can last up to two years!

Check out my How To Make Oven Dried Orange Slices Reel on Instagram!
How to Make Oven Dried Orange Slices

You can use this oven dried method to dehydrate all types of fresh citrus — oranges, limes, lemons, grapefruit, etc! And the best part is it’s all done in the oven, no dehydrator necessary!
Materials
- Oranges: Look for ripe, firm seedless oranges. I used navel oranges for this tutorial, but cara cara or blood oranges are also great options! The size of the orange is important depending on how you plan to use them. For recipe and cocktail garnishes, you may want smaller slices. And for garlands, go big!
- Oven: I love using my Breville Smart Oven Air Fryer because it has a dehydrator setting that uses the convection fan to circulate steam to remove moisture evenly.
- Optional but helpful tools: mandolin or fruit splitter.
Instructions
Step 1: Preheat oven to 175 degrees. If your oven doesn’t go that low, preheat to 200 degrees. The lower and slower you can dry out your citrus, the better the color and texture will be! Use the convection setting if you have it to circulate steam and remove moisture evenly.
Step 2: Thinly slice your oranges. Using a sharp knife or mandolin, cut your oranges into 1/4-inch thick slices. You’ll want all your slices to be around the same thickness so they all dry evenly. I like using a fruit splitter to ensure all my slices are ultra thin and even. Next, pat the slices dry with a paper towel to remove any excess moisture.
Step 3: Arrange on baking sheet. Place orange slices in a single layer on a baking rack on top of a cookie sheet lined with parchment paper. If you don’t have a baking rack, place the slices directly on top of the parchment paper, spreading them out to prevent sticking.
Step 4: Bake the slices in the oven for about 6 hours, or until completely dry. Flip the slices every hour or so to help the oranges dry evenly and retain a nice flat shape. If your oranges are sticky or tacky, add more time until all the moisture is removed to prevent mold. If sine slices are drying faster than others, remove the dried pieces to avoid overly processing them and return the rest to the oven.
Step 5: Cool and Store. Allow your dried orange slices to cool at room temperature then store in an airtight container or Ziploc bag in a cool, dark place. If properly stored, your dried slices can last up to two years!
Notes
If your oven doesn’t go that low,
preheat to 200 degrees. The lower and slower you can dry out your
citrus, the better the color and texture will be! Use the convection
setting if you have it to circulate steam and remove moisture evenly.