
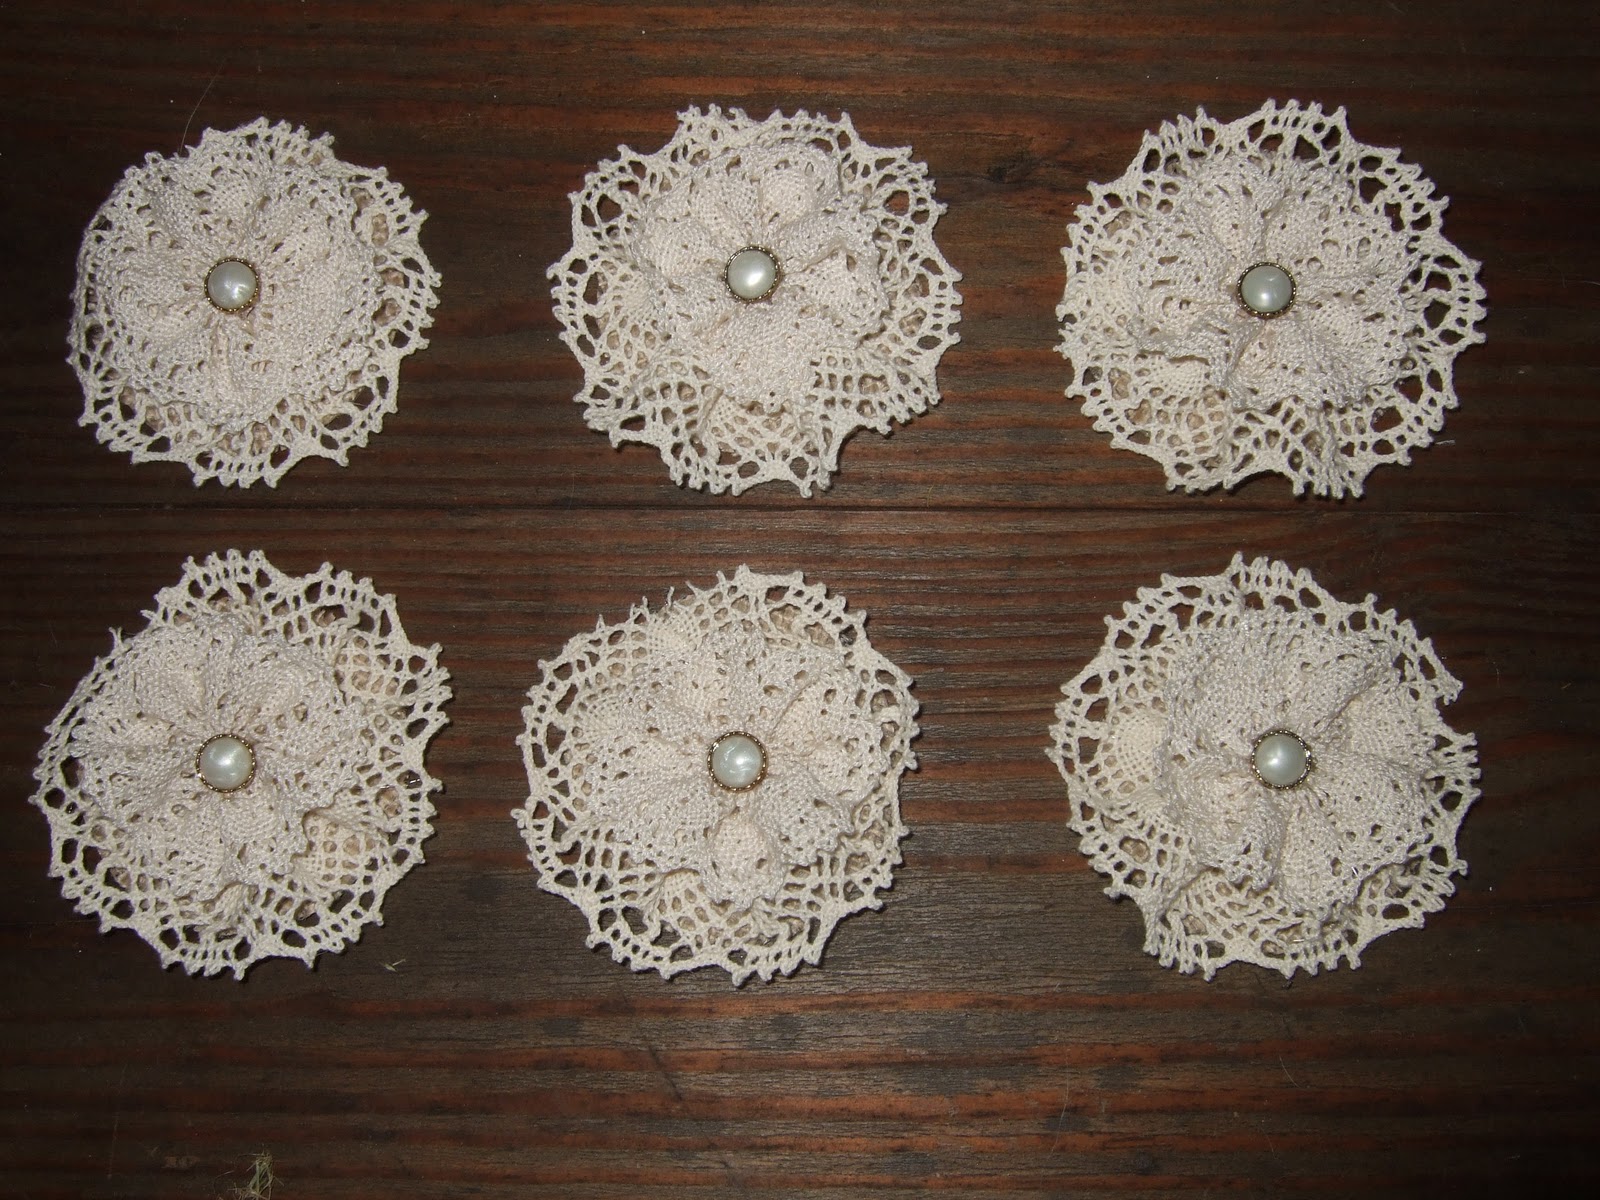
If you’re looking to add a cute and personal touch to your accessories or wedding decor, a lace applique is the perfect DIY project! These sweet little creations are not only simple to make, but they can also be customized to fit any style or event. Whether you’re adding a charming element to your bridal party’s hair or crafting something special for yourself, this lace applique tutorial will walk you through all the steps to create beautiful, one-of-a-kind pieces that are sure to impress.

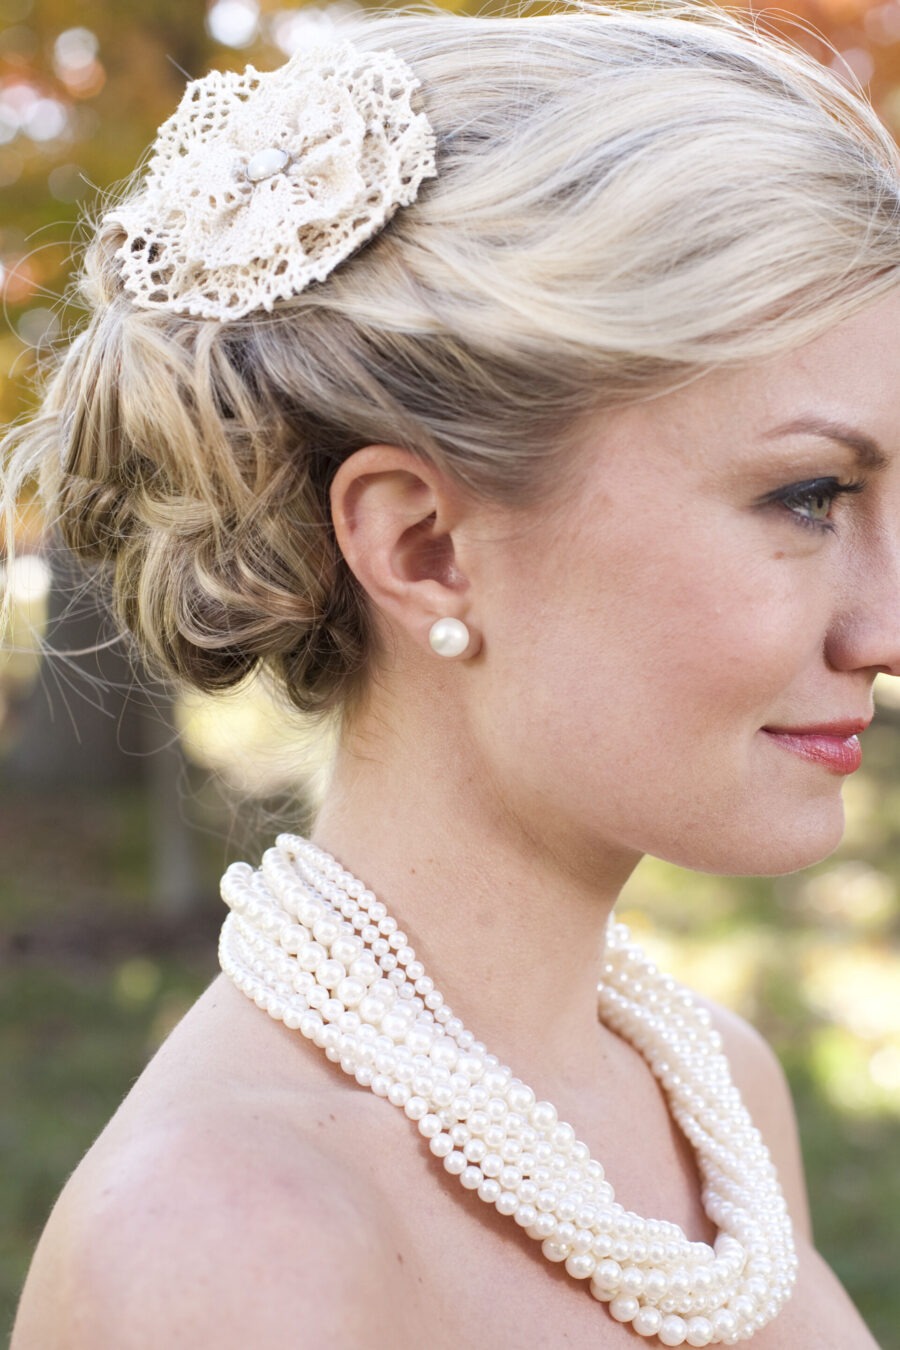
After making those darling burlap boutonnieres for all the groomsmen, I decided it was only fair to make something equally super duper cute for all the bridesmaids! So without further adieu, I present to you…burlap and lace hair appliqués!
DIY Lace Applique Supplies
For this lace applique project, you don’t need a ton of fancy supplies! Most of what you’ll need are things you probably already have around the house. Grab some basic materials like burlap, lace, and a few tools to help you assemble everything, and you’ll be all set to create your own custom applique. Here’s a quick rundown of what you’ll need:
You Will Need:
- Burlap
- Cereal box-weight cardboard
- 2” lace trim
- 1” lace trim
- Extra long bobby pins
- Elmer’s Glue
- Hot glue gun
- Embroidery floss and needle
- Scissors
- Buttons
- Stiffen Stuff
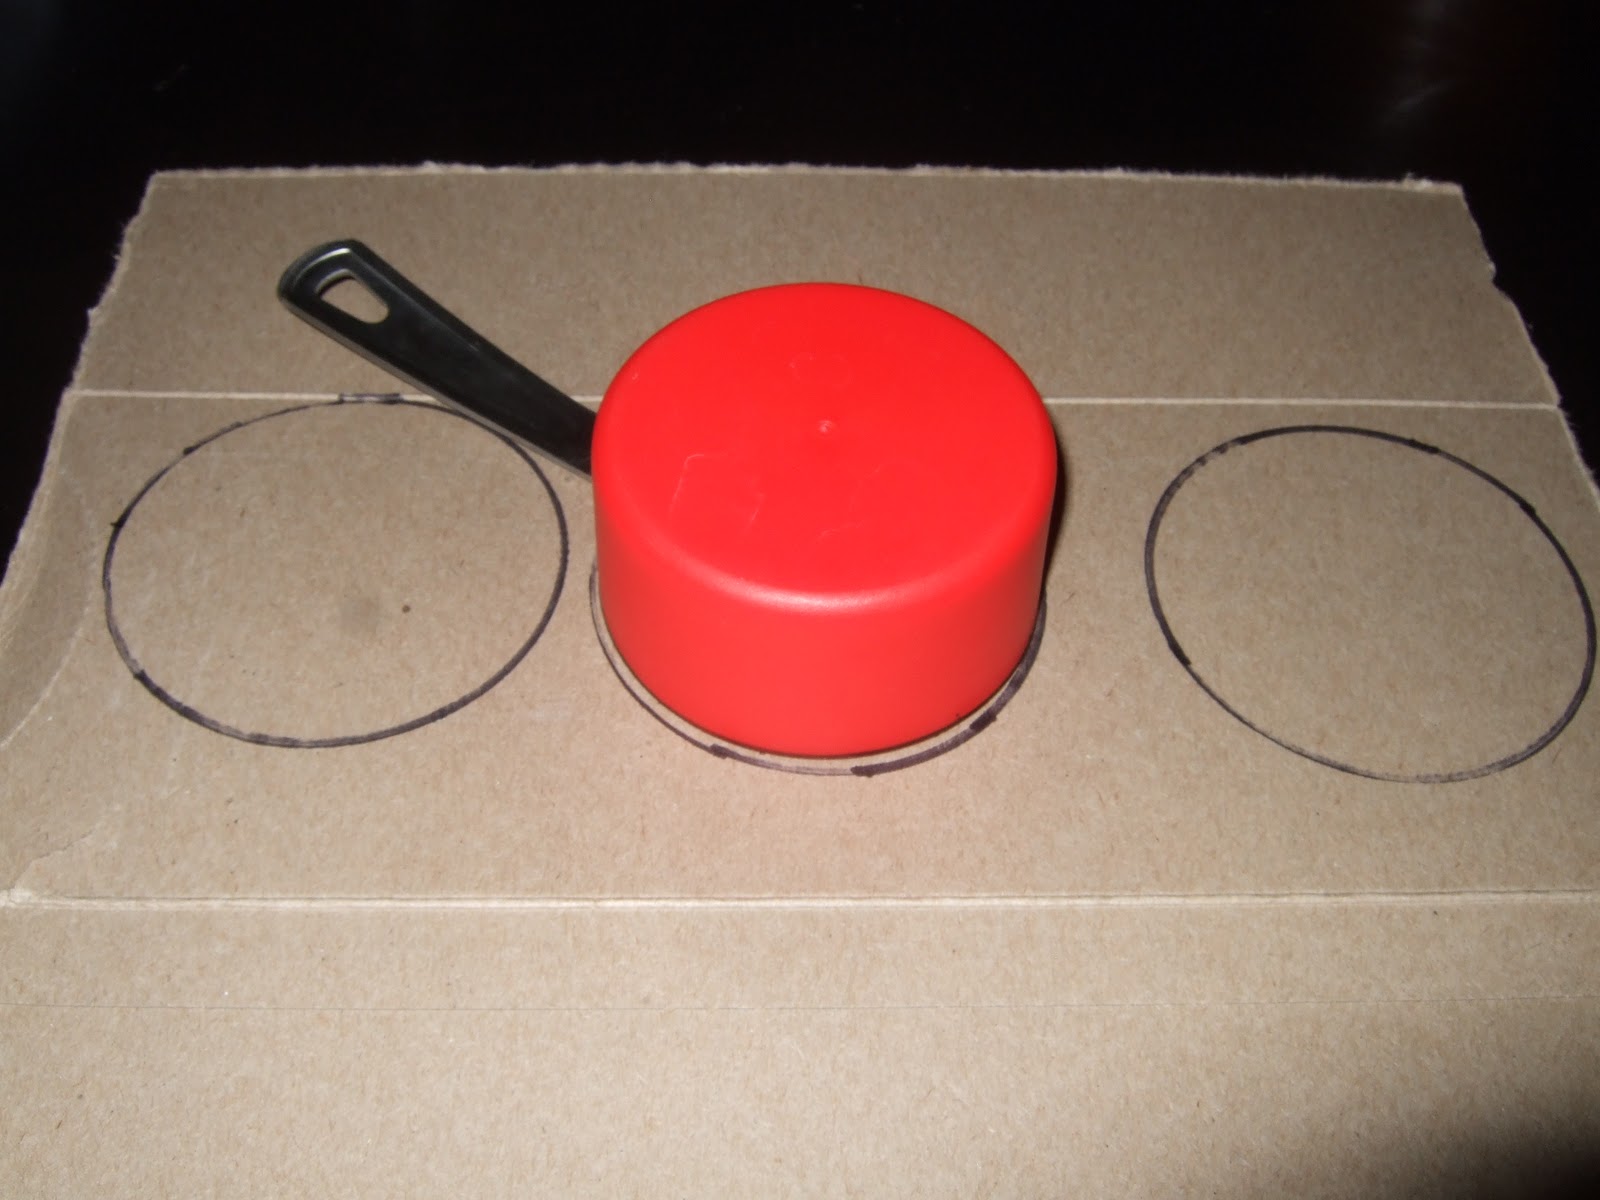
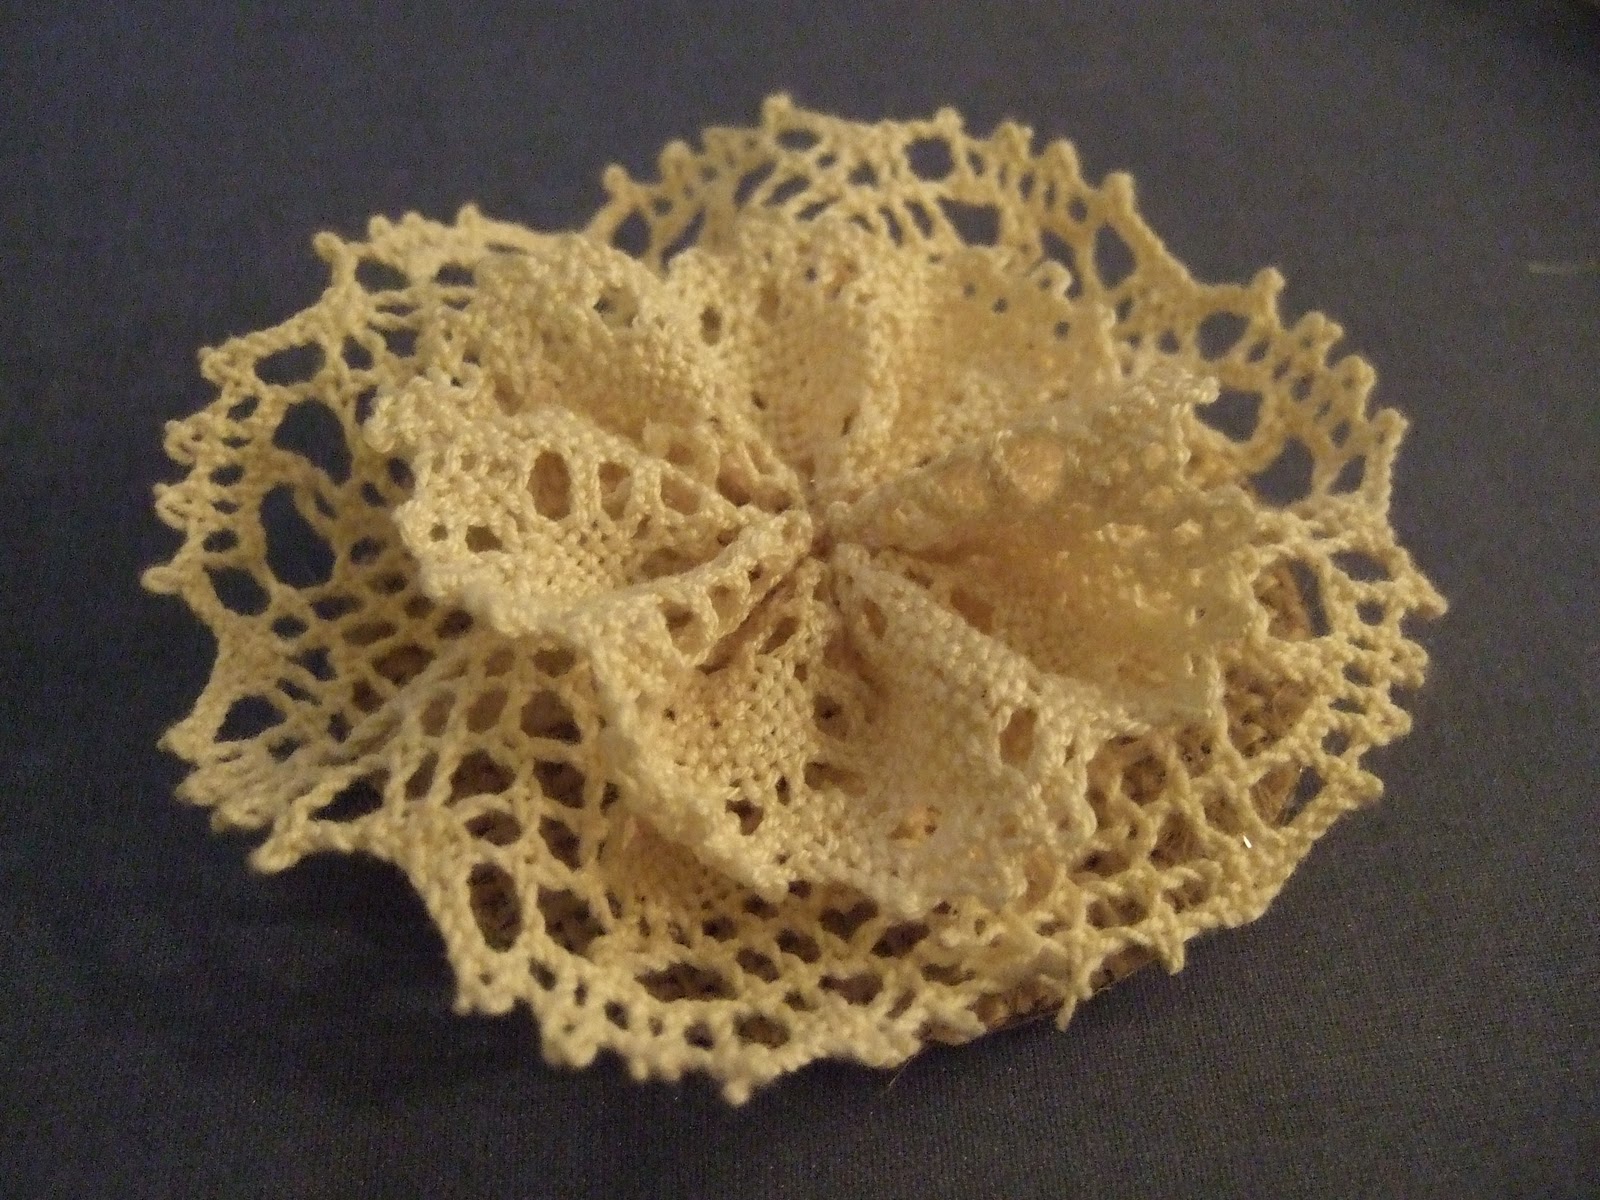
Step 1: Trace and cut circles out of the cardboard, one per each applique. {I used a ½ measuring cup as a stencil}
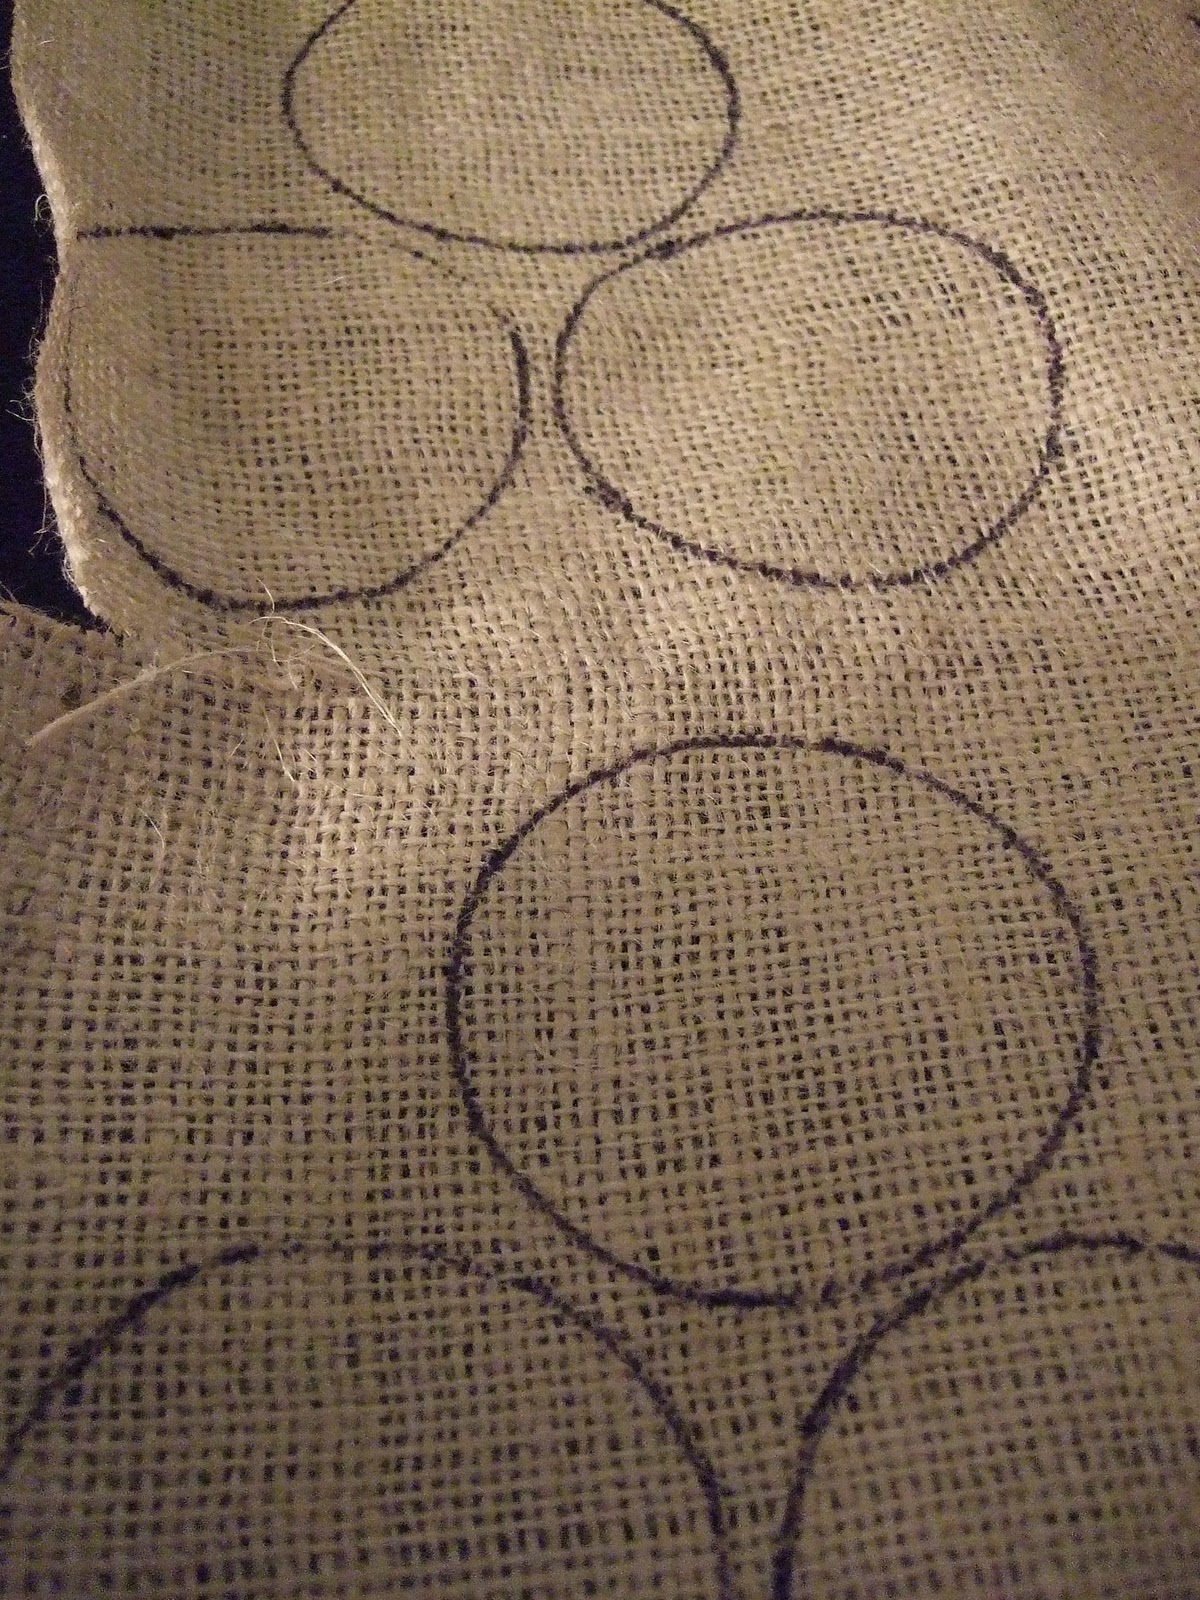
Step 2: Trace and cut circles out of the burlap, one per each applique. {I used a ½ measuring cup as a stencil
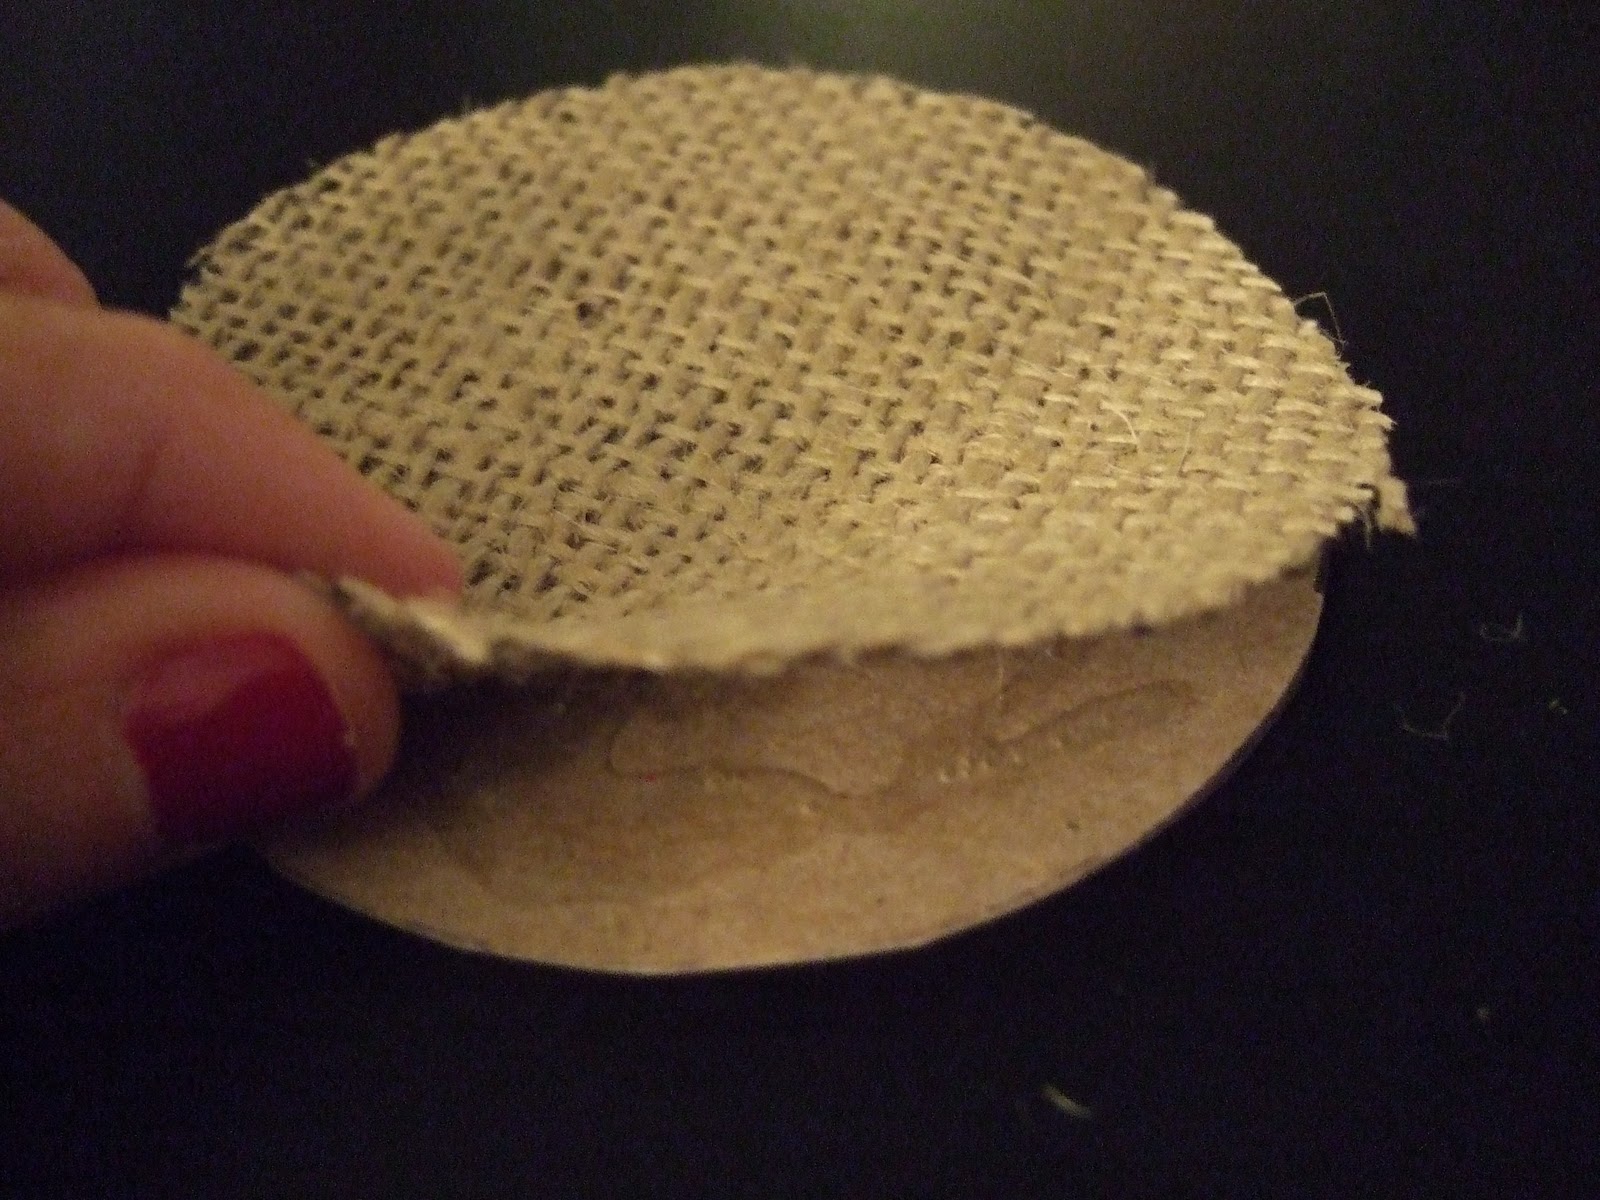
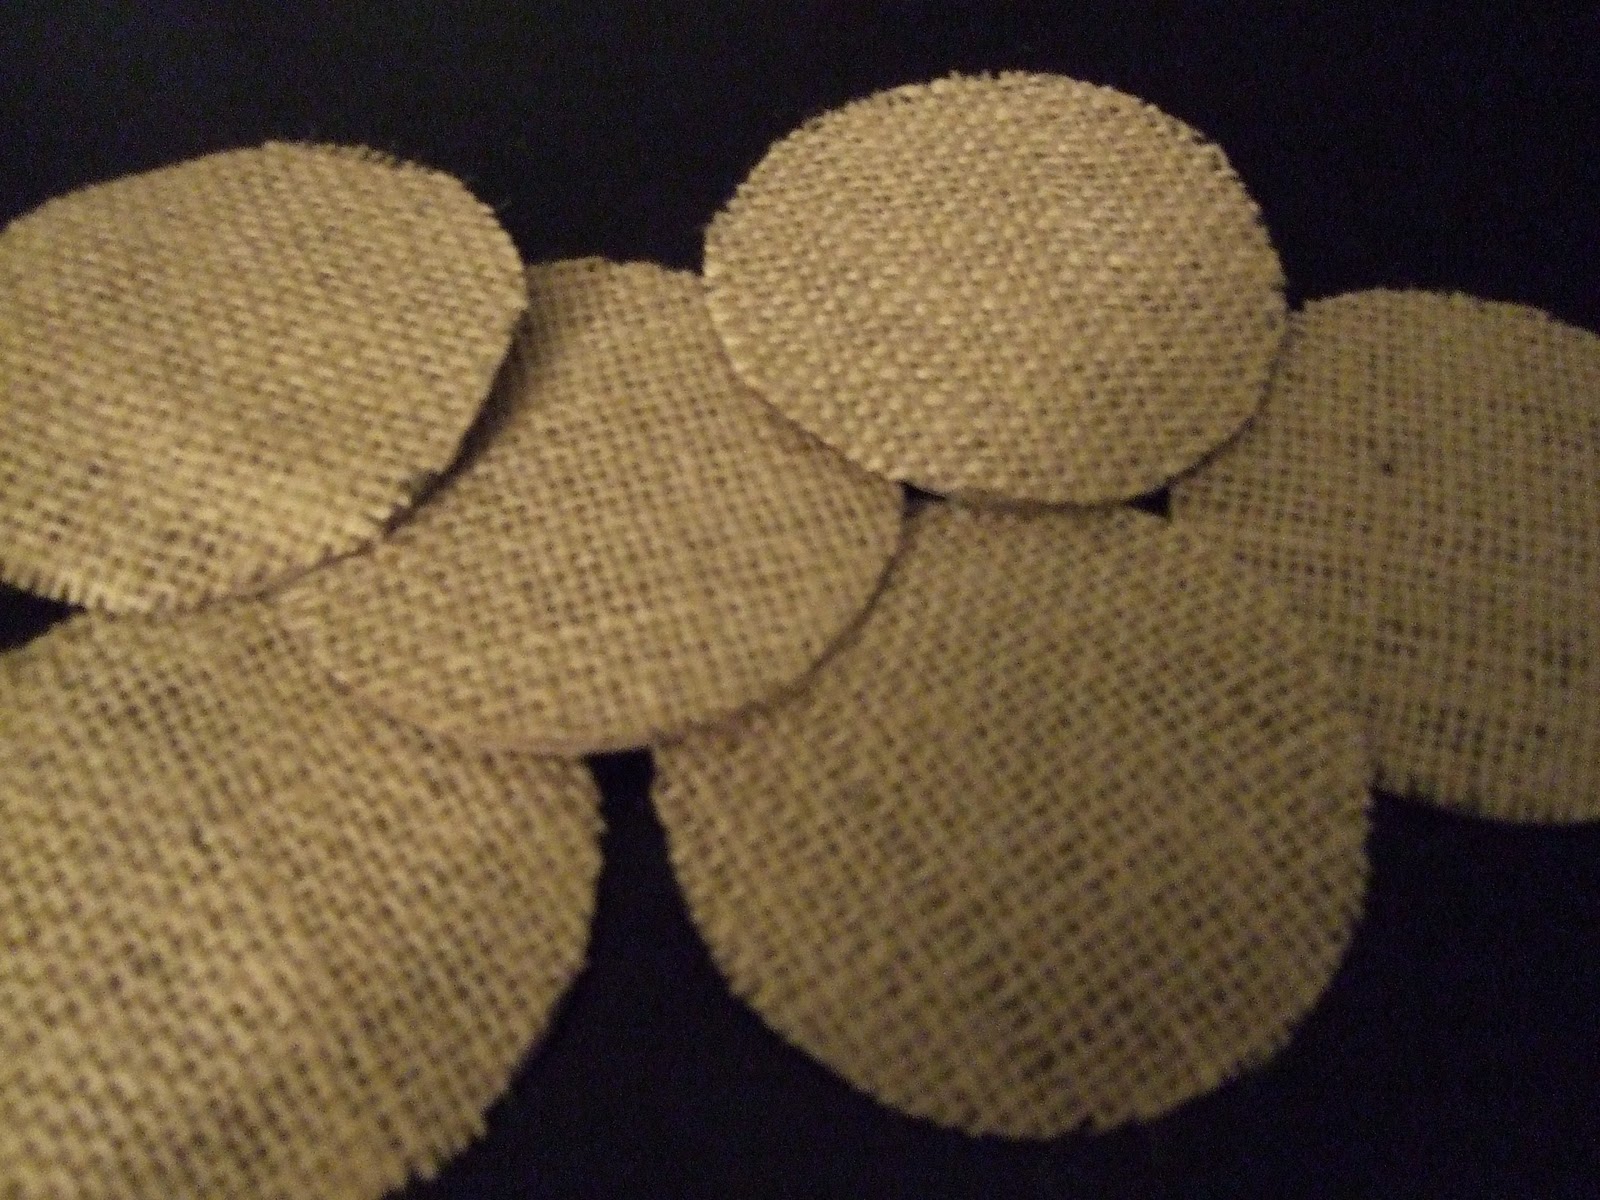
Step 3: Glue burlap circles on top of cardboard circles and trim.
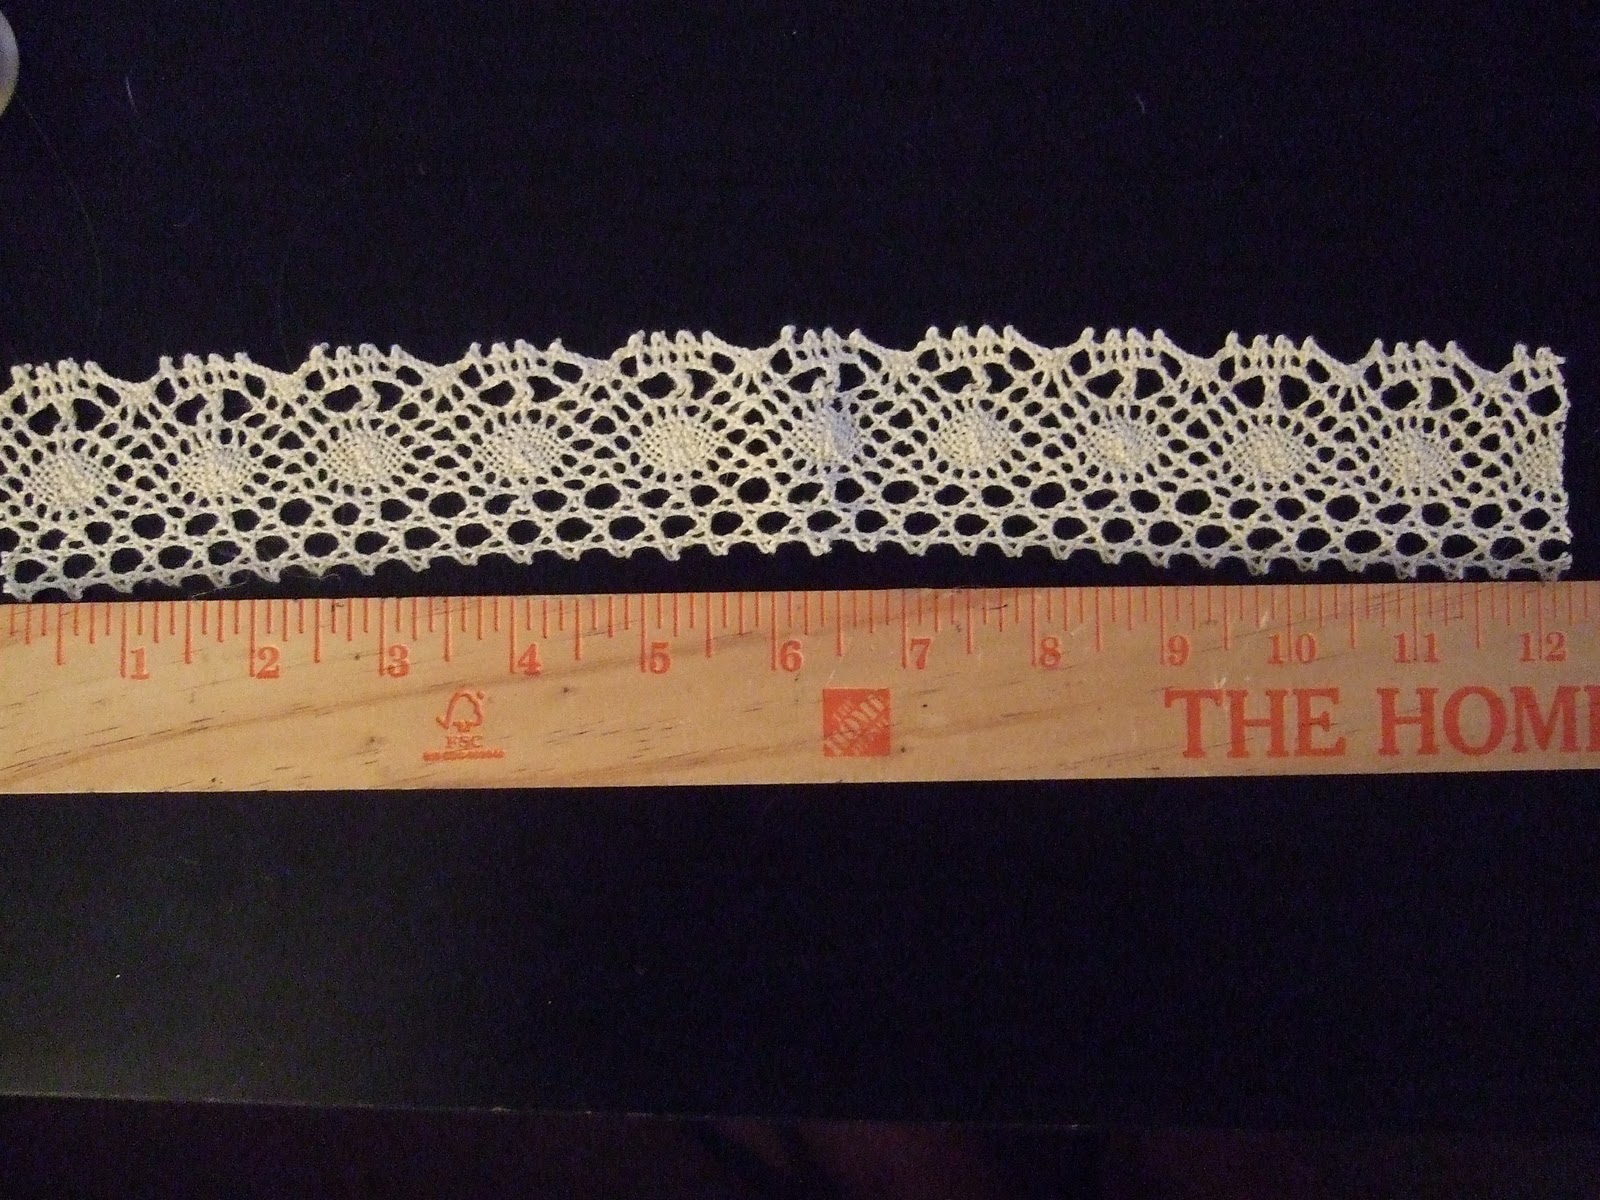
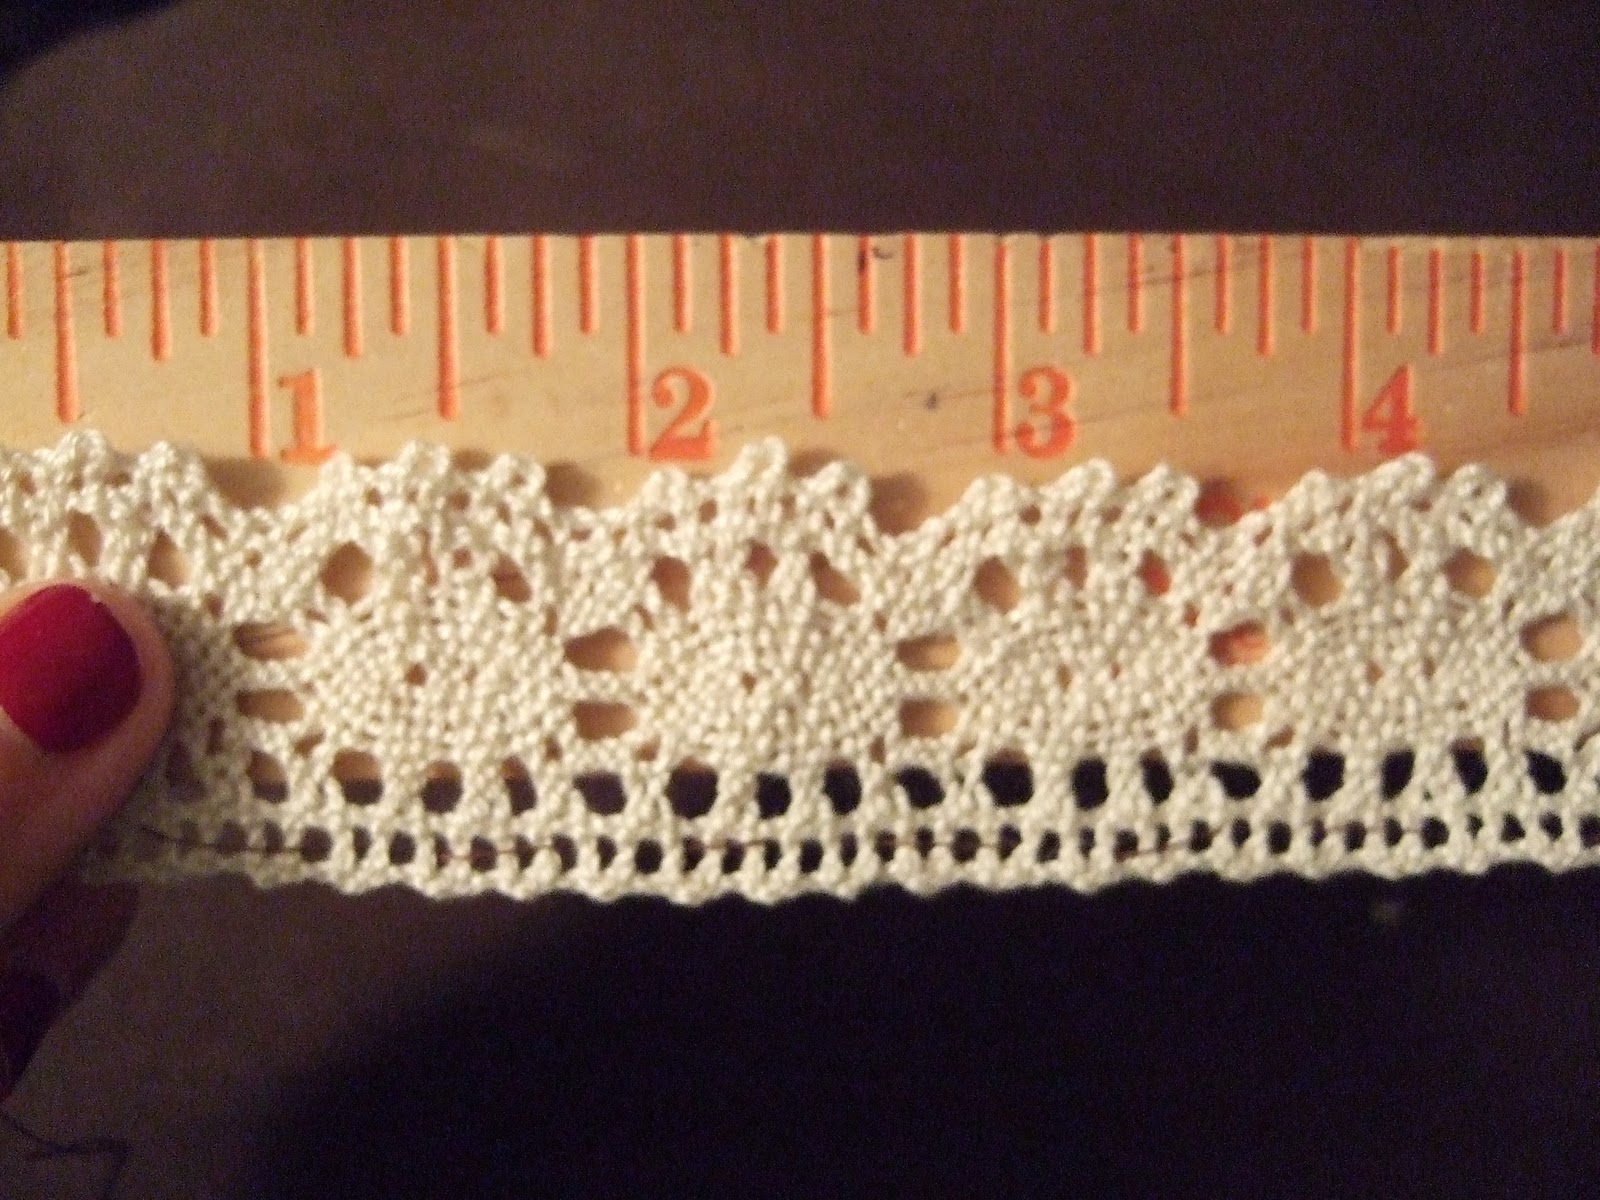
Step 4: Cut the 2″ lace into 12″ pieces.
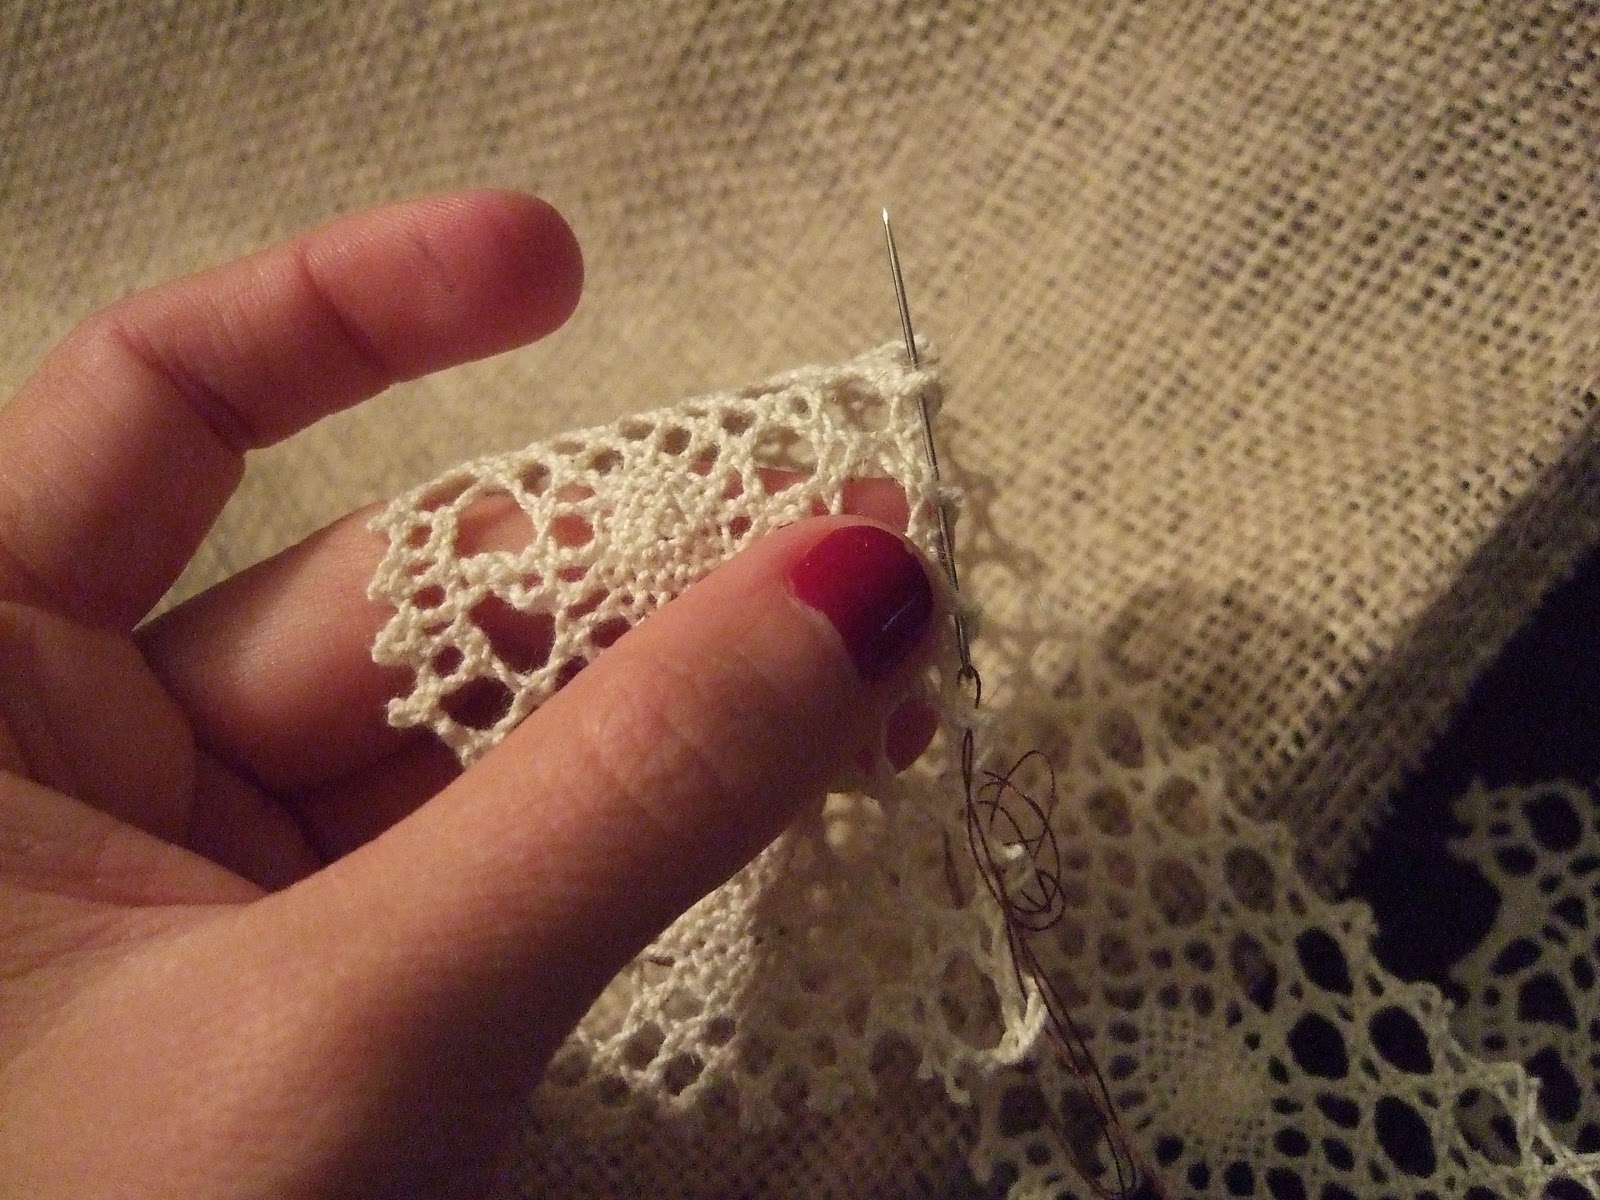
Step 5: Thread the needle through the bottom of the lace.
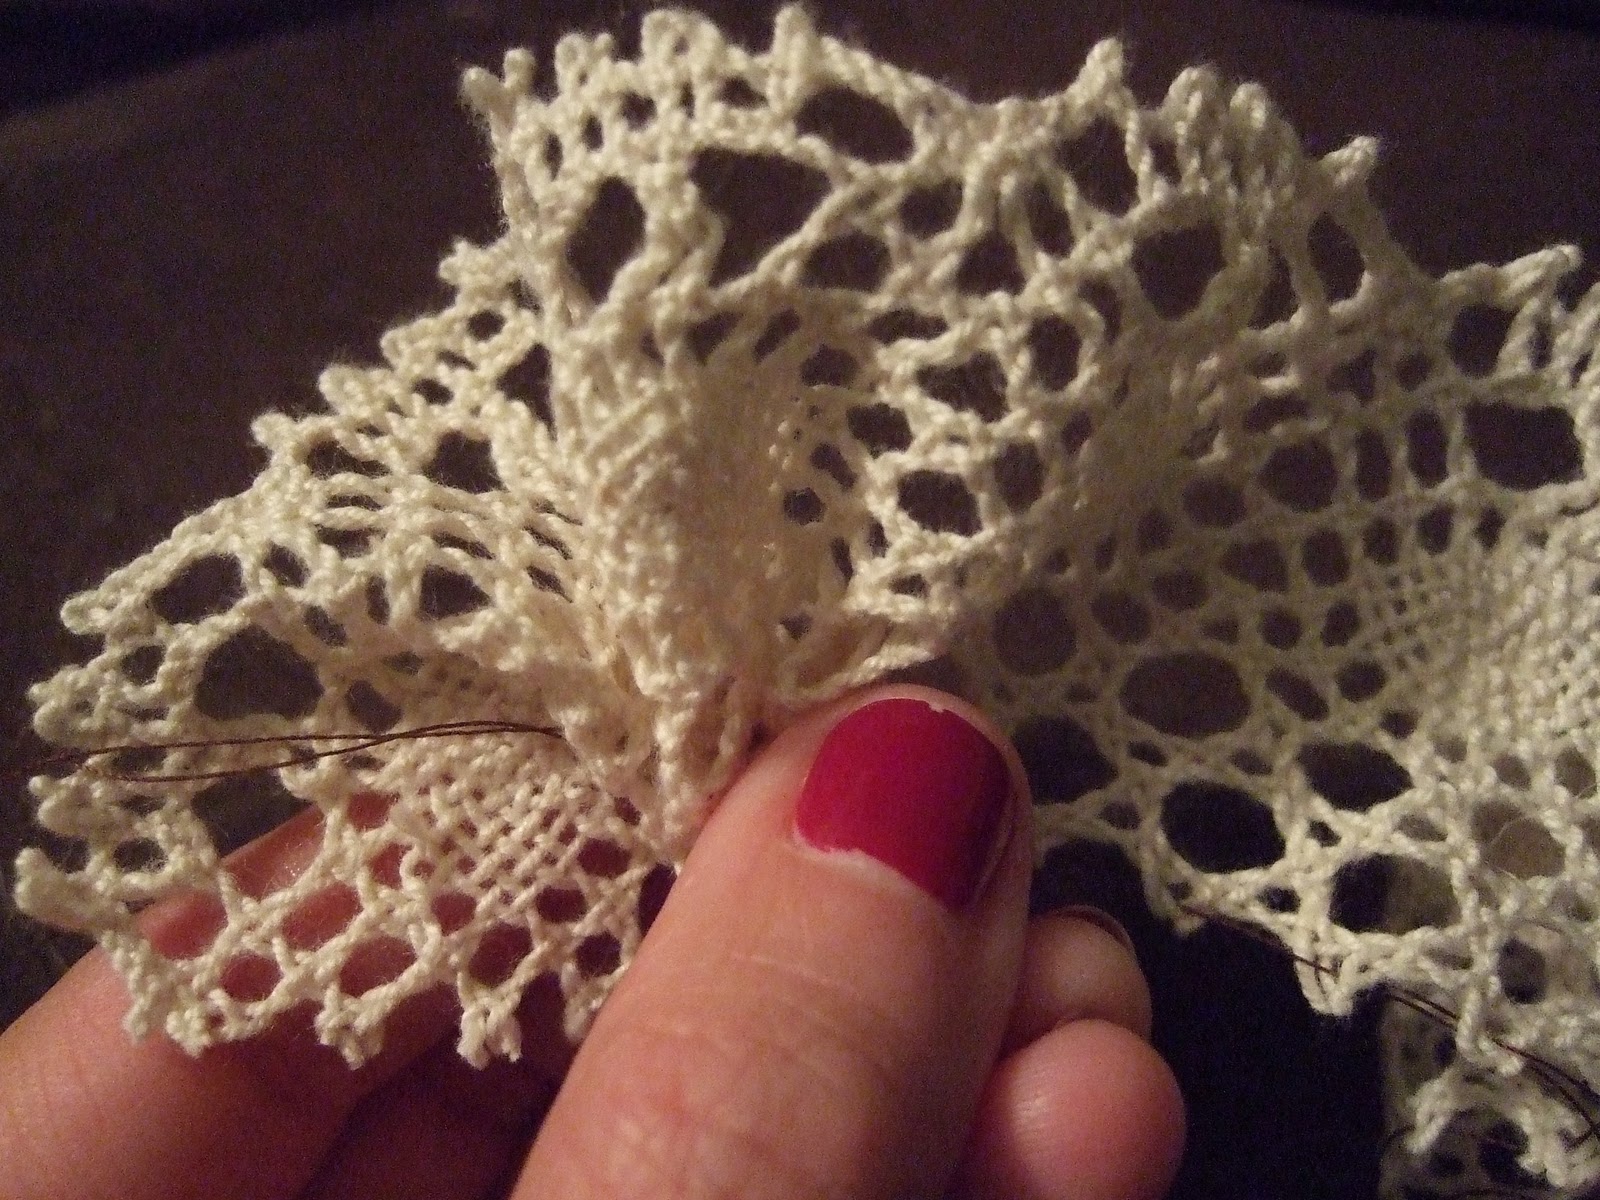
Step 6: Starting from one end, gather the lace by gently pulling the thread
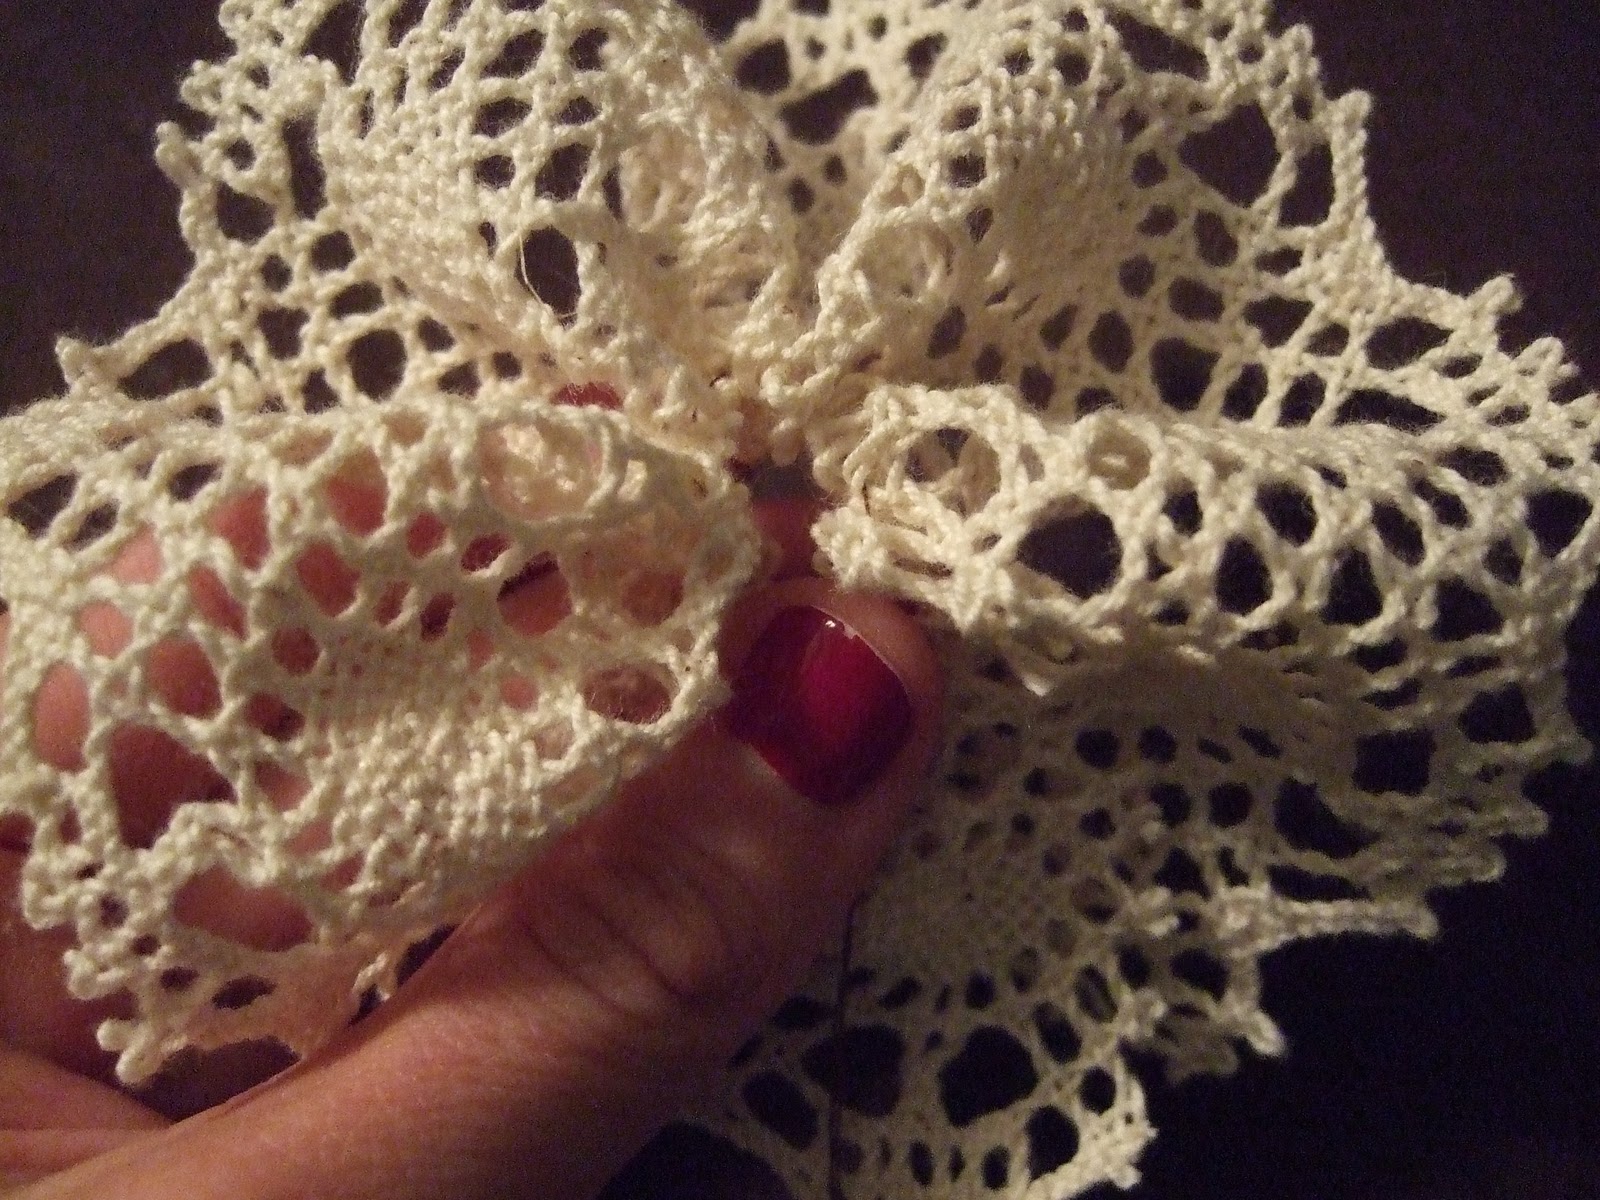
Step 7: Once you’ve pulled the thread tight, join the ends of the lace together and tie your knot in the thread. Cut excess thread.
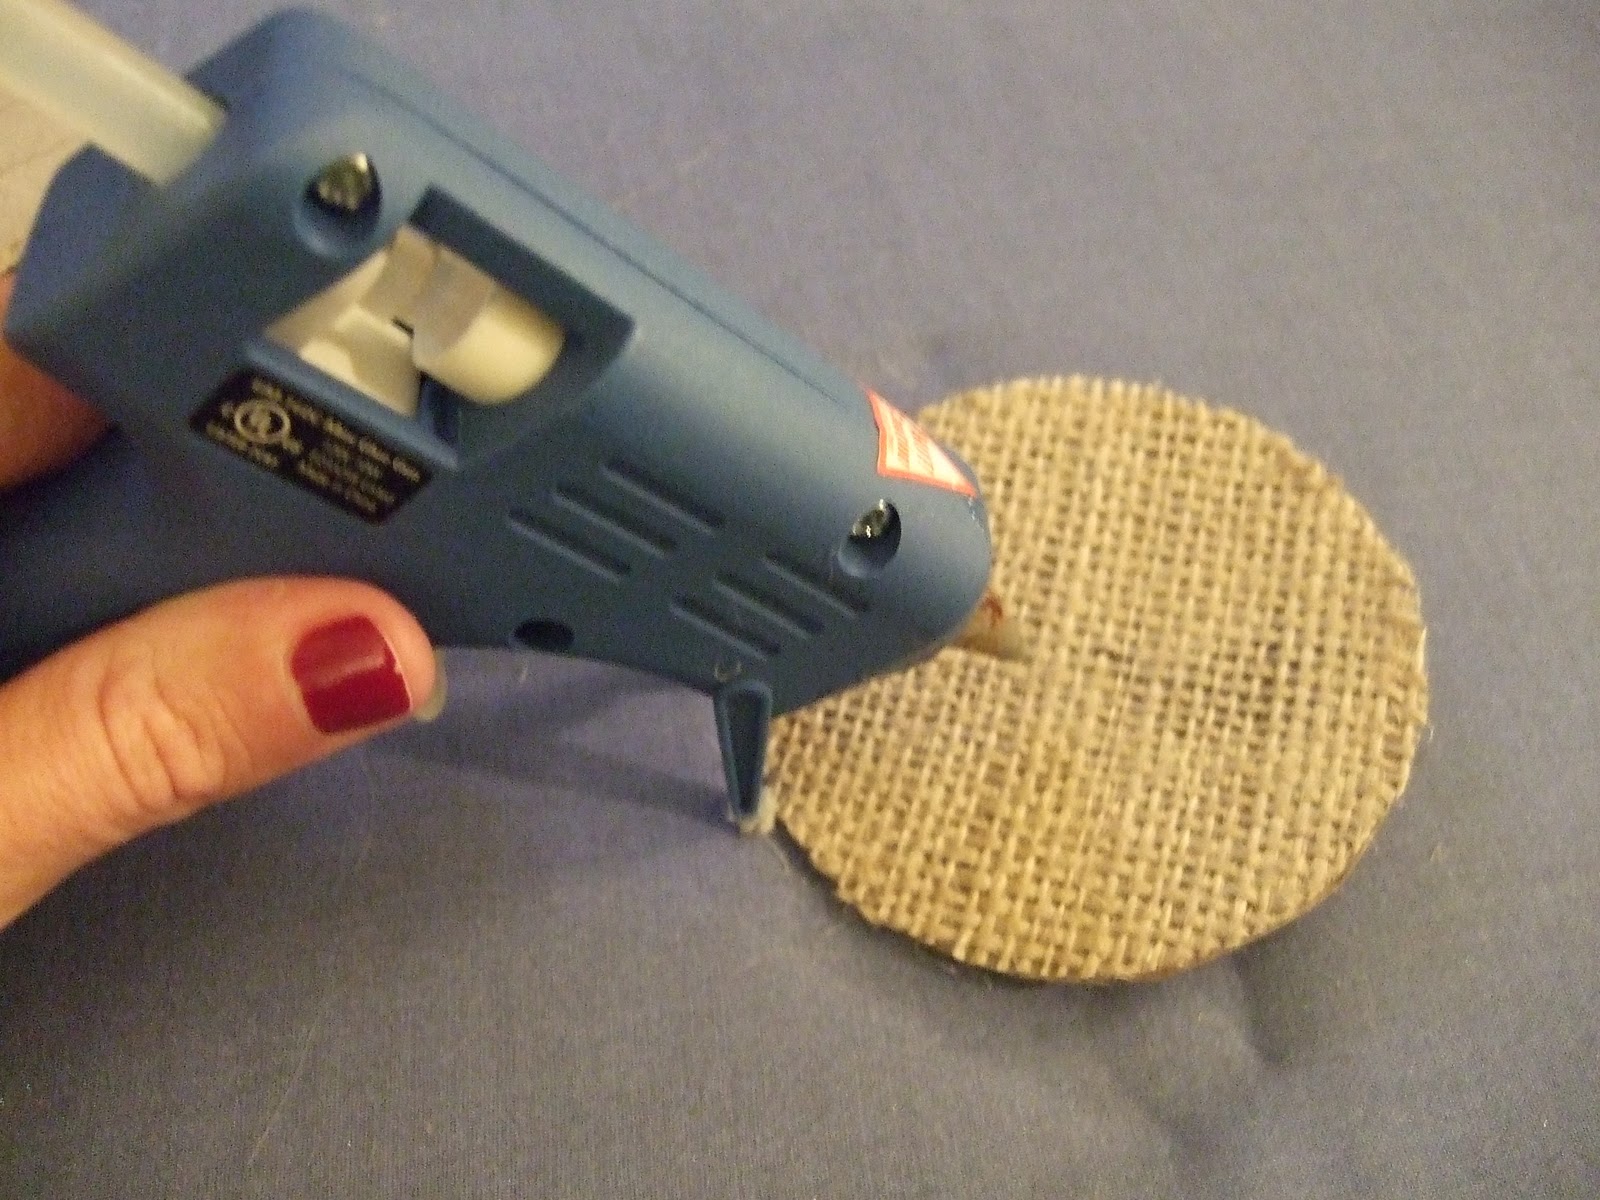
Step 8: Place a large drop of hot glue in the middle of the burlap circle.
Step 9: Press and hold flower on top of glue for a few seconds
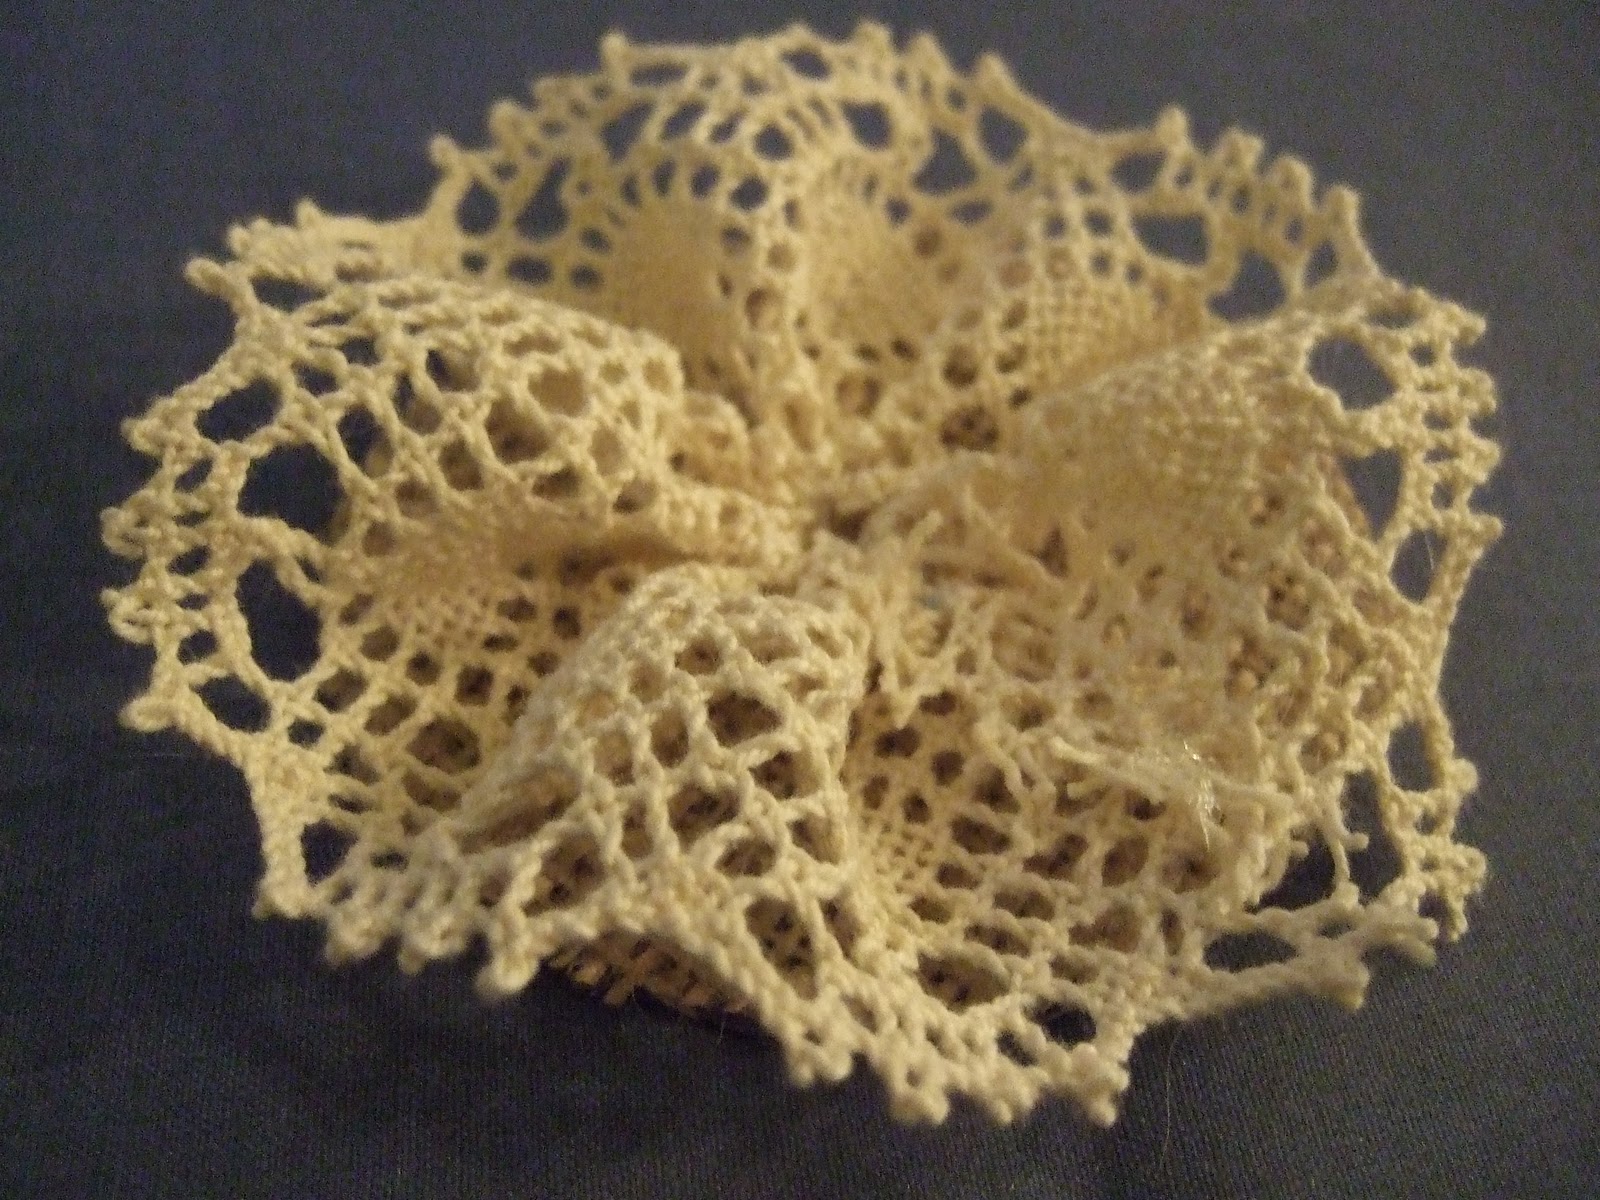
Now for the top layer..!
Step10: Cut the 1″ lace into 6″ pieces.

Step11: Repeat steps 5 – 7. Place a large drop of hot glue in the middle of the flower, and press and hold the second layer on top.
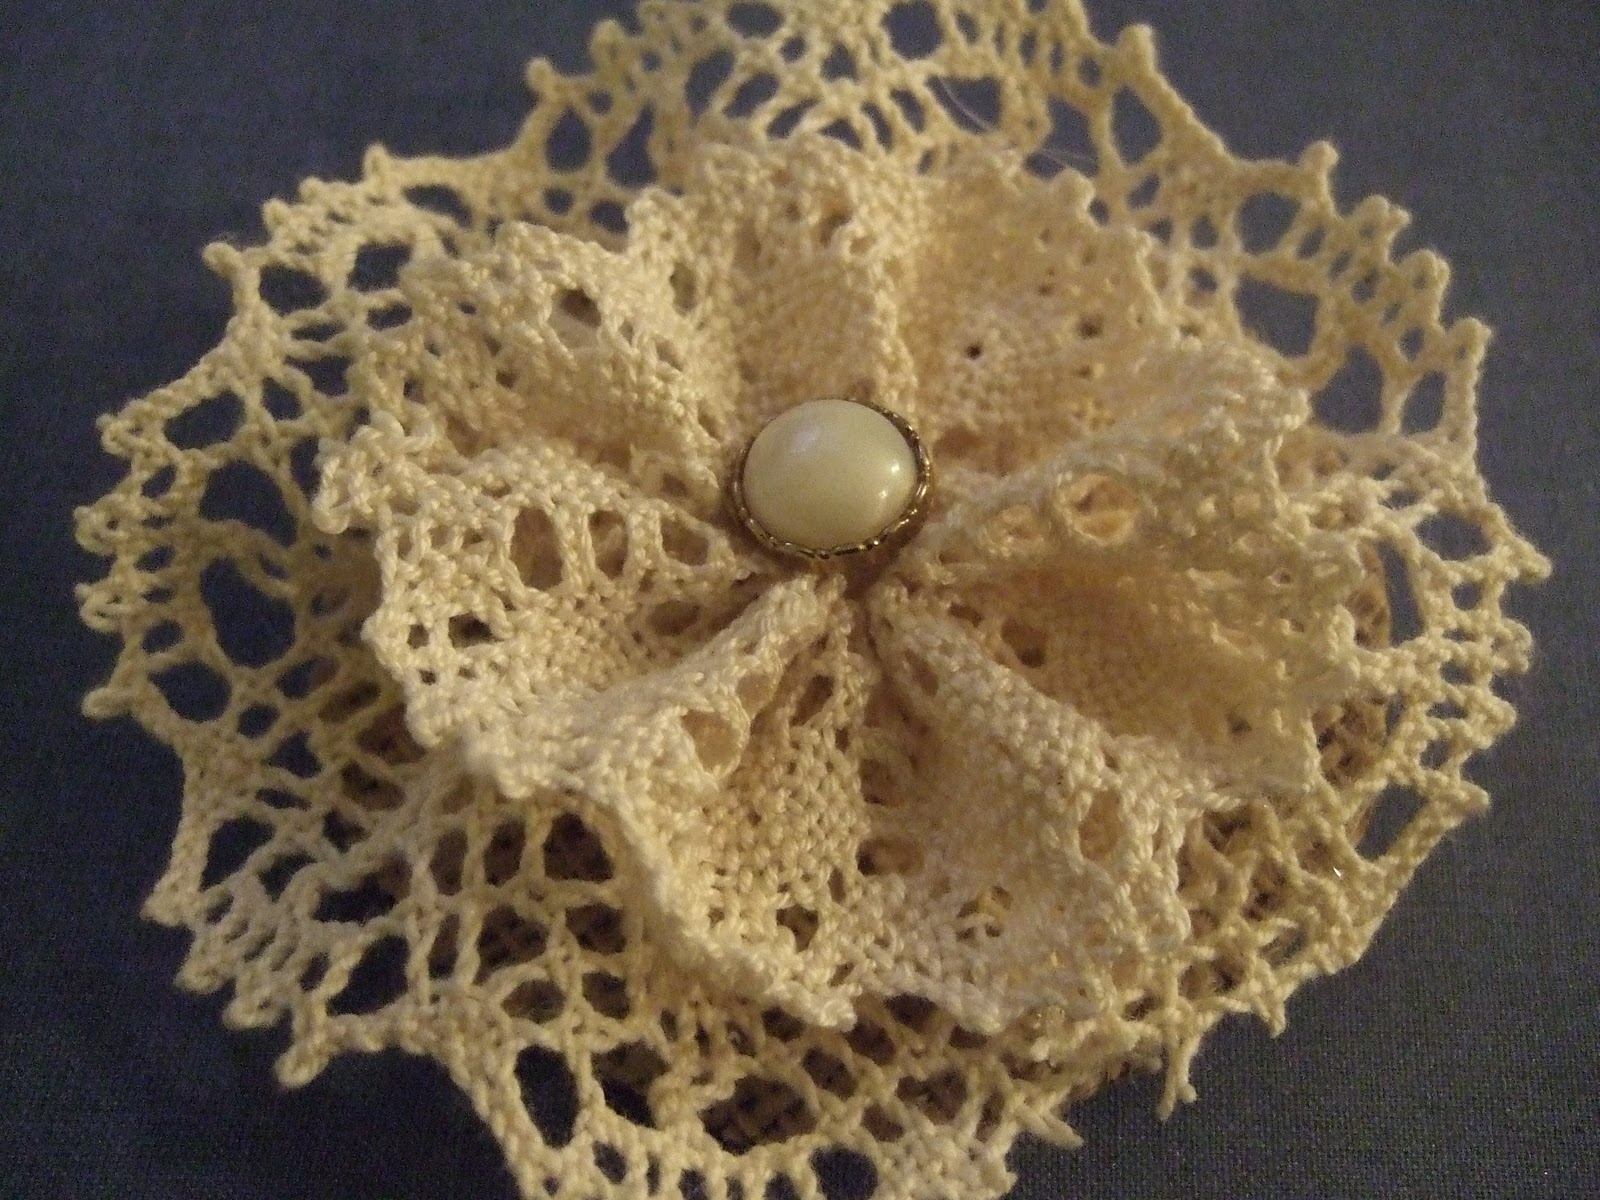
Step12: Add a drop of glue to the middle and place your button on top.
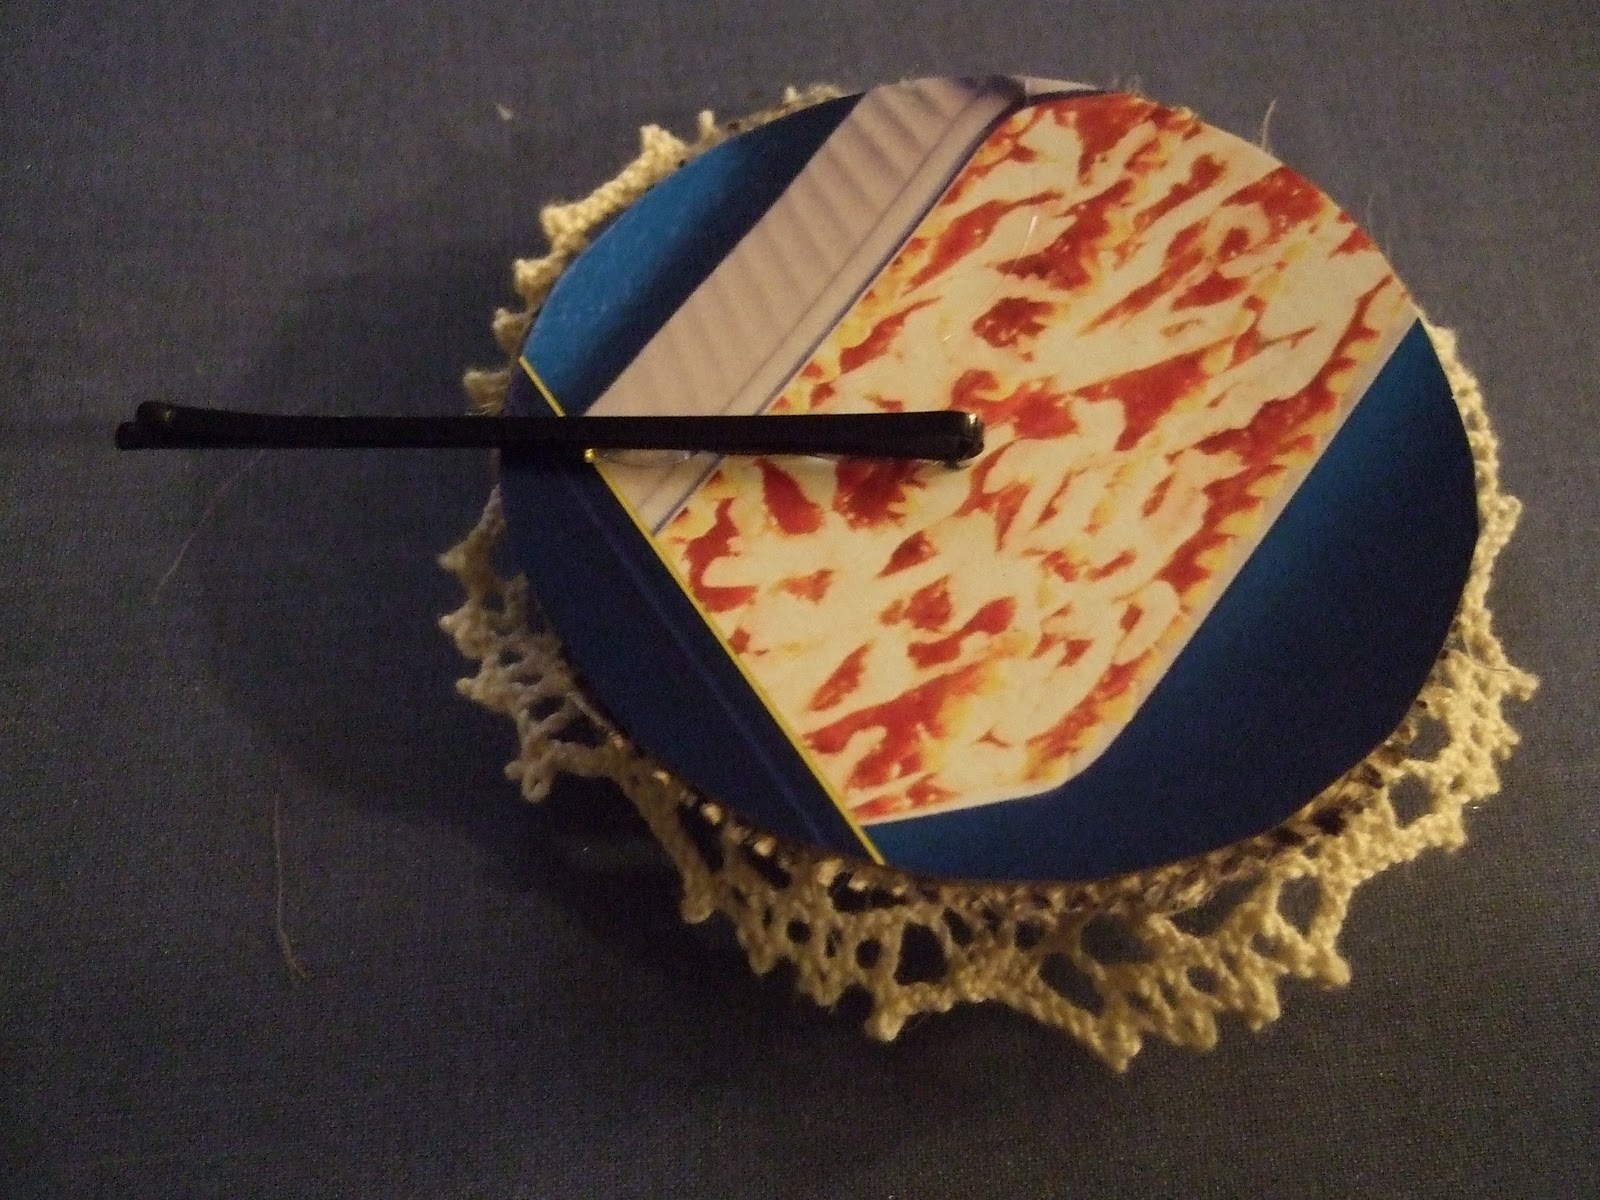
Step13: Once dry, flip your flower over and carefully glue your bobby pin to the cardboard. Be careful not to use too much glue so you don’t glue your pin together!
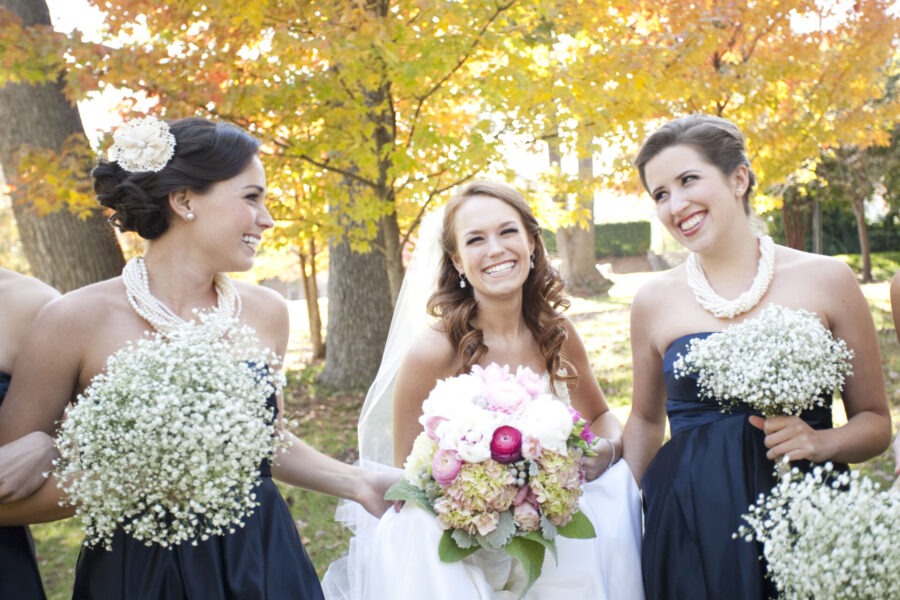
And here they are on my beautiful bridesmaids for my wedding day!