This DIY cork board is the perfect way to add both function and style to any space! If you’re looking for an easy, budget-friendly project to spruce up your home/dorm room/office space this is it. Not only will it keep you organized, but it’ll also bring a cute, personal touch to your room.
Let’s dive into this fun and creative project that’s sure to become your new favorite decor!

DIY Cork Board Materials Needed
- Cork board
- Hot glue gun (and glue sticks)
- Scissors
- Ruler or measuring tape
- Stapler
- Fabric (enough to cover the cork board)
- Pushpins or decorative tacks
Step 1: Measure and Cut the Fabric
Start by measuring the cork board to determine how much fabric you’ll need. Leave a little extra fabric around the edges to wrap it securely. Cut the fabric to size using your scissors.
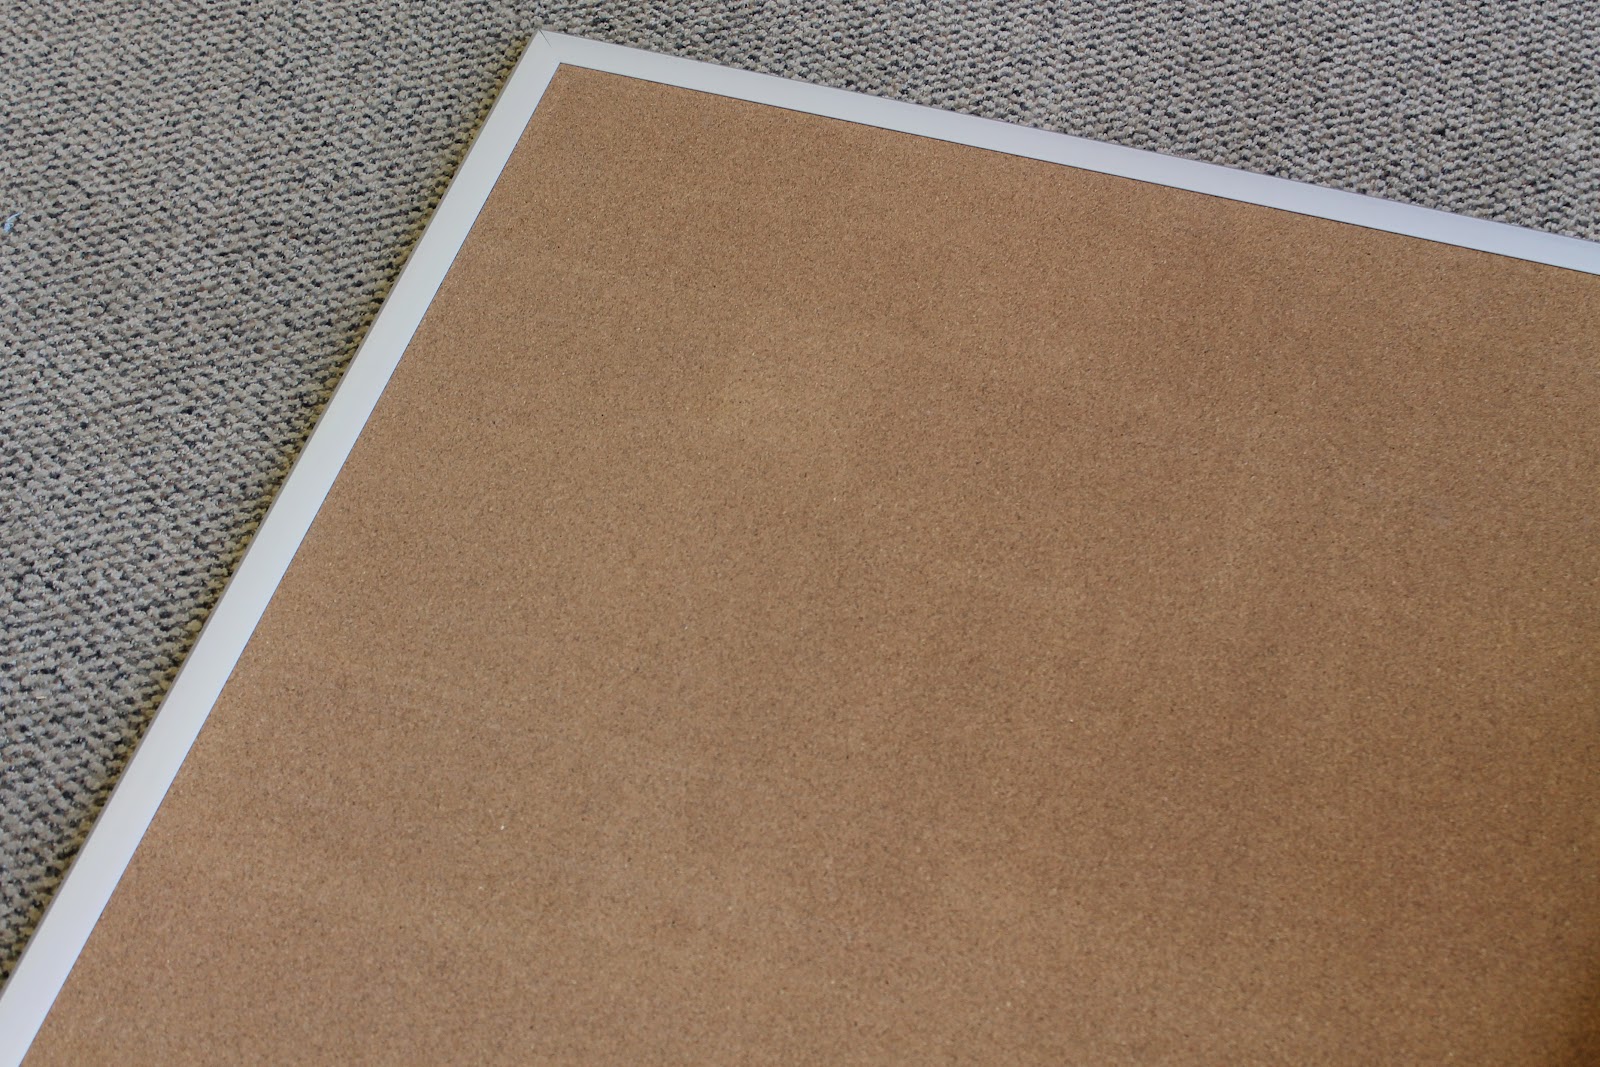
Step 2: Prepare the Cork Board
If the cork board is an old one, make sure it’s clean and ready to be re-covered. You can even remove any old fabric or backing if you want a fresh start.
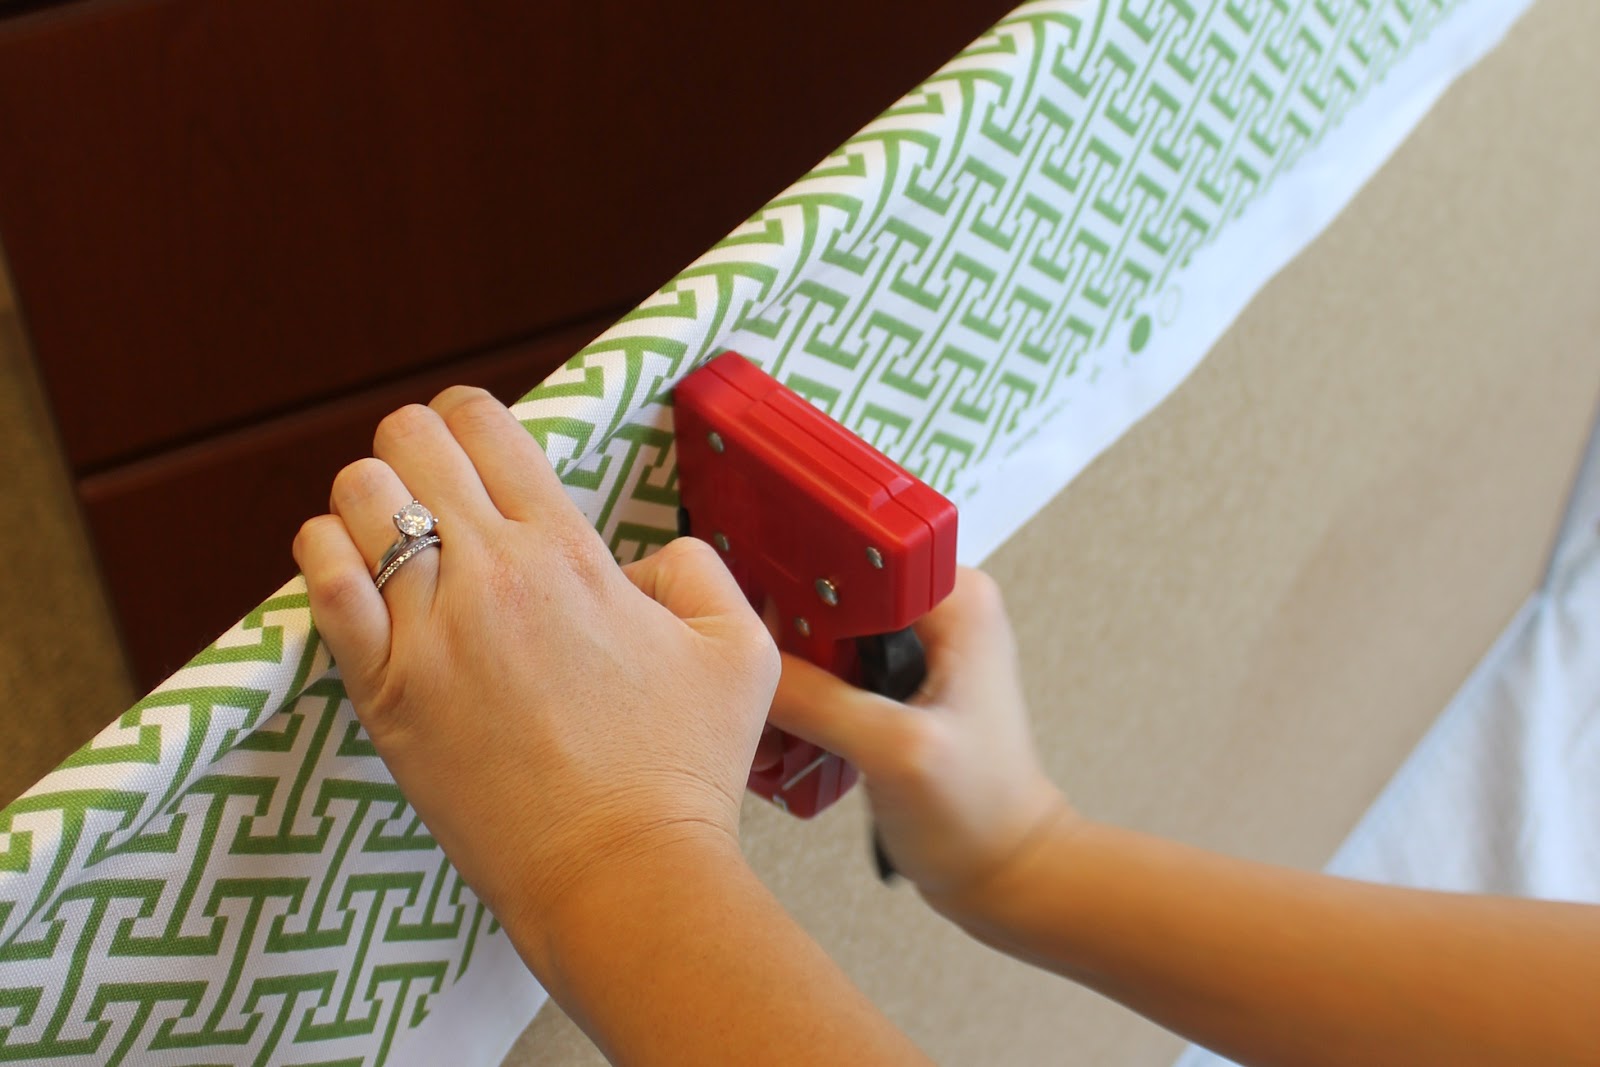
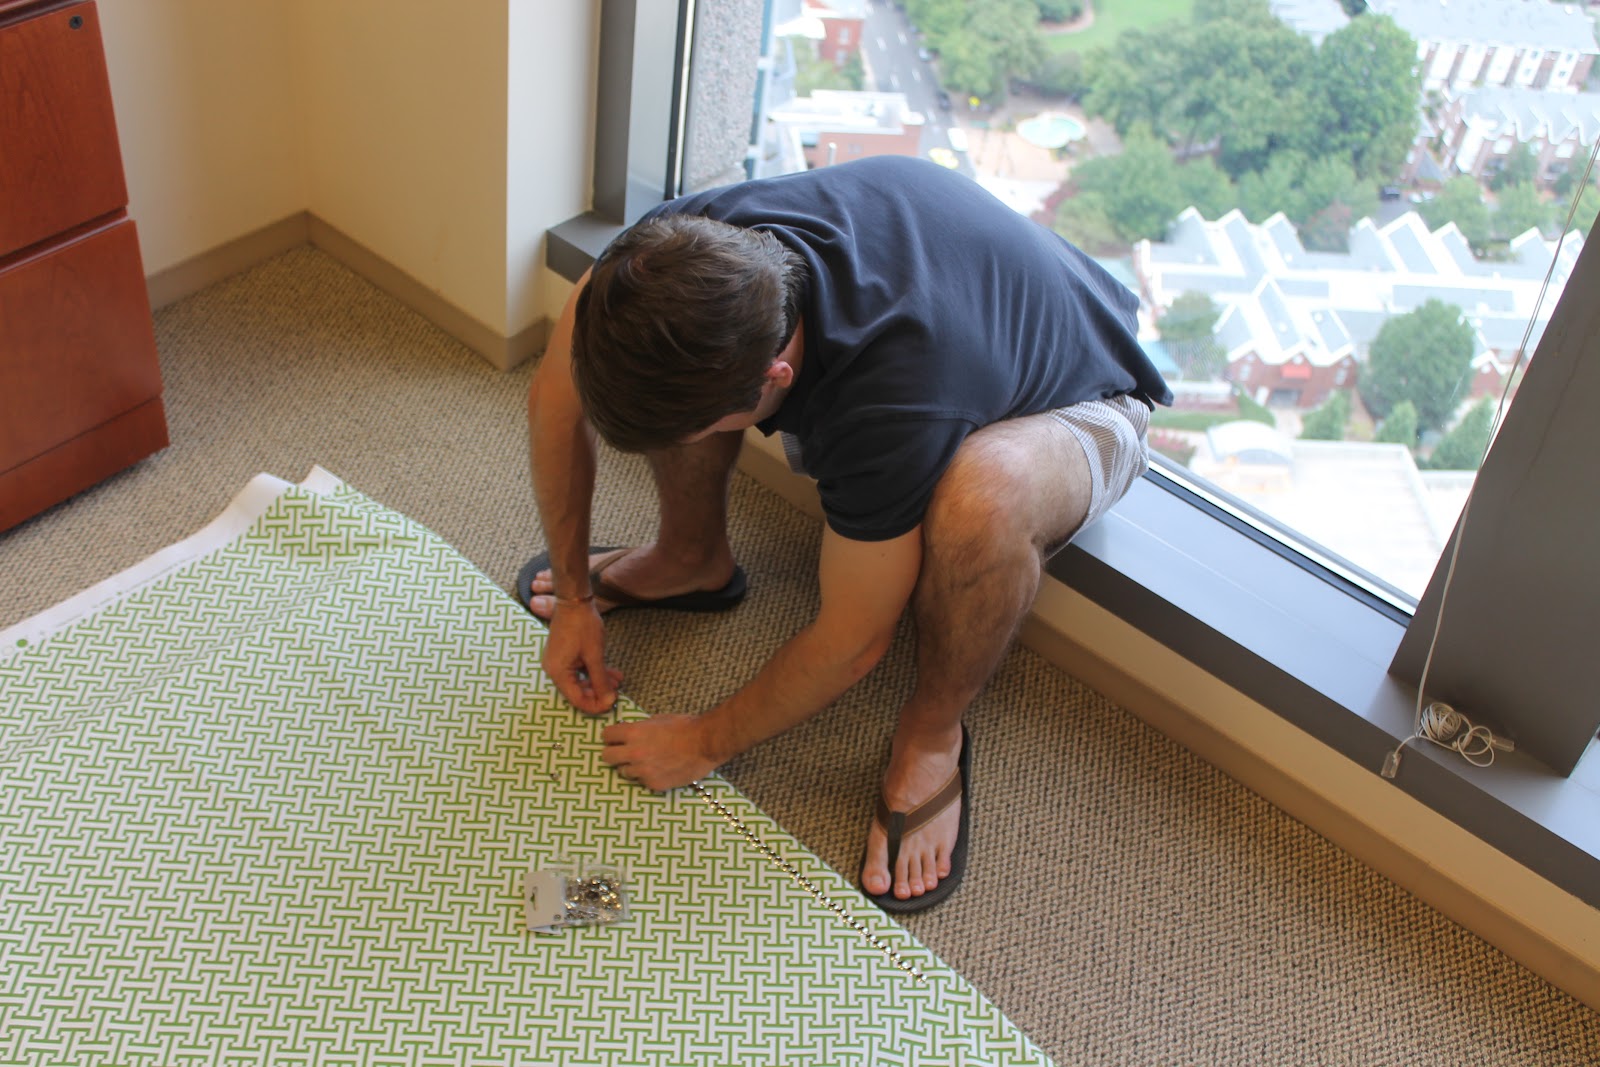
Step 3: Attach the Fabric to the Cork Board
Apply a line of hot glue around the edges of the cork board. Then, carefully lay the fabric over the cork, smoothing it out as you go. Stretch the fabric gently to ensure there are no wrinkles. Once you reach the edges, fold the fabric over and glue it down in the back. You can use a stapler or tacks to secure the fabric if needed, but hot glue is usually enough.
Step 4: Let It Dry
Allow the glue to dry for a few minutes before flipping it over. This will ensure the fabric is securely attached and doesn’t shift around.
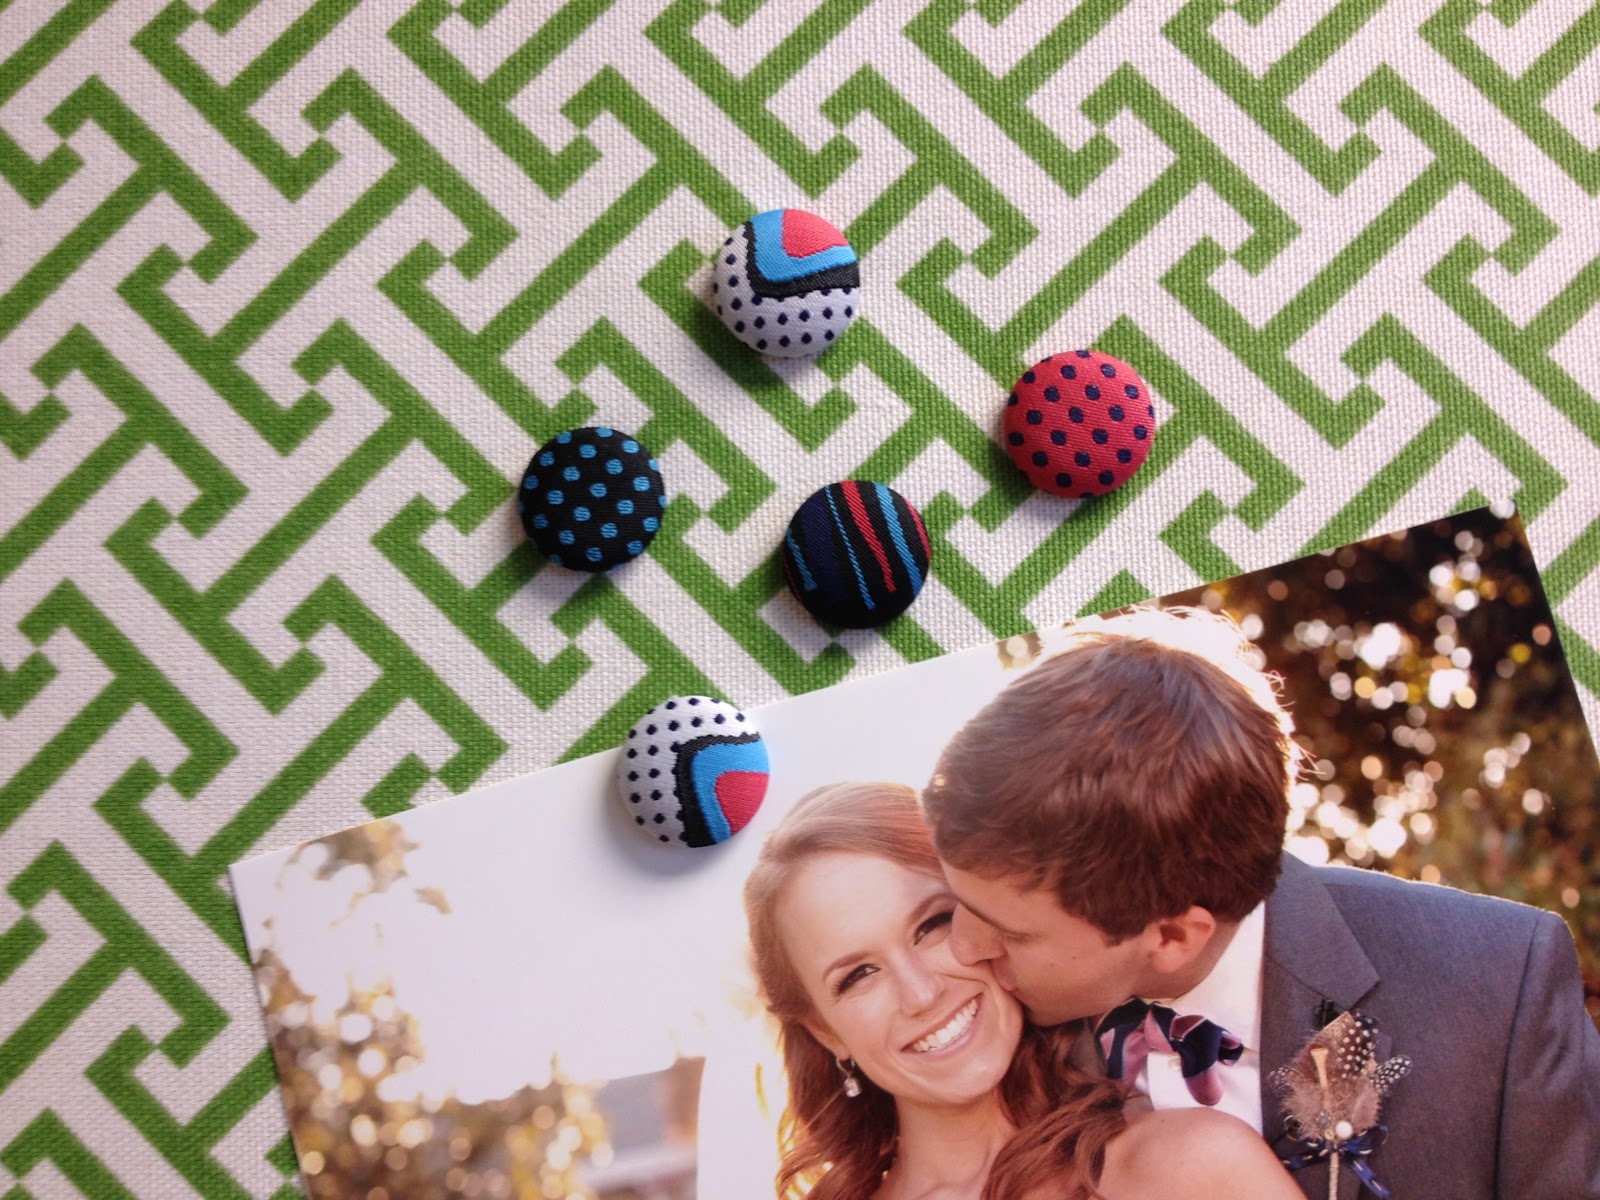
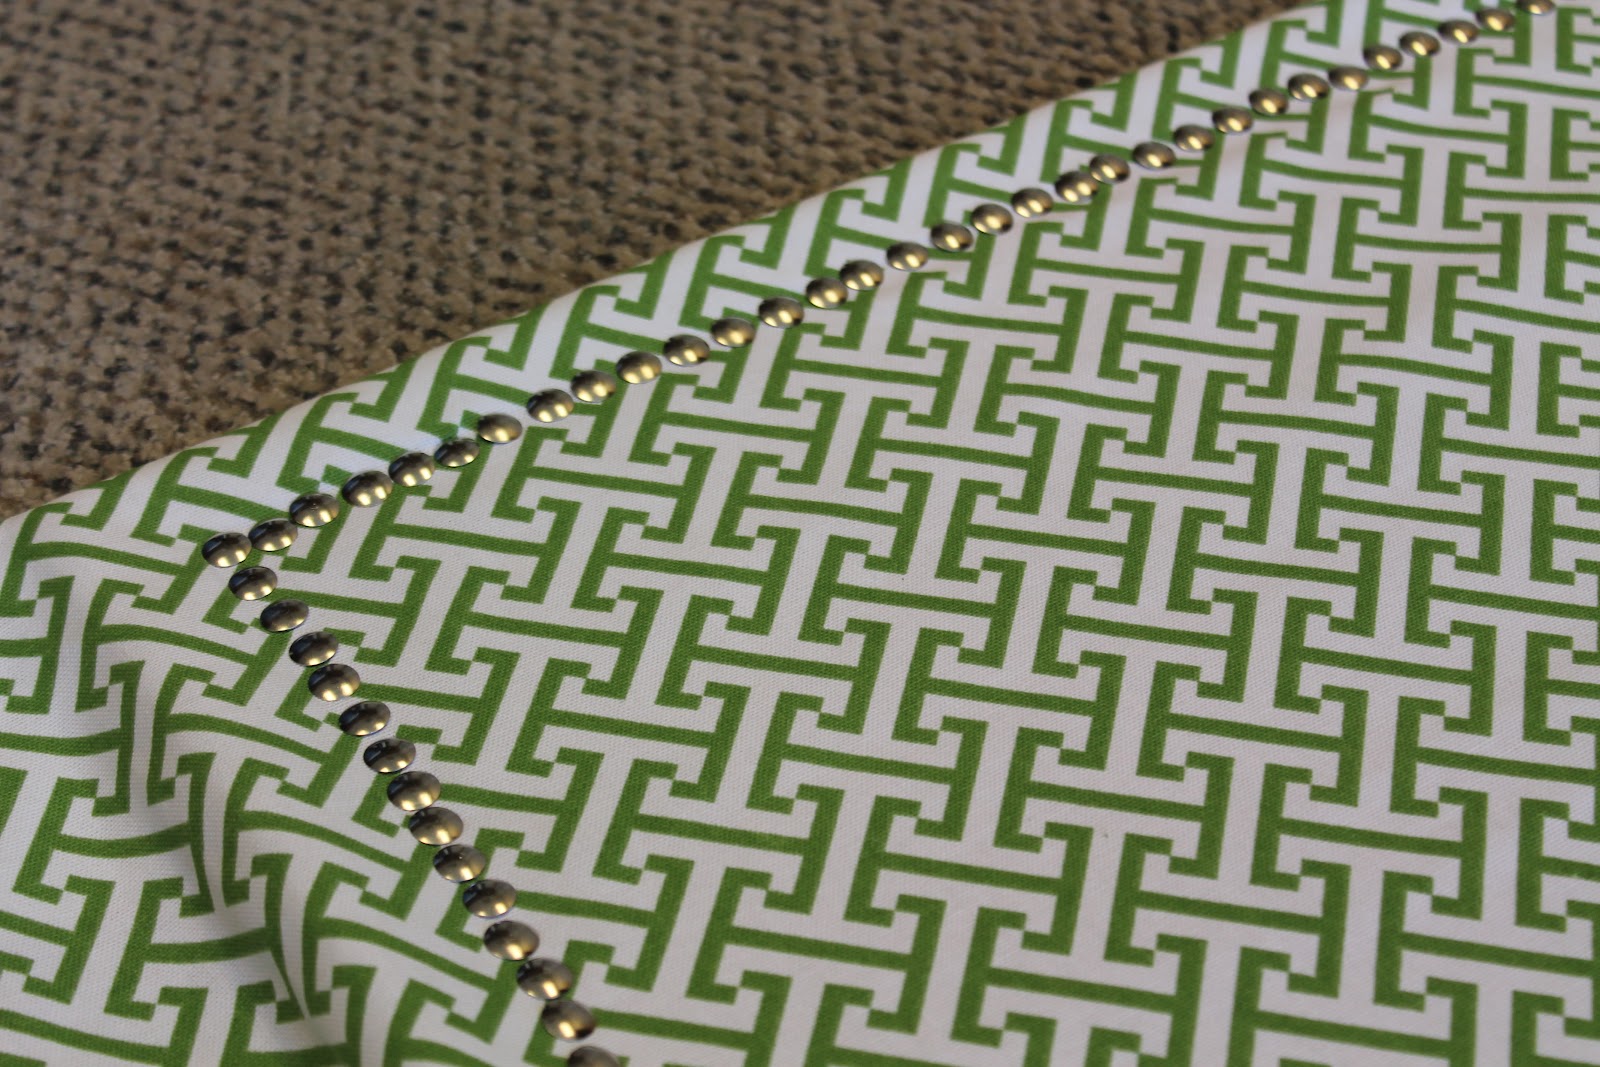
Step 5: Add Some Style
Decorate with your favorite pushpins or tacks! You can use simple ones or go all out with cute, decorative pins to add personality and style.
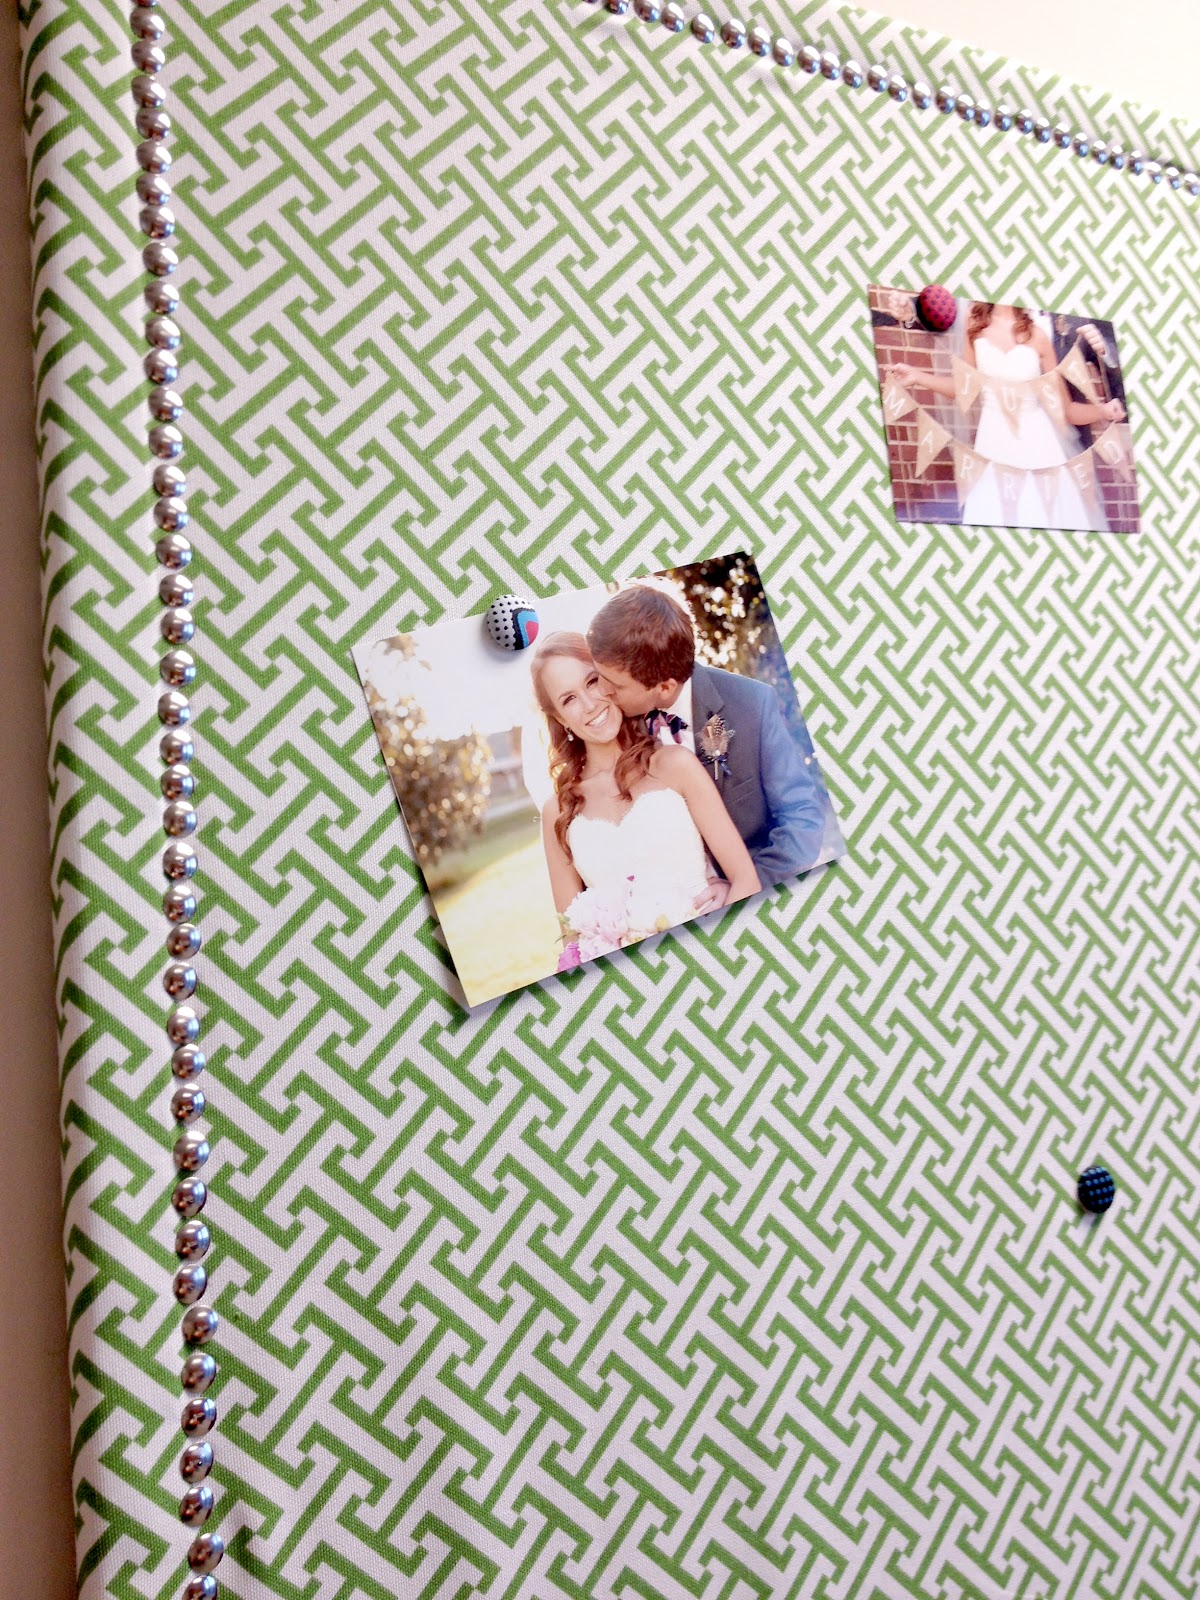
Step 6: Hang It Up
Once everything is dry and secure, hang your new fabric-covered cork board!