Last week we began our kitchen renovation and we could not be more excited. When we originally purchased our home the plan was to renovate the kitchen and master bathroom. However, after completing our bathroom we had major decision fatigue and needed a break from saw dust so we decided to put the kitchen off. In hindsight, this was the best decision because it gave us lots of time to thoughtfully consider exactly what we want our kitchen to look like. A year ago the plans were more of a facelift but over time and lots of meetings with various construction companies we decided to instead fully gut and design our dream kitchen since this is our forever home.
Before I get into the plans and photos I’ve decided to answer the second most frequently asked question — “which construction company are you using?” I was planning to wait until the end of the project to determine whether or not to share this information on the blog, but many of my Charlotte readers have inquired as they are currently interviewing companies for their own renovation projects! Since we had plenty of time, we met with lots of companies that were recommended to us, from the bigger design-build firms with impressive virtual showrooms to the smaller companies with less bells and whistles but better estimates. Coming down to responsiveness, estimates and insanely good recommendations, we chose Atreum Construction. I will keep you all posted on our experience throughout the process but so far we’ve been beyond impressed which I will share about in more detail.

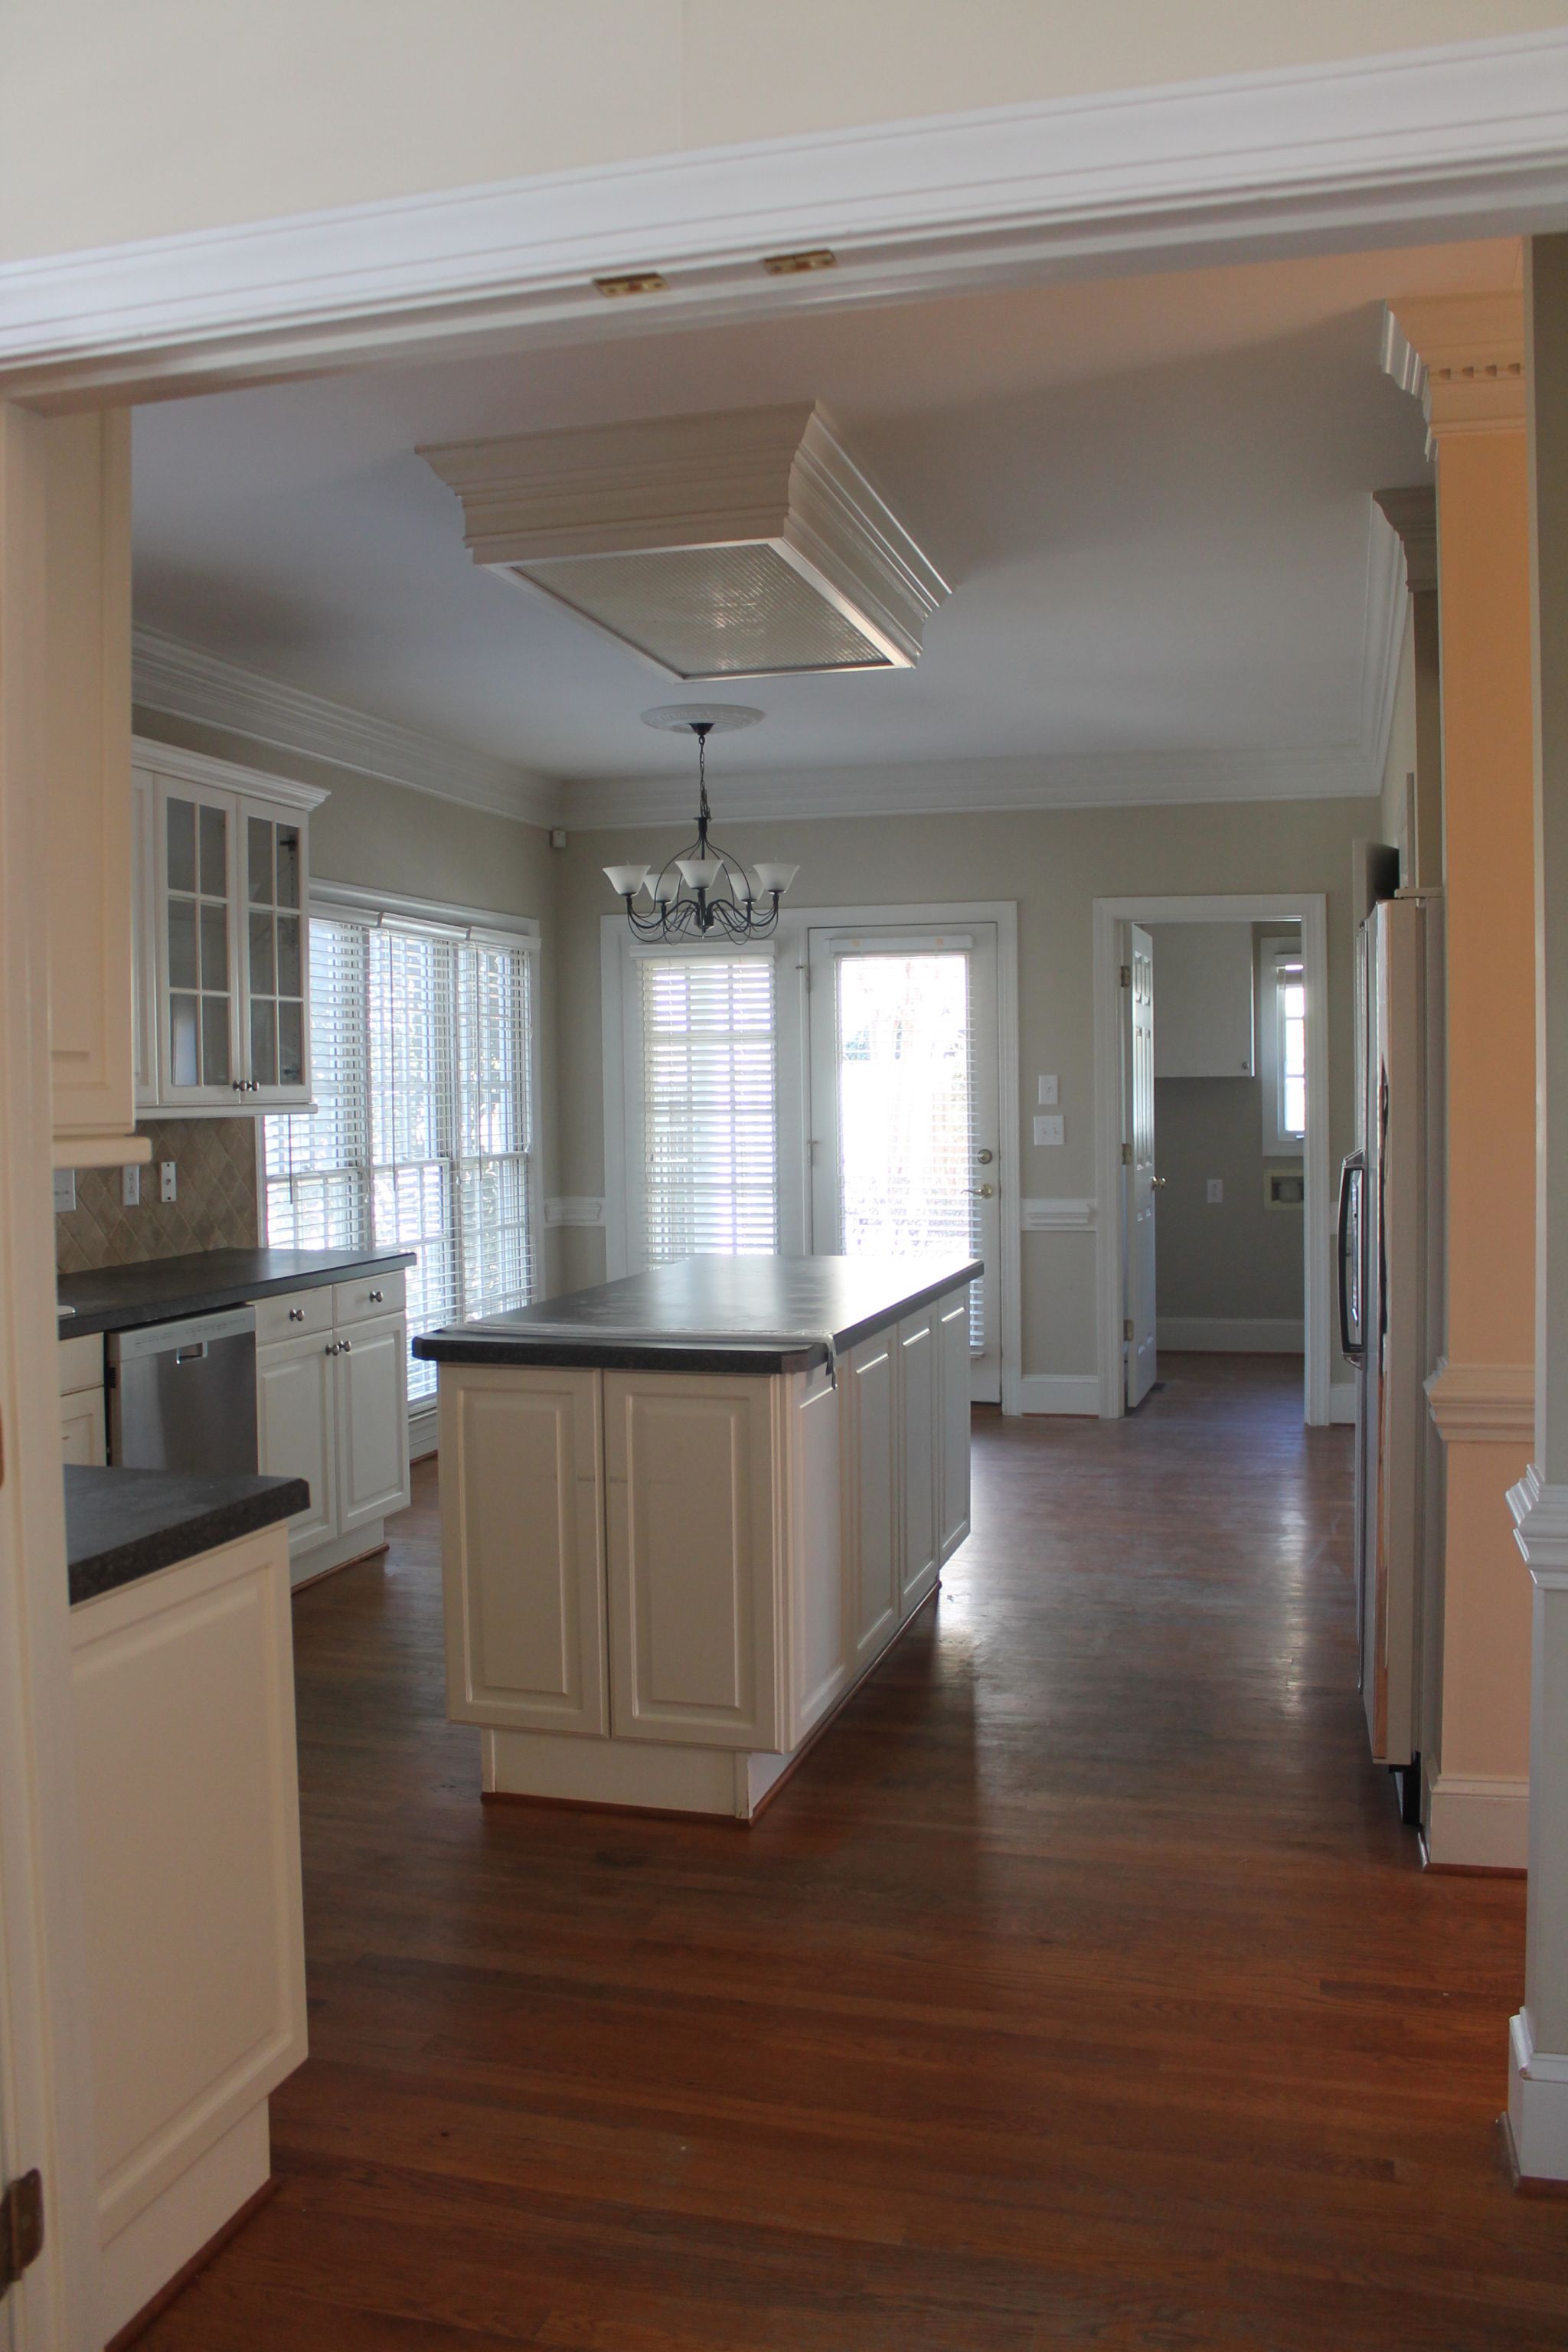
Alright, time for the plans! Here is what we started with.
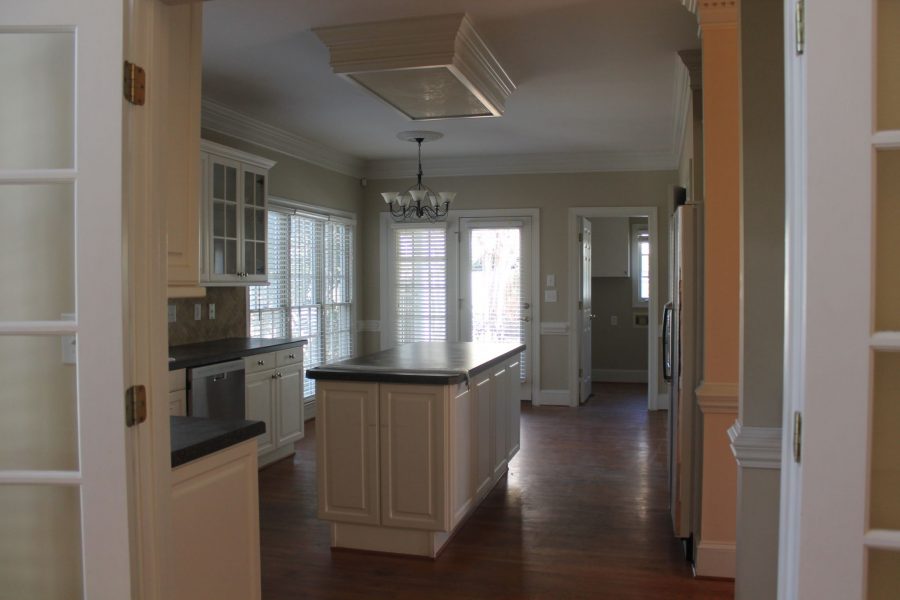
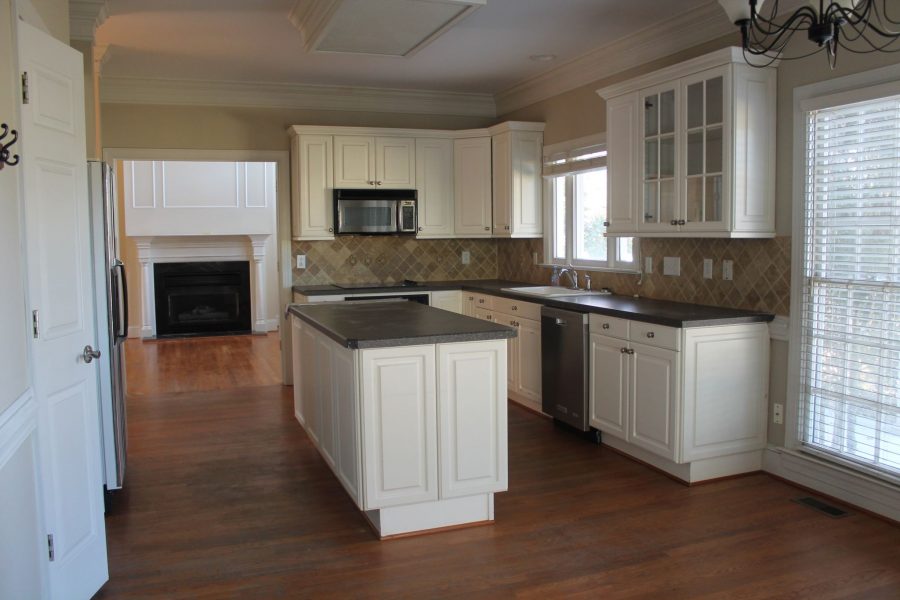
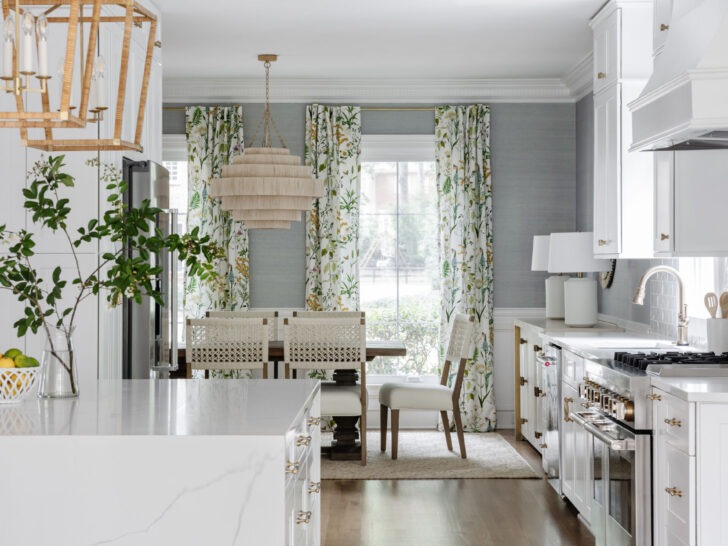
Just like the rest of our house, I’m sure it’s no surprise that the kitchen will be all white everything.
- The biggest change is we are taking down the wall that separates the kitchen and the living room. This was Matt’s idea that I was first opposed to but slowly came around to and am super excited about it now to see how it will open up our kitchen and living room space tremendously.
- Relocating the microwave to the pantry, the oven to the wall next to the fridge and converting the cooktop to gas and placing it to the right of the sink with a hood above it.
- Replacing the box light with canned lights
- Breakfast nook getting a new chandelier
- Extending the island towards the family room and adding seating to the end.
- Opening up the wet bar by removing the walls around it.
- Adding floor to ceiling pantry cabinetry
All photos on the left are of our existing kitchen. Photos on the right are inspiration photos that helped guide us through the design process…
-
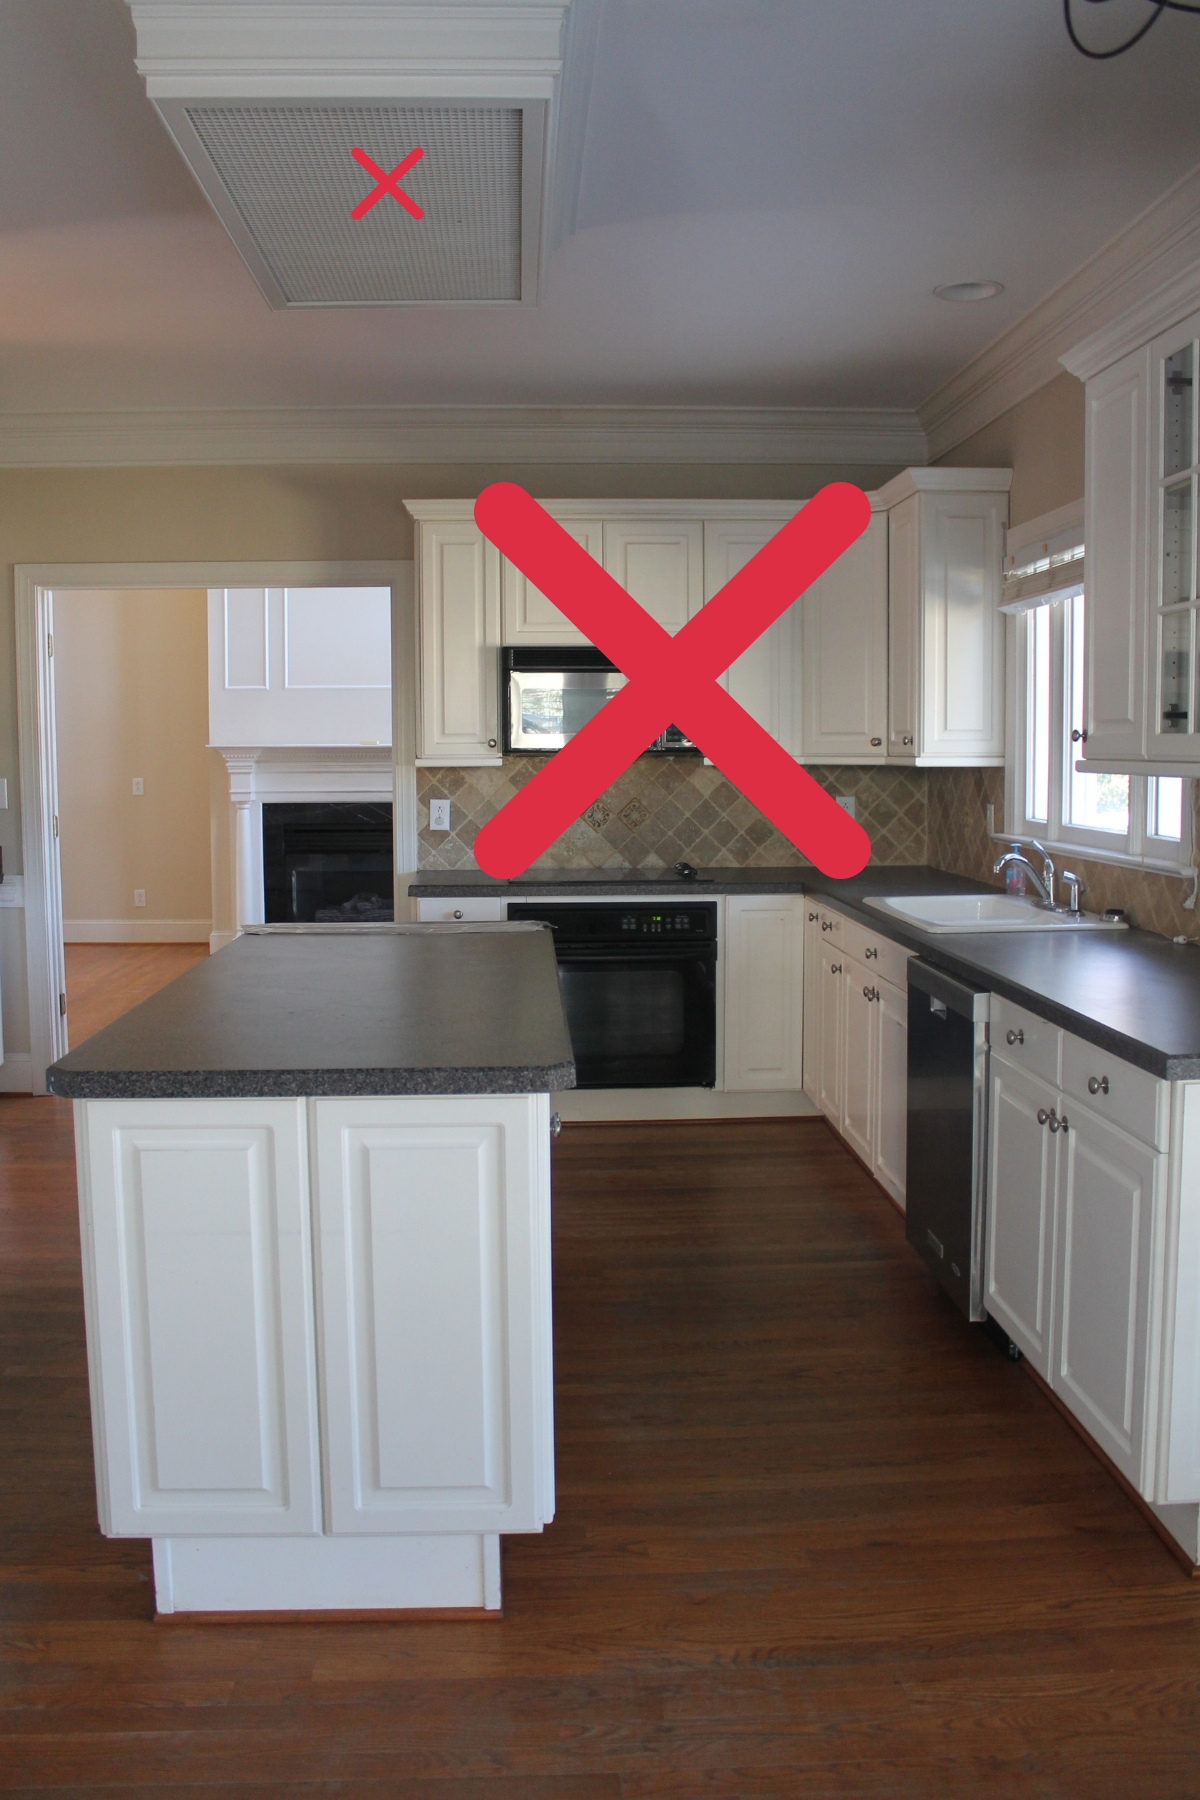

- removing this wall
-
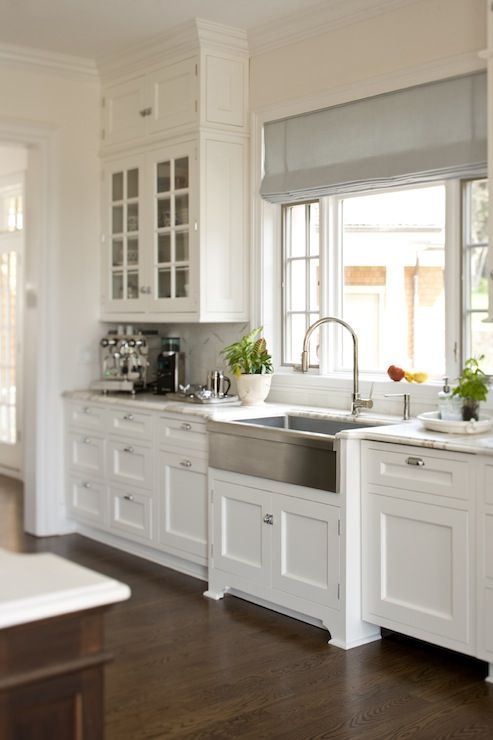

- inspiration
-
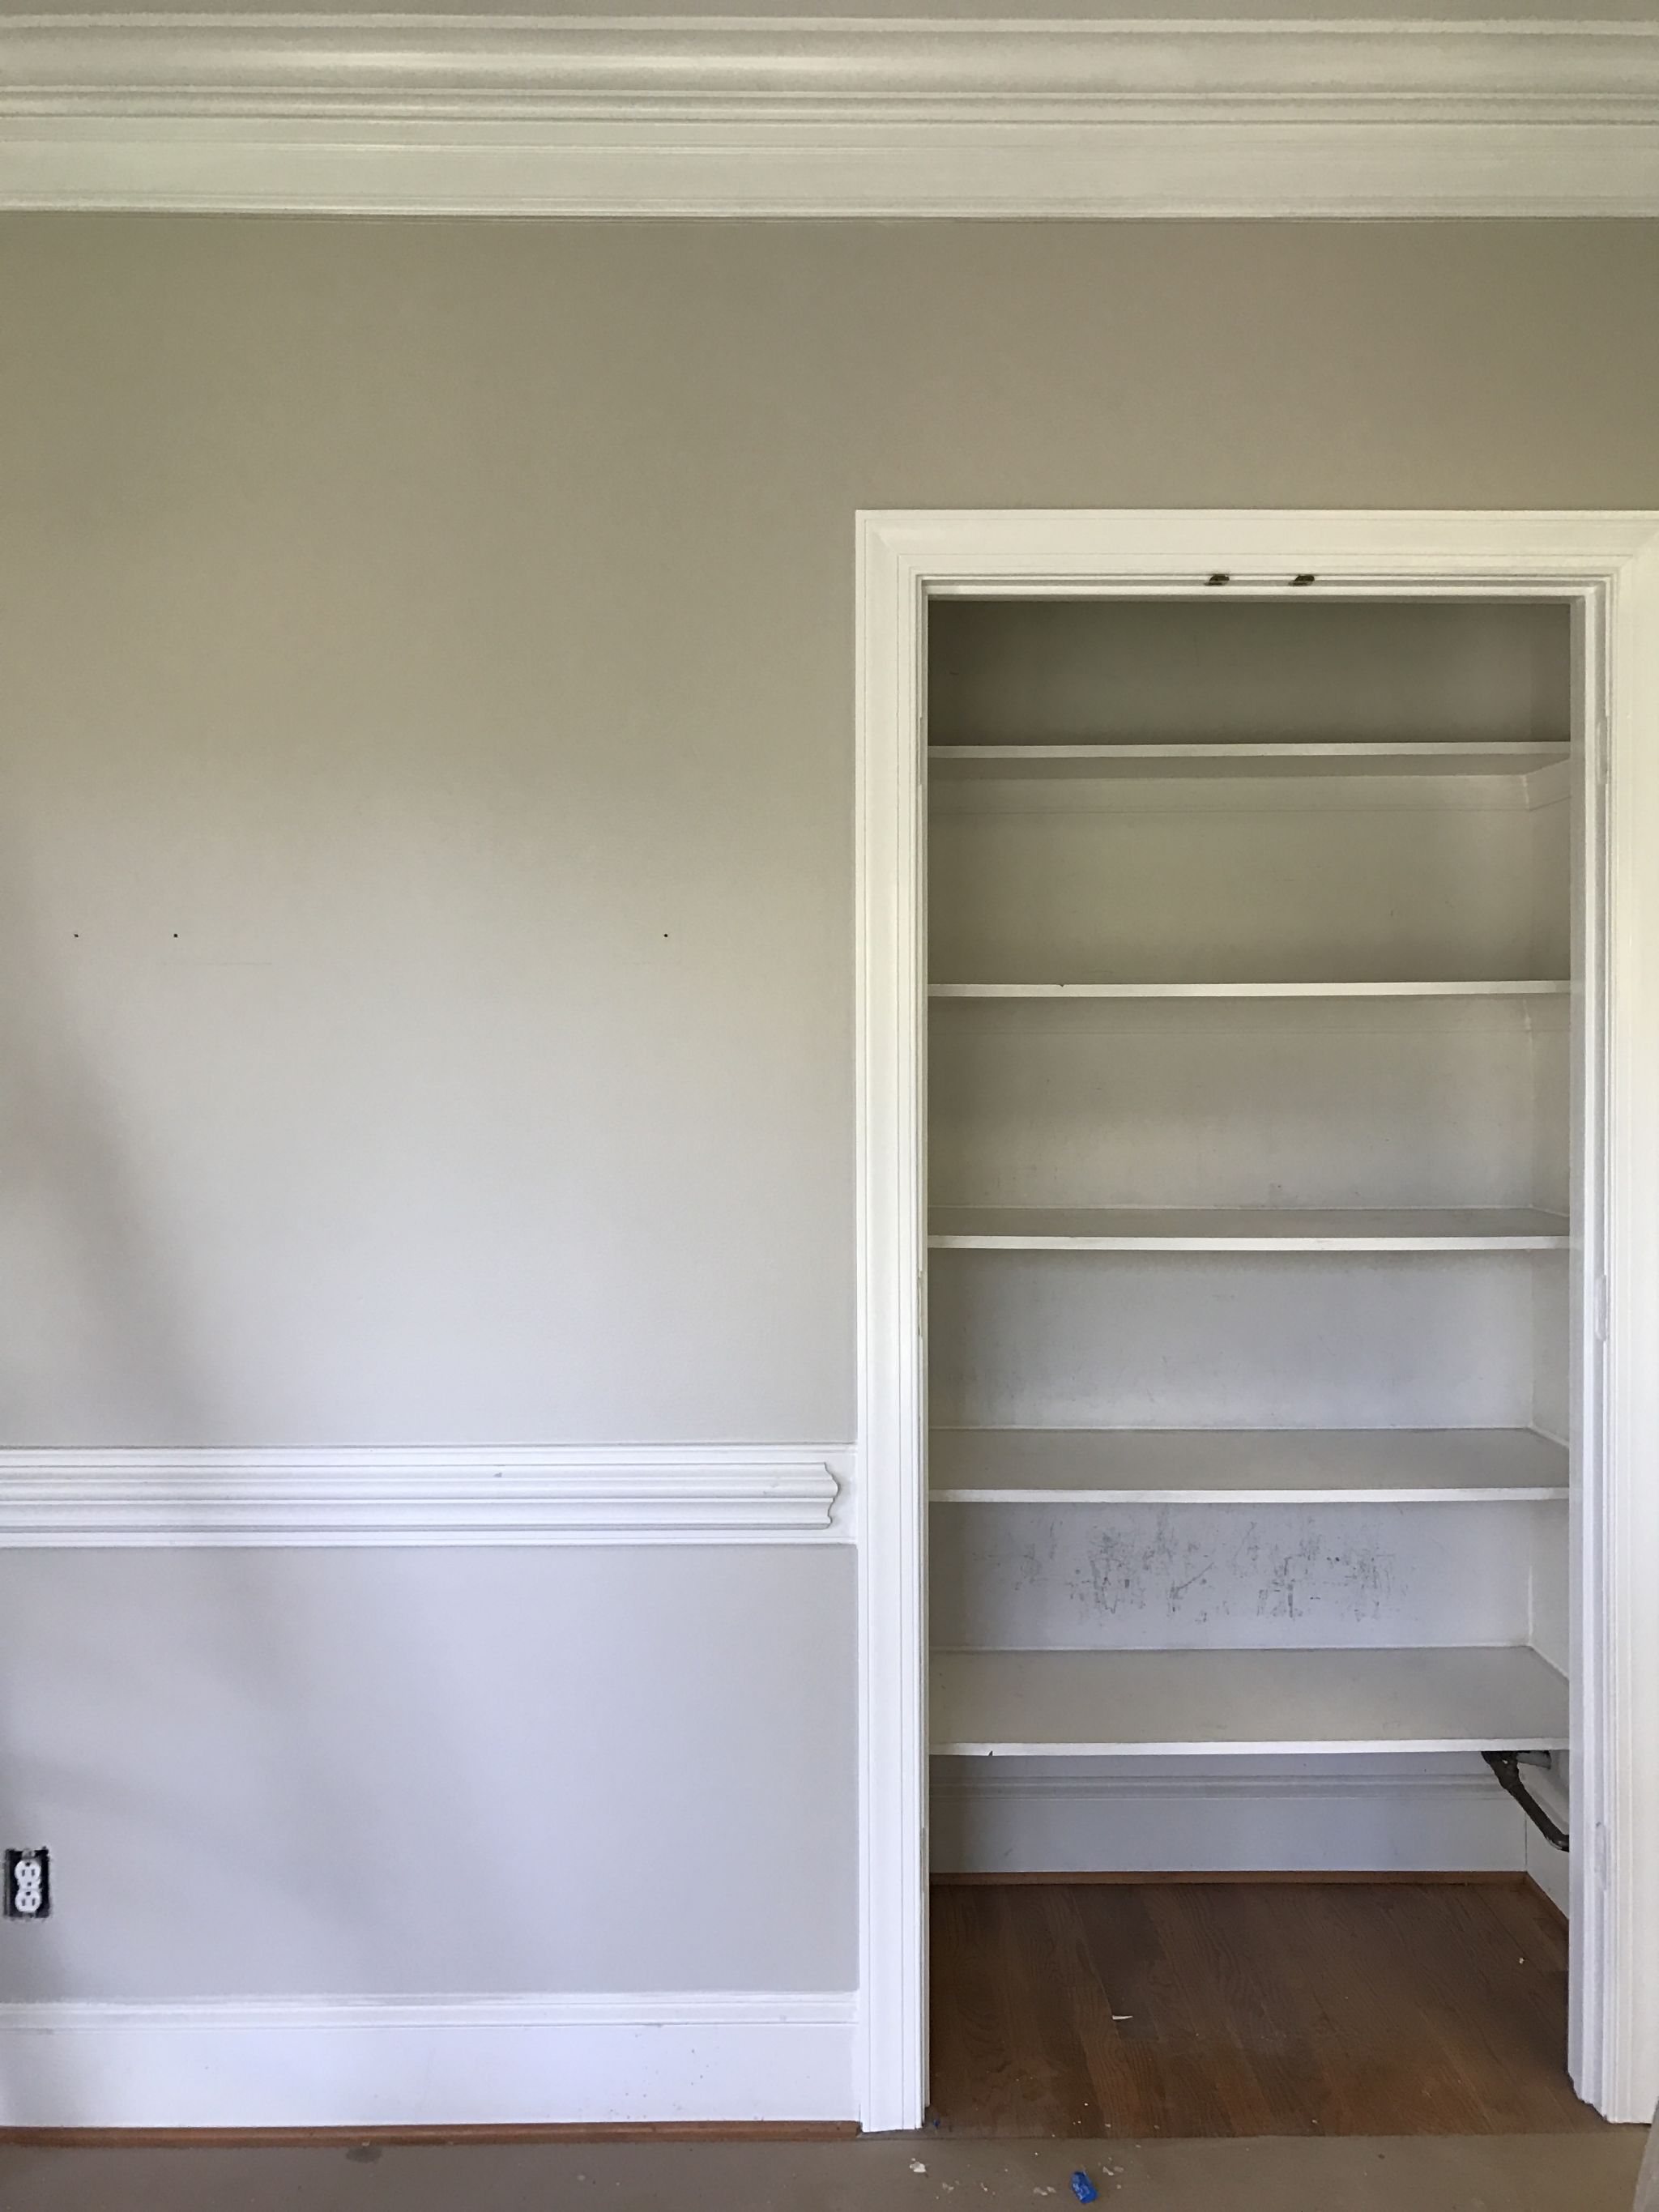

- existing pantry
-
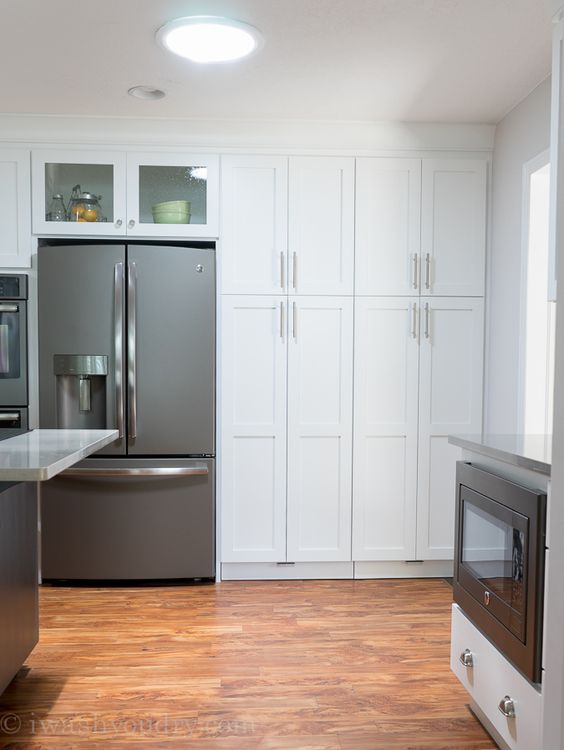

- pantry wall inspiration
-


- existing wet bar
-
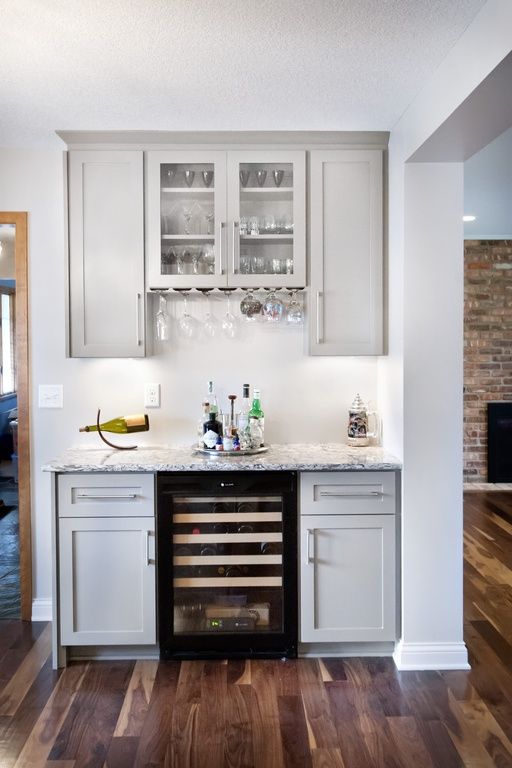

- wet bar inspiration
-
- extending island/adding seating
-
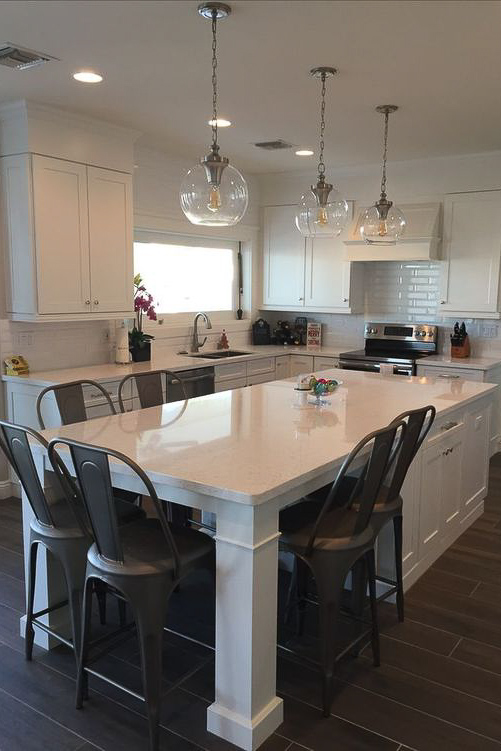

- island inspiration
Once Matt and I finalized our layout it was time to design it — pick out stone, finishes, lighting, tile, etc. This is the part that stresses me out and I really do not enjoy doing. I am the most indecisive person ever and am the queen of mixing too many styles that don’t go together. So what did I do? I turned to my friend and kitchen renovation expert, Stephanie of Olive & Tate. I mean, look at this kitchen and this kitchen! See what I mean? She’s got skills. And she whipped up the most beautiful kitchen design for me….

Cabinet Pulls / Cabinet Knobs / Faucet / Sink / Counter Stools / Runner for Sink / Woven Tray / Faux Eucalyptus / Grey Vase

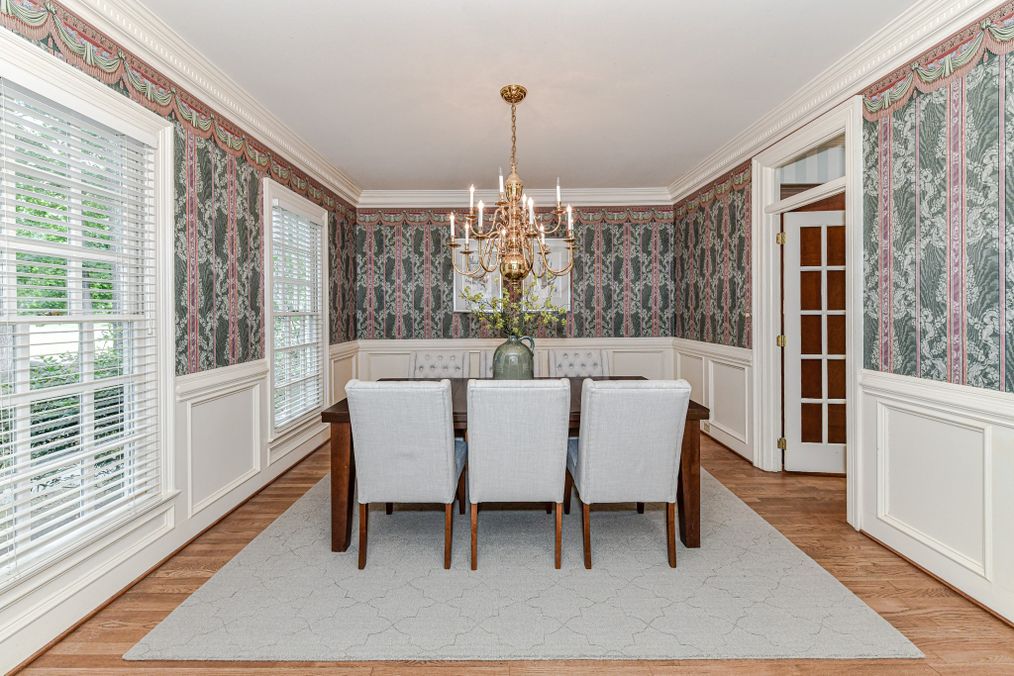
We are keeping most of the existing breakfast nook but swapping out the chandeliers. I am so in love with this one Stephanie picked out.
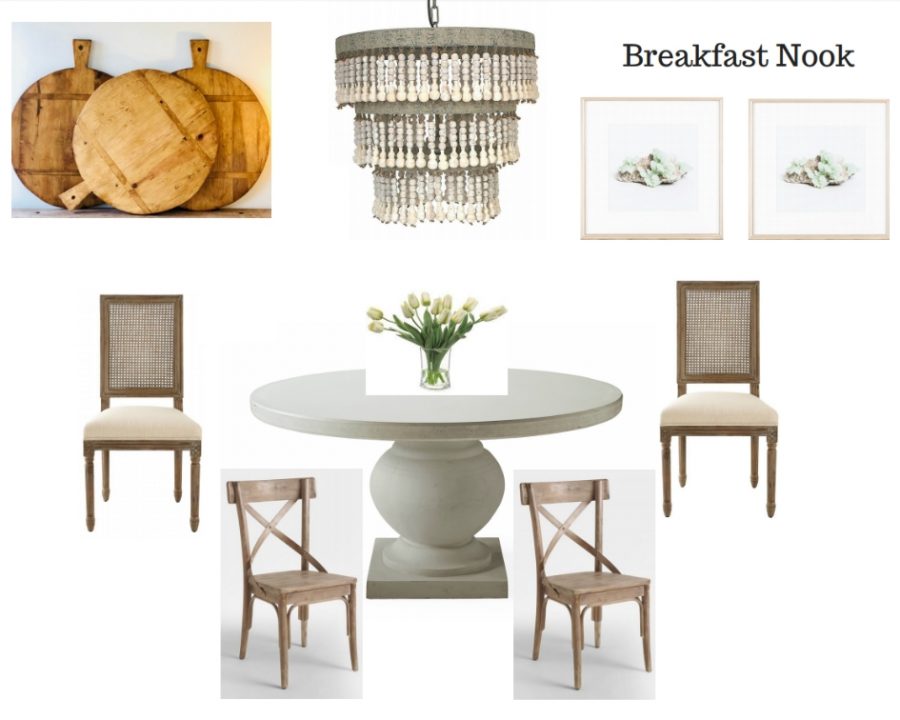
 Pizza Peels / Cane Back Chairs / Bistro X-Back Chairs / Chandelier / Glass Vase / Frames / Table
Can’t wait to see it all come together!