A Book Page Wreath is such a fun and creative way to repurpose an old book or even some coloring pages into a beautiful, personalized decoration. Whether it’s a book with sentimental value or just something you’ve been meaning to recycle, this project is the perfect way to give it a second life. The best part? You can totally make it your own, and the end result is this gorgeous wreath that adds a little cozy charm to any room. So, grab that old book off the shelf, and let’s get crafty with this easy and fun DIY!

I have to be honest—this project was a serious time commitment! I had no idea it would take me an entire weekend and more hot glue burns than I’d like to admit. Seriously, there’s so much glue involved in this wreath that you’ll definitely walk away with a few battle scars. But despite the sore fingers and glue mishaps, it was absolutely worth it! I’m totally obsessed with how it turned out, and it’s such a unique addition to our dining room. Sometimes, the best projects are the ones that take a little extra effort, right?

There are seriously a million tutorials out there for this, but I had a hard time finding one with super clear instructions. This project can get a little tricky at times, so I’m going to walk you through exactly how I made my wreath. Trust me, once you get the hang of it, it’s totally doable—and totally worth it! Let’s dive in and make something awesome together.


Book Page Wreath Supplies
- Styrofoam wreath (whatever size you prefer)
- 1-2 books
- Stapler
- Glue gun & glue sticks

I wanted my wreath to be absolutely massive, so I went with a 16-inch Styrofoam wreath as my base. You could also use a straw or stick wreath if you prefer. To give it a more vintage feel, I decided to go with a 1952 Baptist Hymnal that I found at a local antique store. I wanted the wreath to look a bit aged rather than bright white, and this book was perfect for that! You’re going to need a ton of pages for this project, so I recommend grabbing a long book or even two—just to be safe. My hymnal had 500 pages, and I used almost the entire thing!

Book Page Wreath Directions
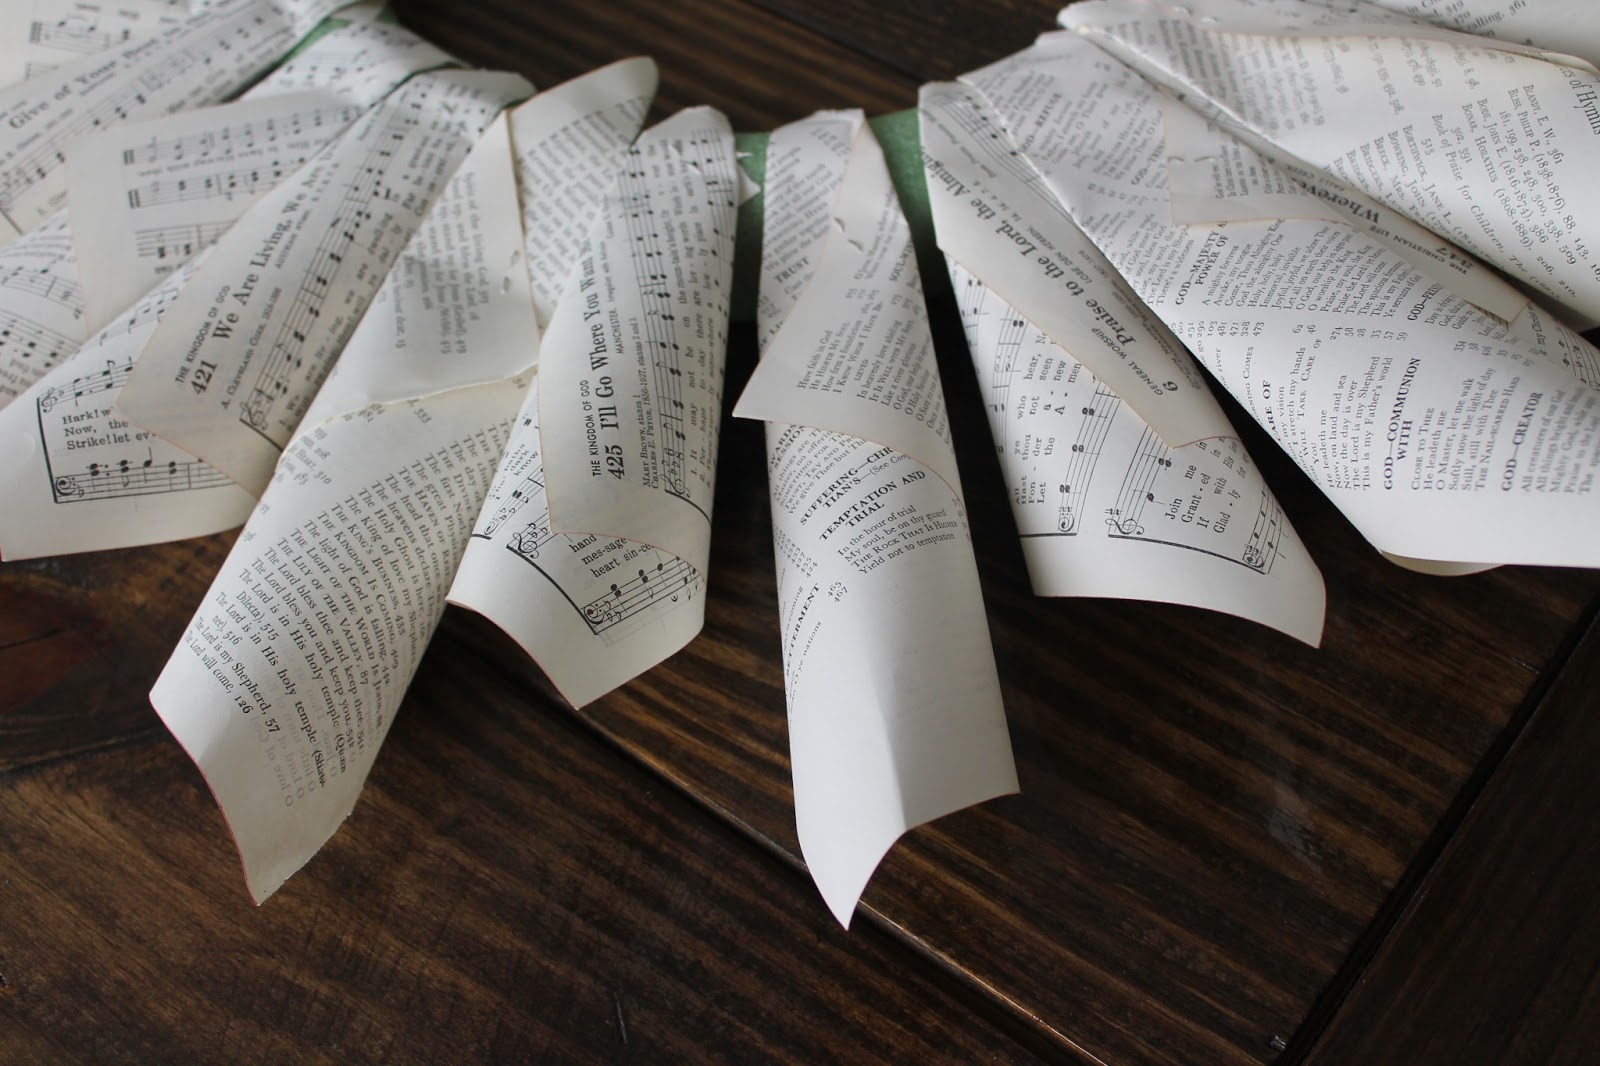
Here comes the fun part! Start by ripping out all your pages—yep, it’s time to get a little wild. Next, curl each page into a cone shape and staple the end to hold it in place. Now, I’m not going to sugarcoat it: this step took me over 4 hours and a bottle of wine. It’s a bit repetitive, but honestly, once you get into the groove, it’s kind of relaxing—and, hey, wine helps! Just power through, and you’ll be ready for the next step in no time.

Here is a close-up of the cones.
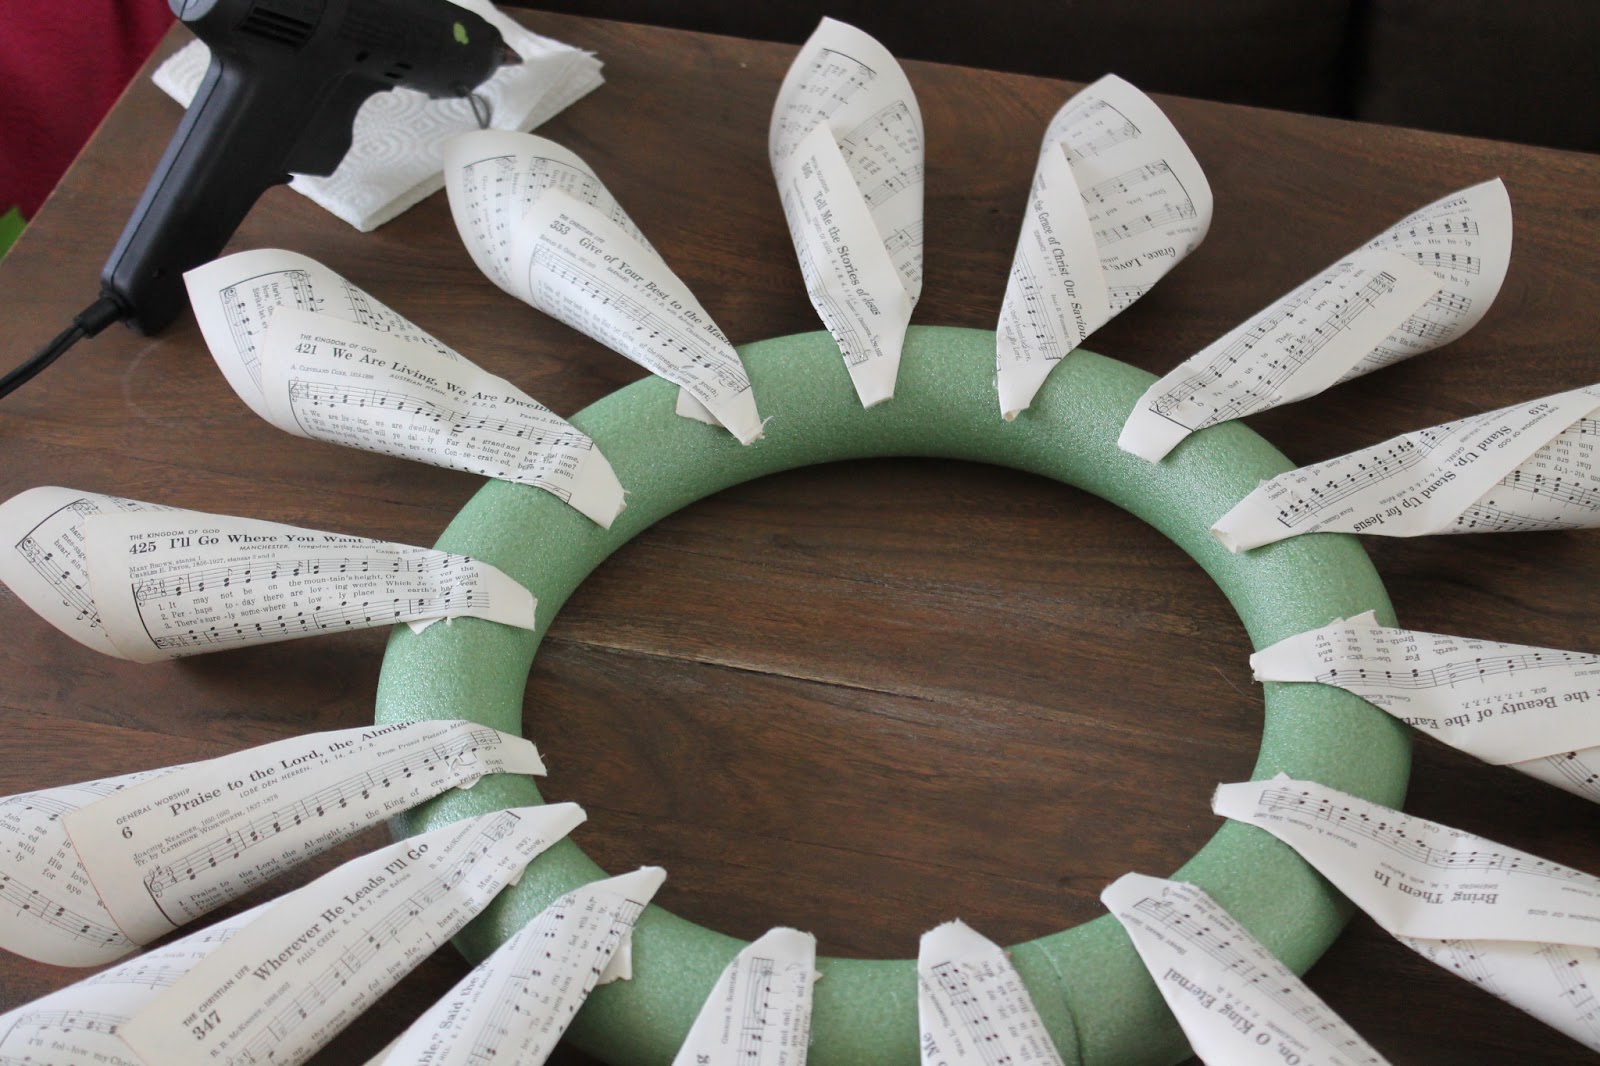
Now, grab your hot glue gun and start gluing the very back row of cones FACE DOWN on the back of the wreath. This will be your starting point. As you continue adding more rows, you’ll be working your way forward, so each new row will overlap slightly with the one before it. Just be careful with the glue—it’s a bit of a sticky situation (literally), but it’s totally worth it when you start to see the wreath come together!
Next, hot glue another round of cones in between the first row. I made sure to glue this second row of cones a little higher, just to give the wreath some added depth and texture. You want the cones to slightly overlap with the first row but still maintain that layered look. Keep working your way around, adding rows until your wreath is as full and beautiful as you want it to be!
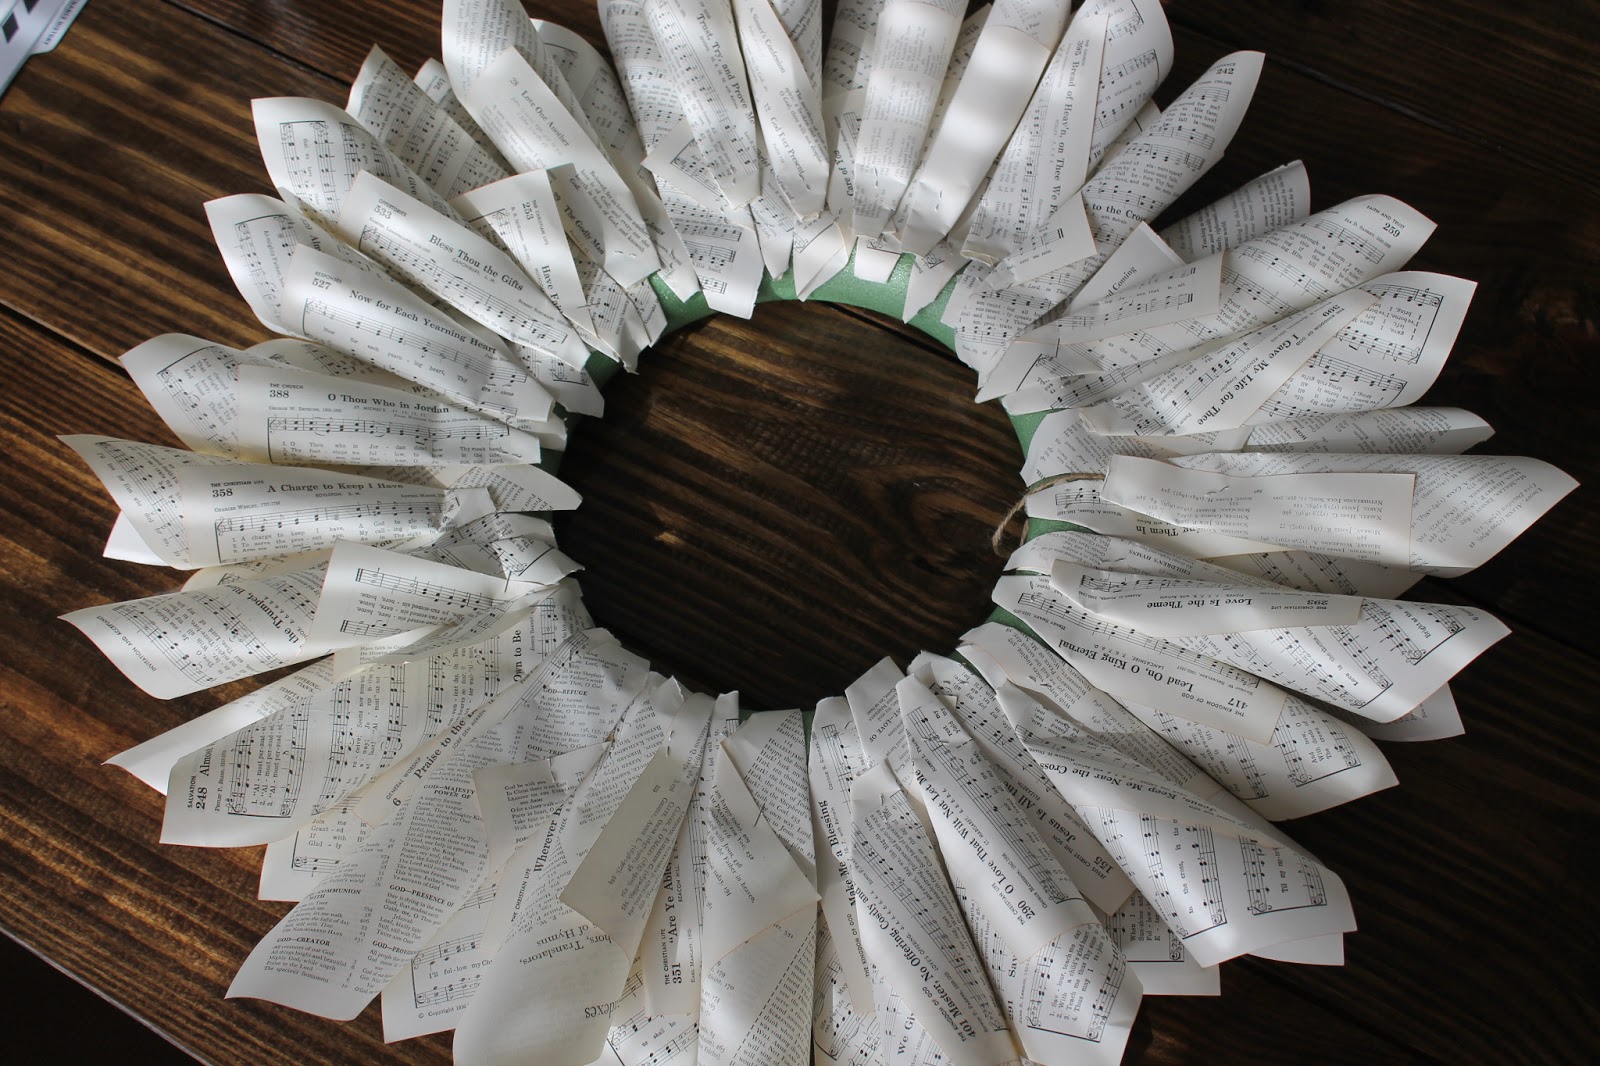
Now it’s time for the third row! Keep gluing those cones, making sure to fill in any gaps as you go. The fuller you make it, the better it will look, so don’t be shy about squeezing in a few extra cones where needed. The goal is to have a nice, dense look with no empty spaces, so take your time and keep layering until your wreath is looking fabulous!
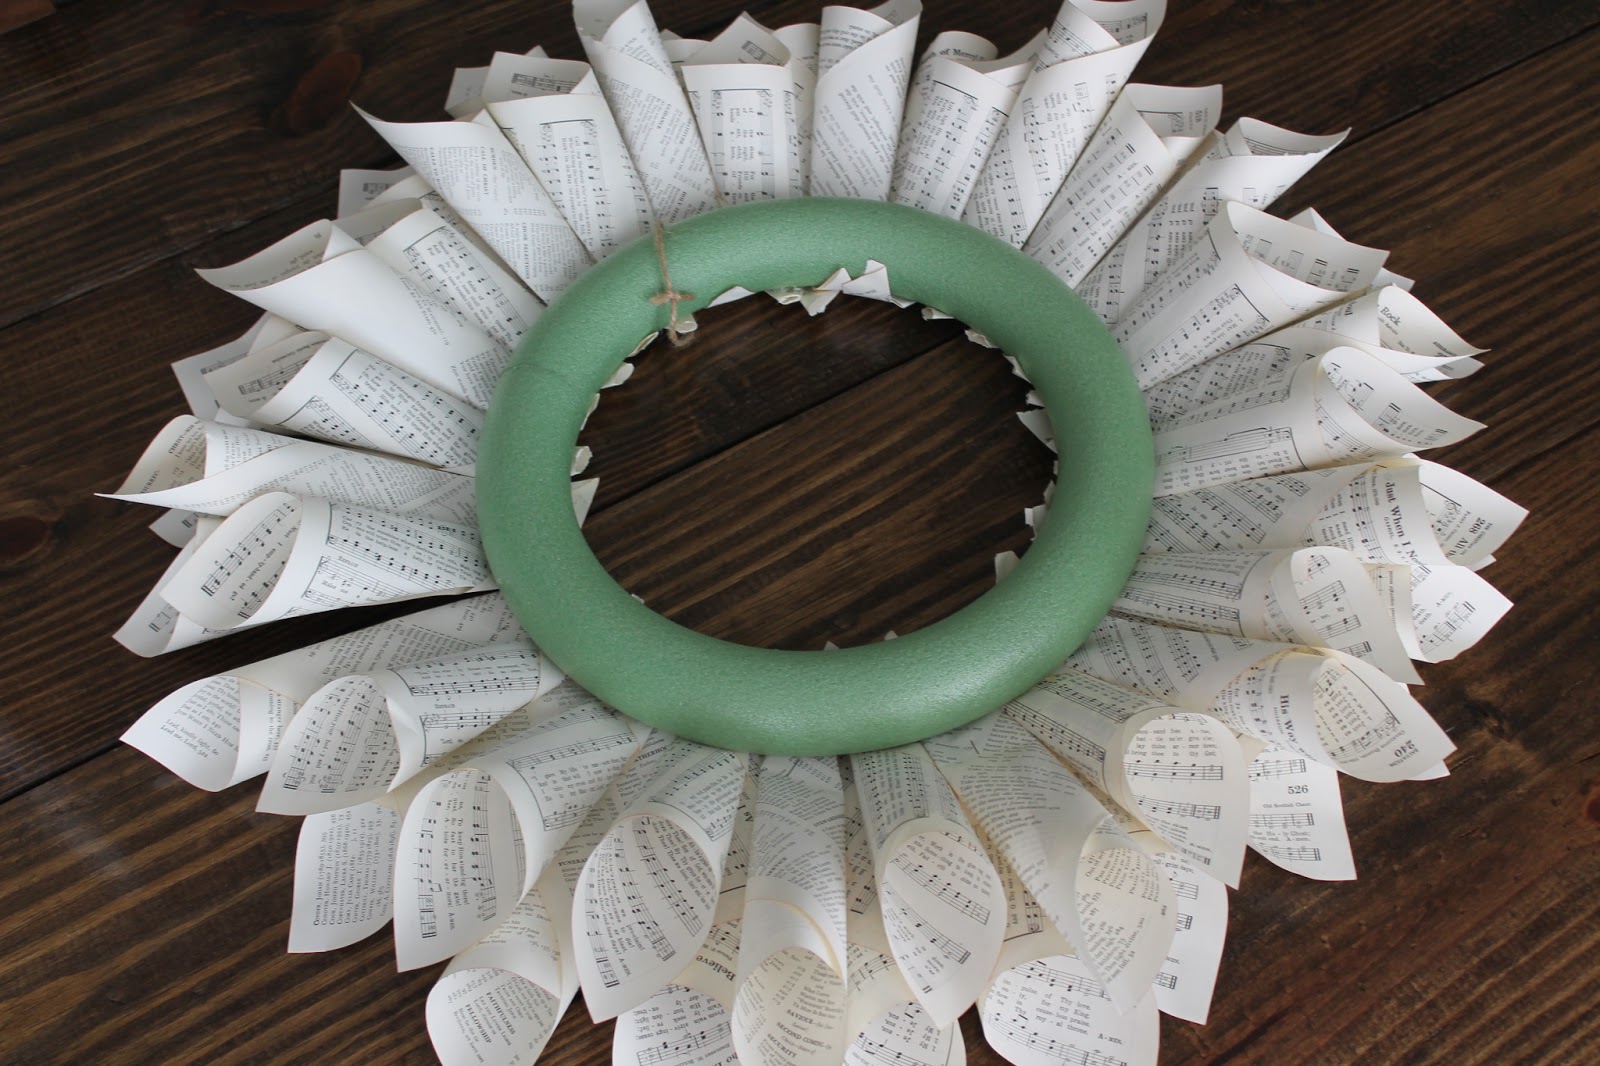
Now, flip your wreath over and take a moment to admire your work—you’ve made some serious progress! Once you’ve taken in how it’s looking, flip it back over and check for any gaps you might have missed. It’s easy to overlook some spots, so fill those in to make sure your wreath looks full and polished from every angle. Keep adjusting until it’s just how you want it!
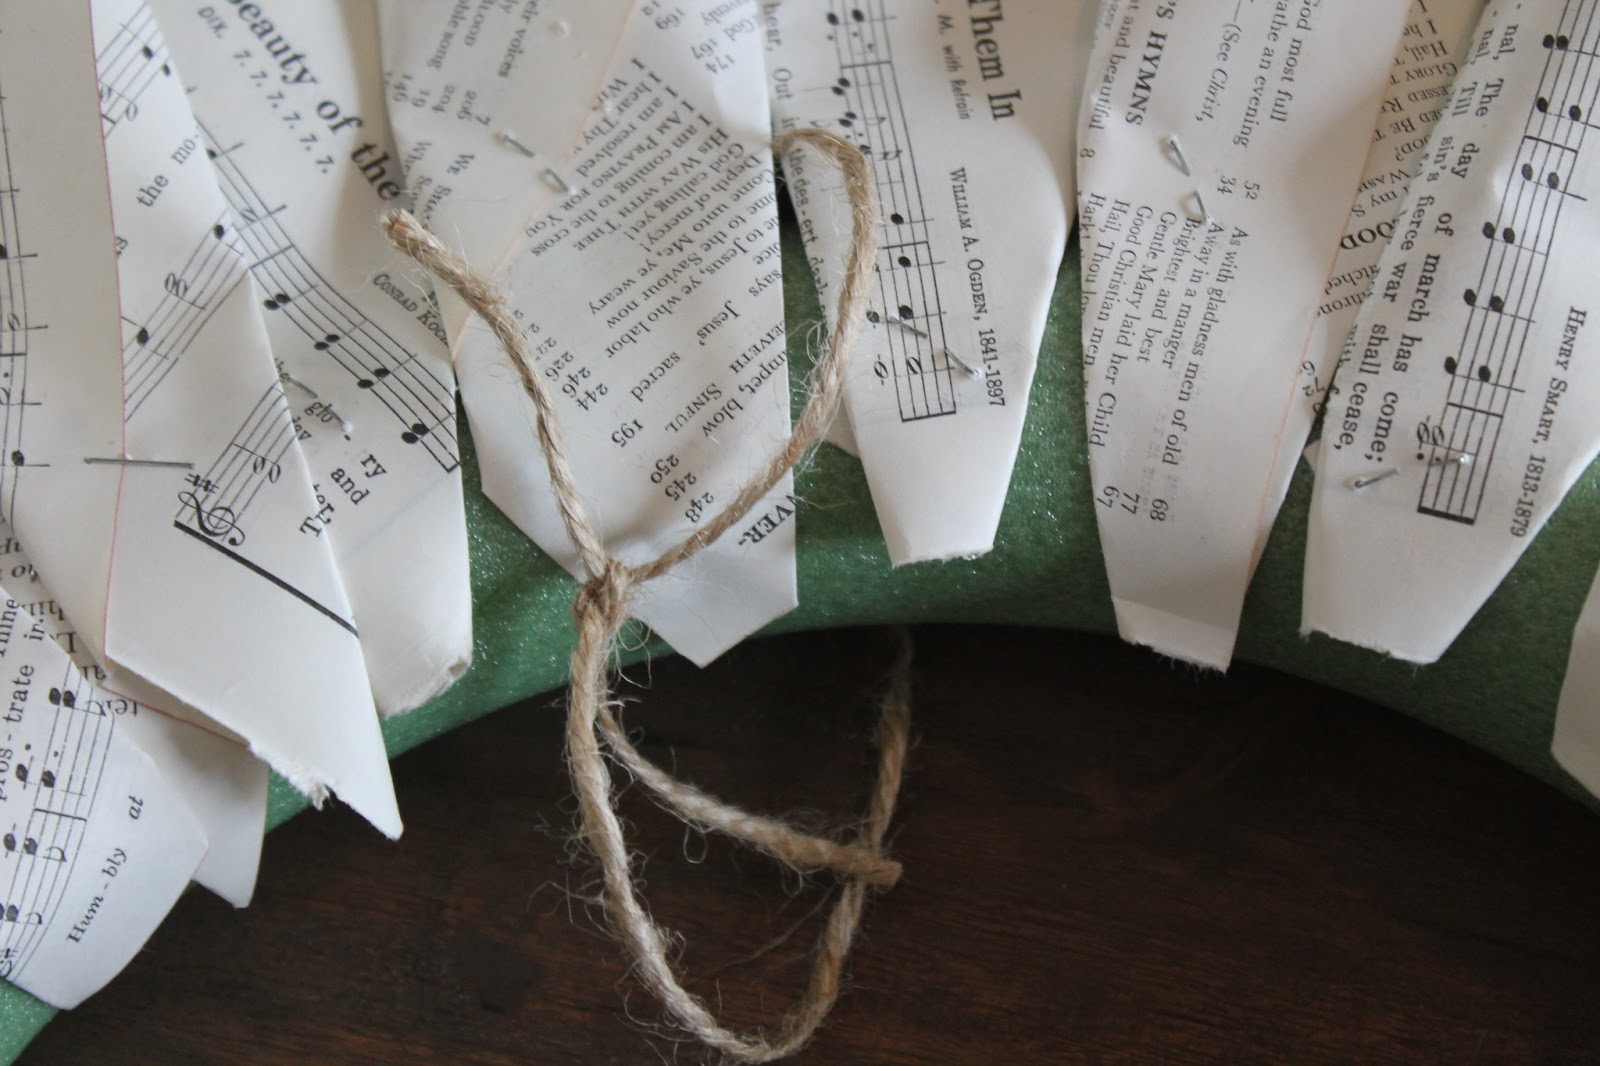
This is a perfect time to add a string for hanging your wreath. I used a thick strand of jute to give it a rustic, farmhouse vibe, but you can totally use any string or ribbon you like! Just hot glue the ends of the string to the back of the wreath, making sure it’s secure. This will make it easy to hang once you’re finished and ready to show off your beautiful creation!
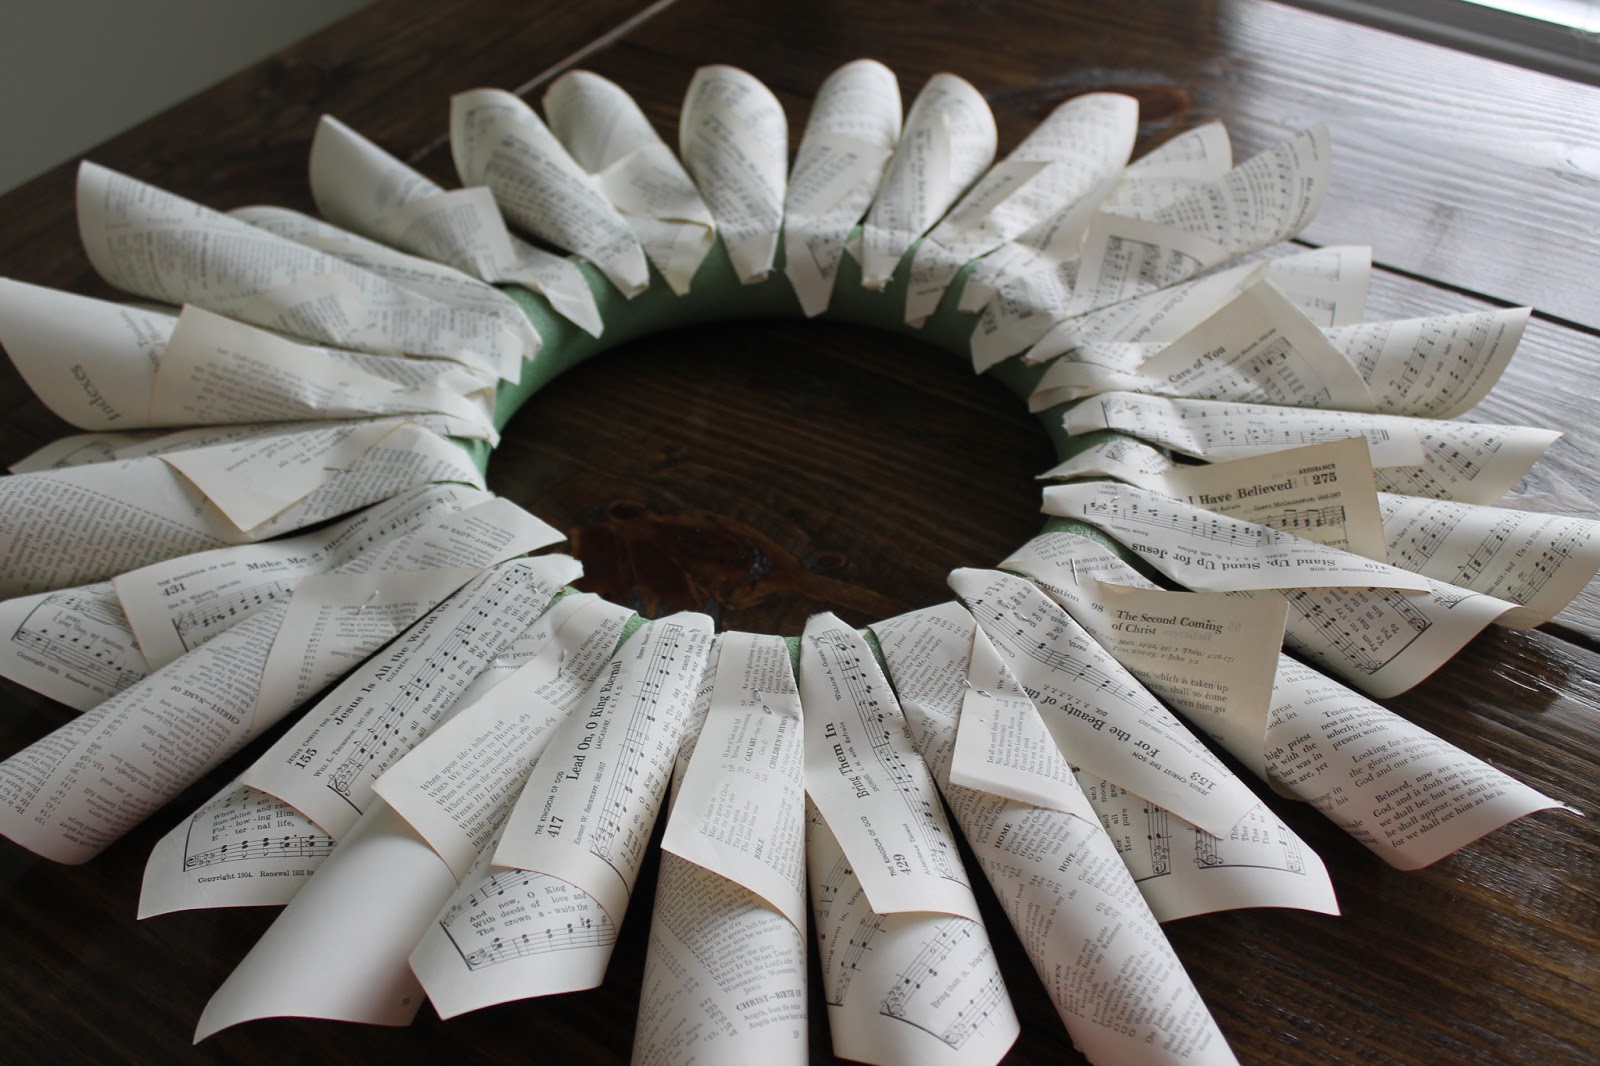
Now, start adding rows to the front of the wreath. You can follow a pattern if you like, but I just glued the cones wherever I felt like it, which gave it a more relaxed, organic look. Make sure each row is a bit shorter than the last to create that layered, tapered effect. Once you’re happy with the placement, trim off any excess tails or glue them down to keep everything neat and tidy. Keep building up the rows until you’re happy with how full and fluffy it looks!

Here’s what the back of my wreath looked like after adding a few rows. After each row, I would flip it over and glue the tails down to make sure everything stayed neat and secure. This step helps keep the back of the wreath looking tidy, so when it’s hanging, everything stays in place and looks polished from every angle. Just take your time with this part, and make sure the tails are glued down properly to avoid any loose ends!

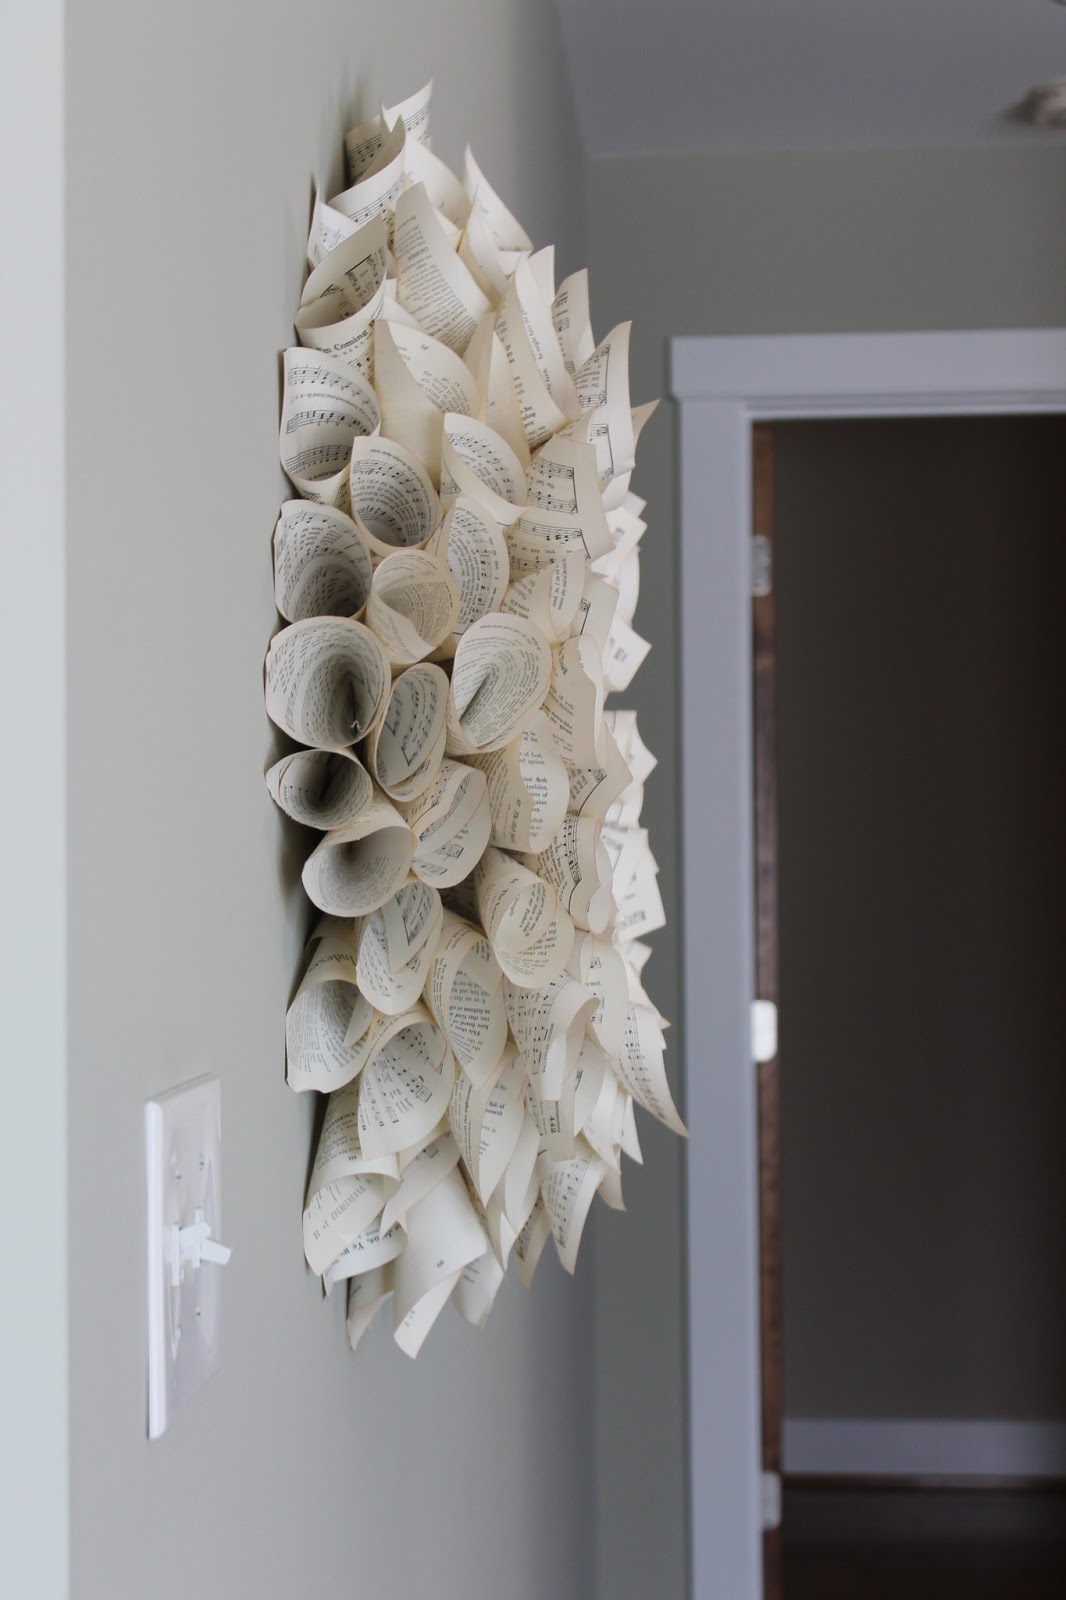
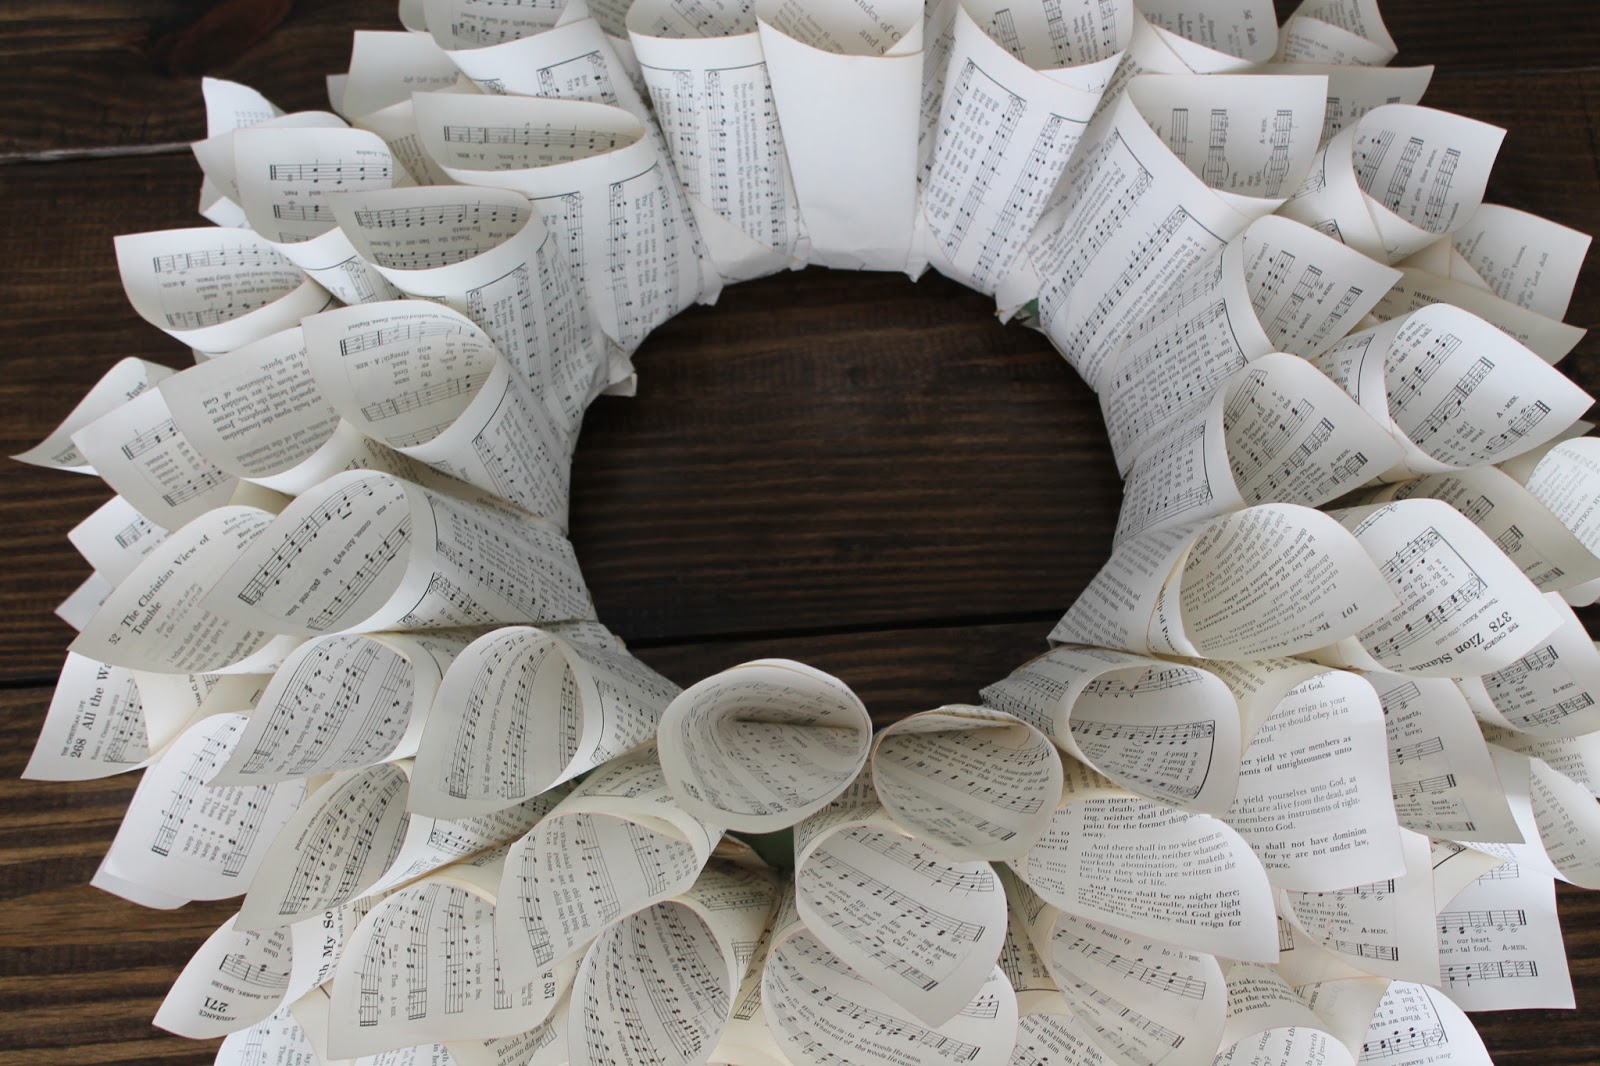
For the innermost row, I made smaller cones to create a nice, tight finish. Once you’ve added your last row, take a step back and fill in any gaps you might notice. After that, you’re done! The wreath is all set—now go hang that beauty and enjoy the charming touch it adds to your space! You’ve earned it, and it’s sure to impress!
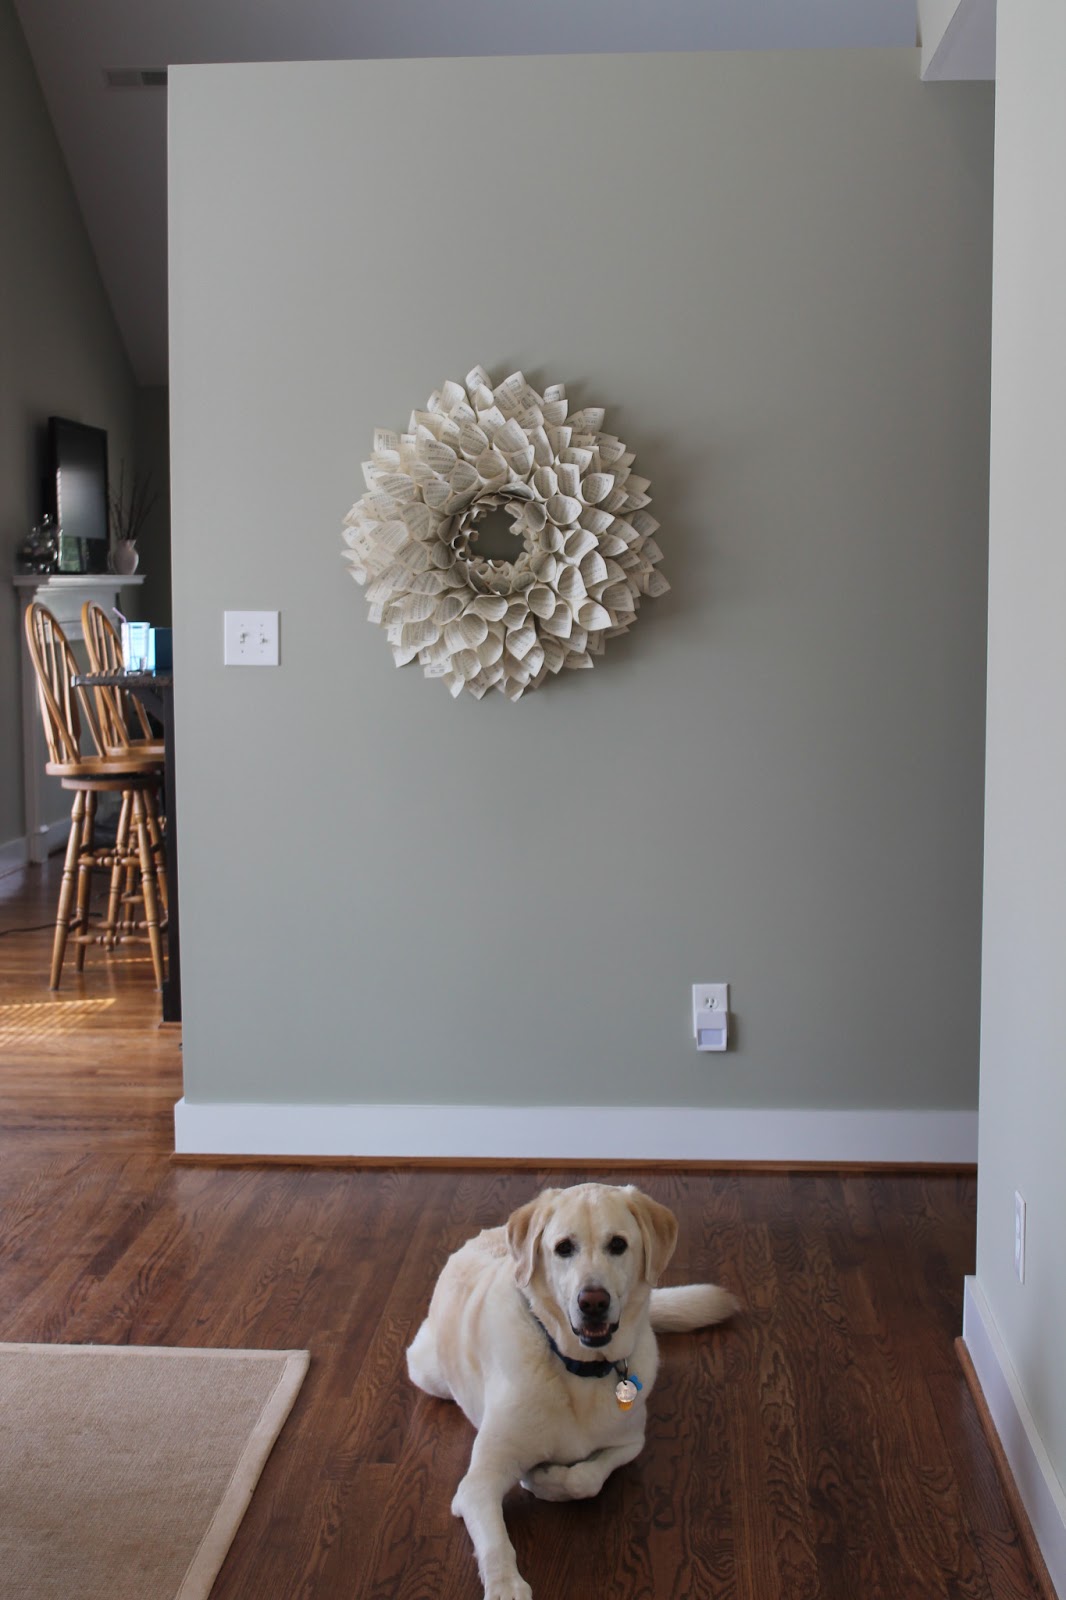
Such a ham! I swear he does this on purpose.
2019 Book Page Wreath UPDATE: This wreath made the move to our new home in 2019, and we hung it over our bed! I absolutely love how it looks here—it adds such a unique, cozy touch to the room.