Making a layered birthday cake can be intimidating, especially if it’s going to be sitting on display at a party for all to admire. So I’ve created a new and improved layered cake tutorial so you can see just how easy it really is! 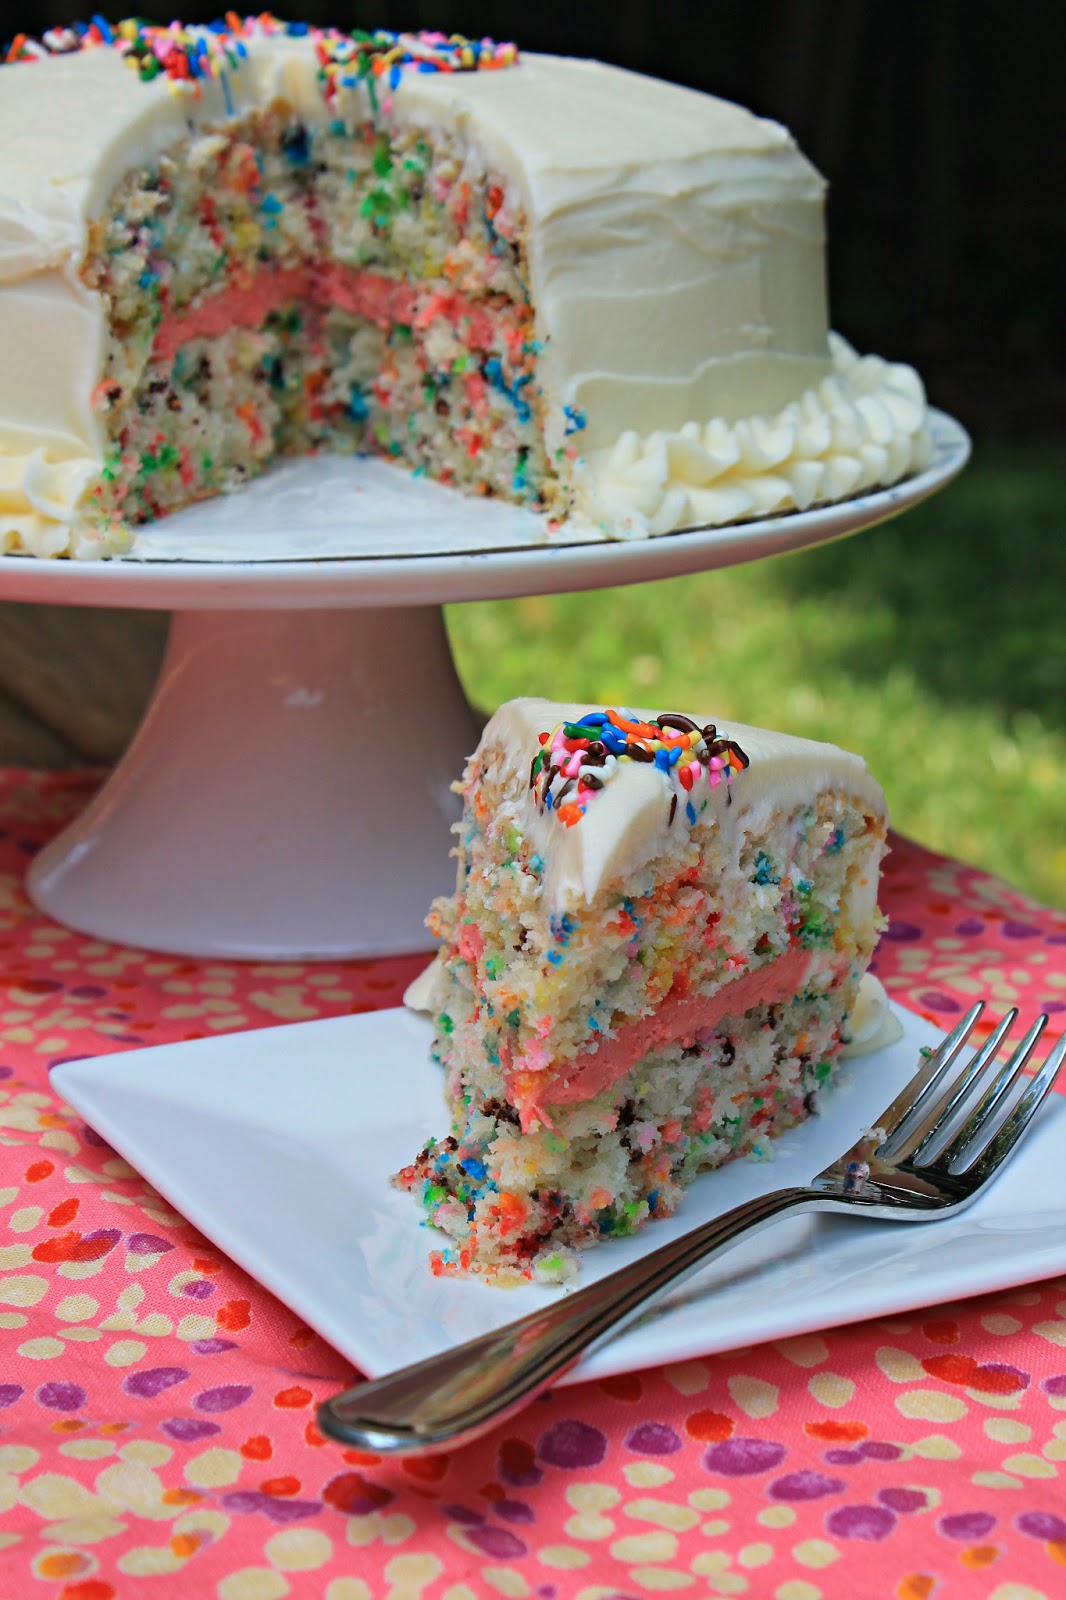
For this cake I kept it simple using a box of Funfetti cake mix and homemade whipped vanilla buttercream icing. If you want to start from scratch you can find a recipe for funfetti cake {here}.
Step 1: Prepare your cake pans to make sure the cake slides out nicely after baking. Grease the pan in it’s entirety and sprinkle with flour until the pan is completely covered. You can also use the wax paper technique found in {this tutorial}.

Step 2: Make the cake batter according to the directions on the box and pour an equal amount of batter in two 8″ or 9″ pans making sure each layer is the same height. Since it is a birthday cake, feel free to dump a lot of extra sprinkles in the batter!
Step 3: Bake your cake with perfectly level layers. There is no way to prevent your cake from slightly raising in the middle, however you can reduce the heat from 350 degrees F to 300 degrees F and increase the baking time for a more even layer. The lower temperatures bake the cake slower, which prevents it from doming. A good rule of thumb when you reduce the temperature is to bake it for one and a half times as long as the recipe originally suggests. So if the recipe says 60 minutes at 350 degrees, it will take approximately 90 minutes at 300 degrees. But keep an eye on it! Check it periodically after the original suggested time to be sure you don’t over bake it.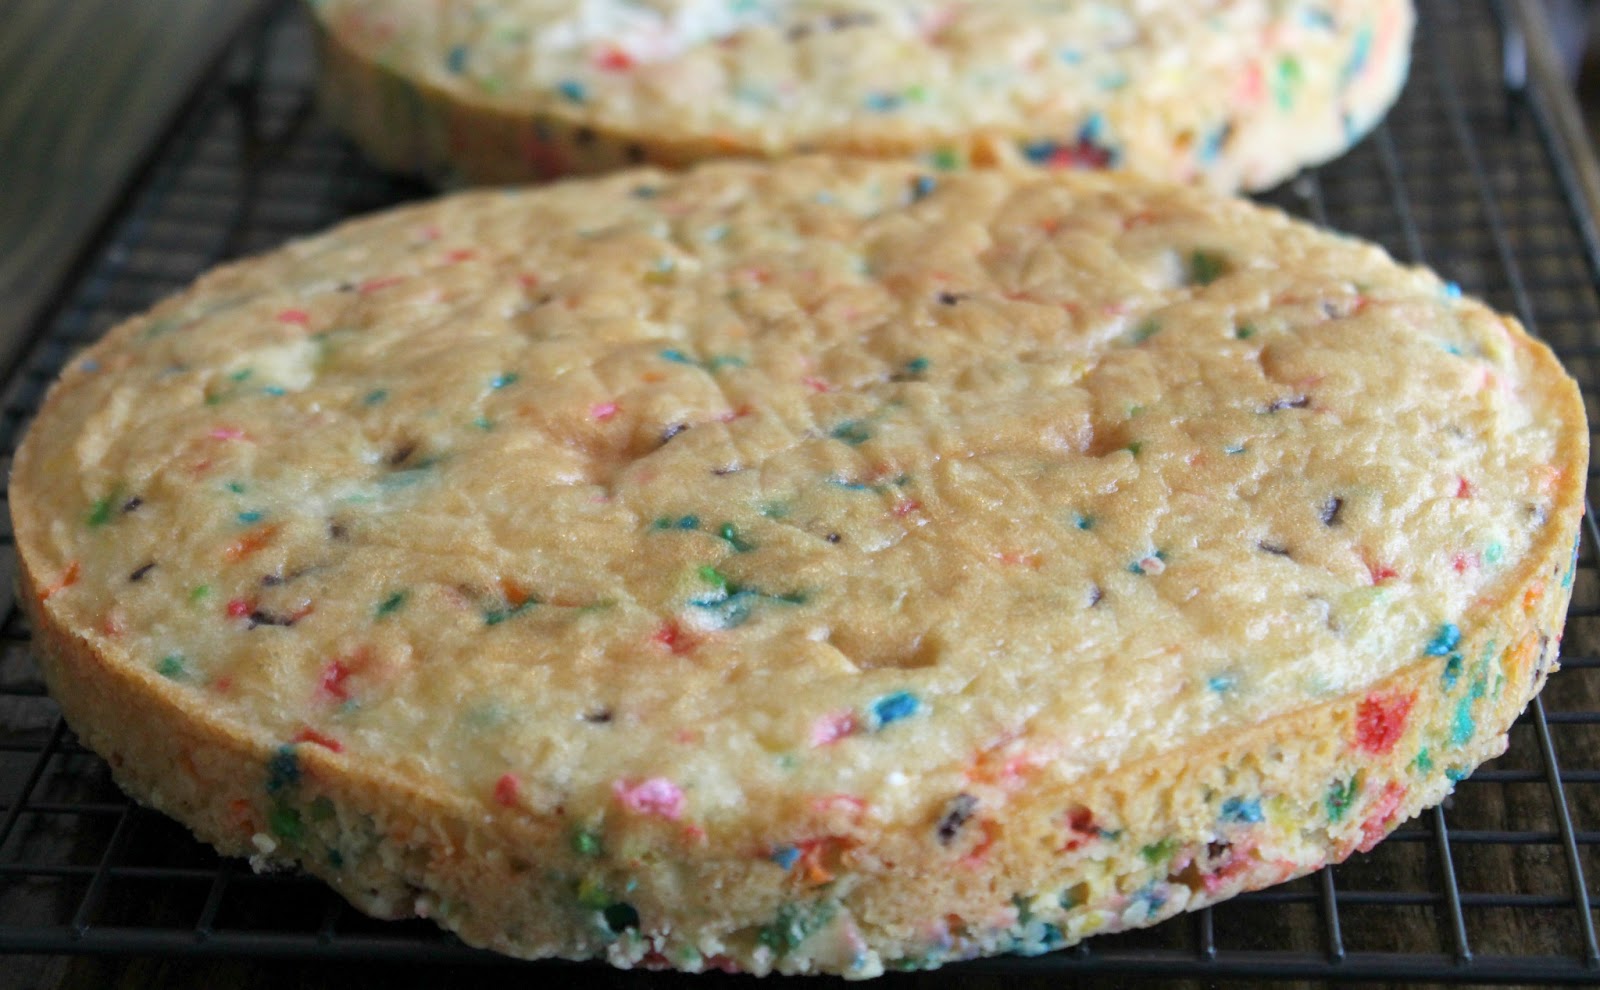
Step 4: Let your cakes sit in their pans for at least 10 minutes. To remove your cake, first run a knife
around the edge and turn them out onto a wire rack. Cool on the racks completely.
Step 5: Chill the layers in the fridge overnight in plastic wrap if you have the time. If not, chill for at
least a few hours.
Step 6: Unwrap the layers and prepare your icing. Your icing should be at a consistency where if you drop your spatula straight into the bowl, it should slightly bend one direction, not stick straight up.
Whipped Vanilla Buttercream
- 1½ cups (3 sticks) unsalted butter, at room temperature
- 1 lb confectioners’ sugar, sifted
- 3 Tbsp. heavy cream
- 1 Tbsp. vanilla extract
- Pinch of salt
In a large bowl, whip the butter with an electric mixer on medium-high speed until smooth (about 1 minute). One cup at a time, add in the confectioners’ sugar and mix on medium-low speed until incorporated. Add the salt. Continue to beat on medium-high speed until smooth (about 1-2 minutes). Mix in the heavy cream and vanilla on low speed until well blended. Increase the mixer speed and whip on high speed until light and fluffy, scraping down the bowl as needed (about 4-5 minutes).

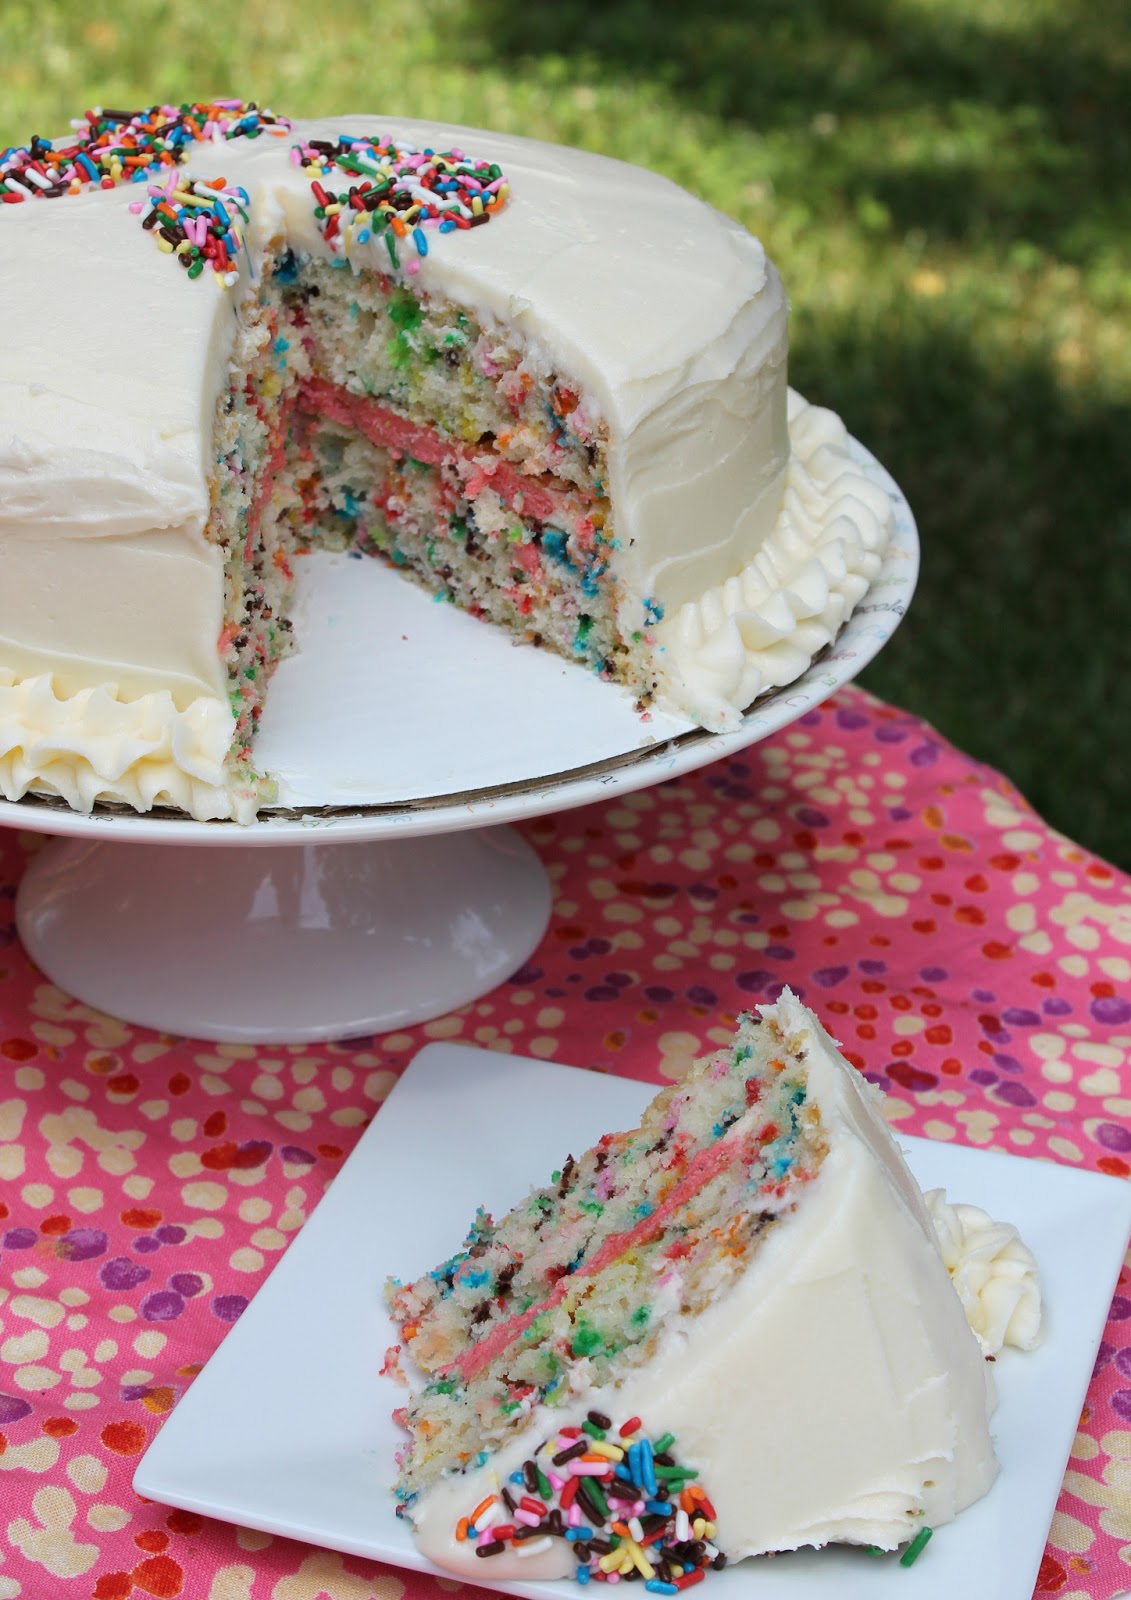
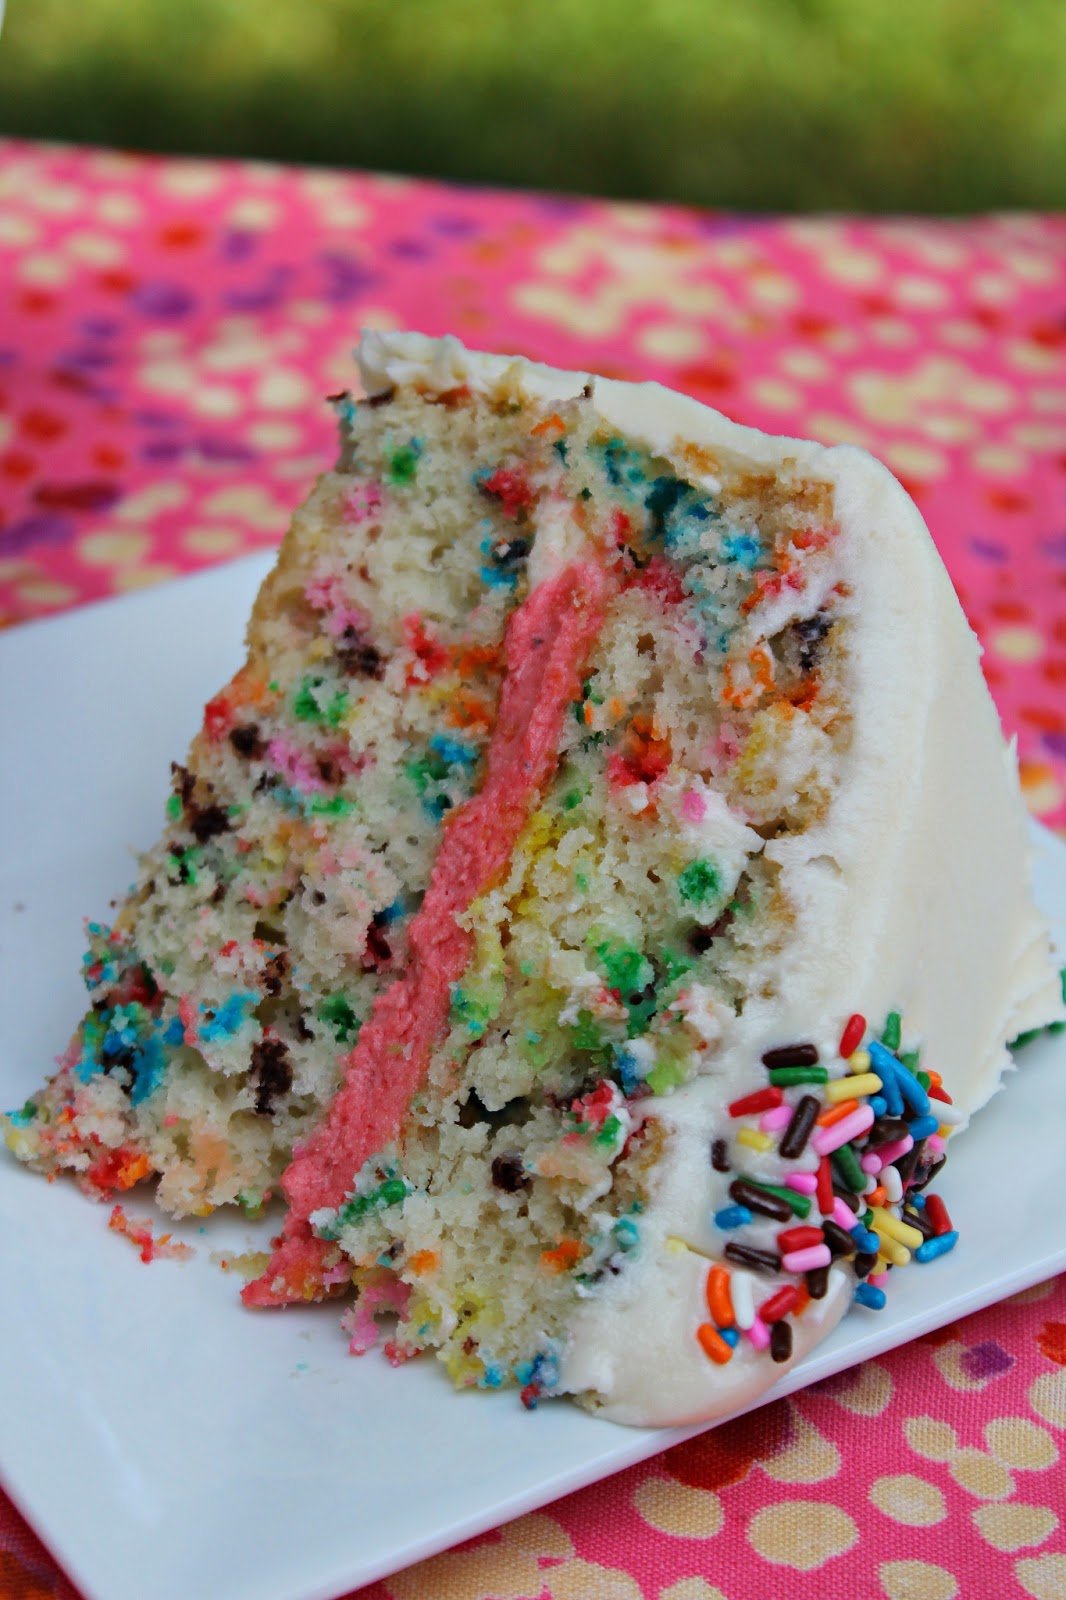
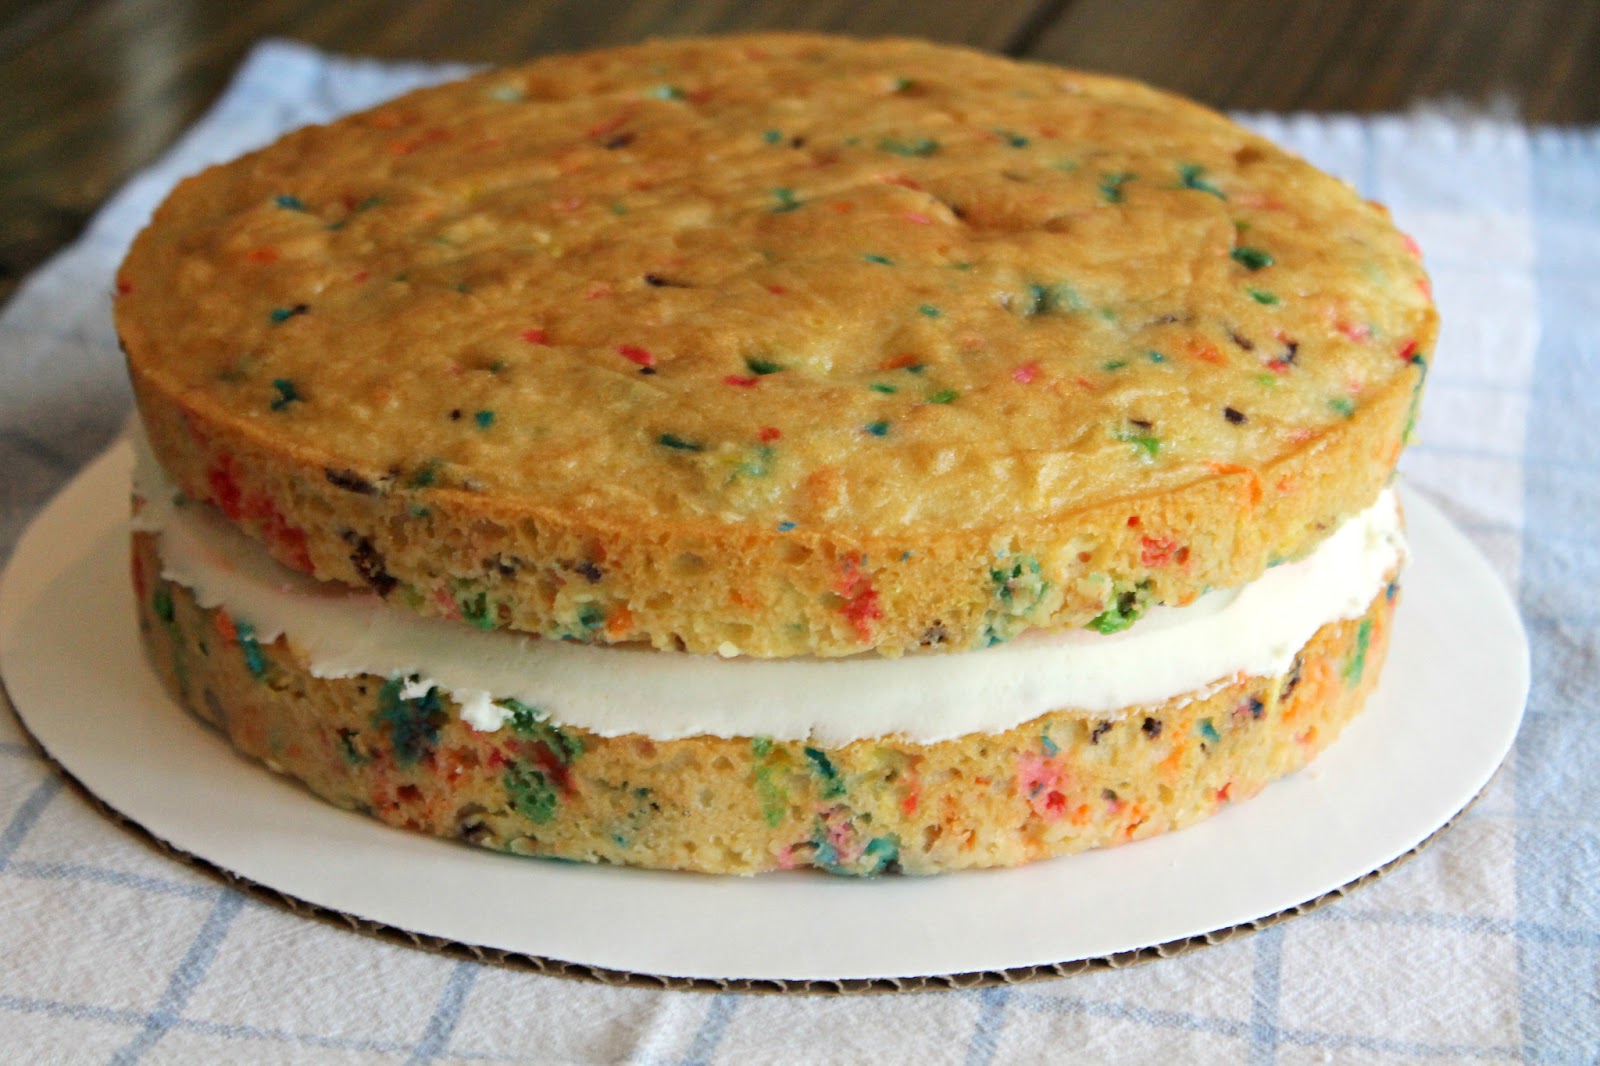
Step 7: Place your bottom cake layer on a cardboard round {so it is easy to transport to a cake stand later} and pipe along the rim of the cake and fill in with icing. For this cake, I let Matt pick the middle filling flavor since it was for his birthday. Of all the flavors, he chose black cherry. Really, Matt?
For more information on using Kool-Aid packets to flavor your frosting {click here}.
Step 10: Stack your layers and it is time to frost the cake! Your first layer should be a crumb coat, a thin layer of icing that seals in any loose crumbs. Using an angled spatula, spread the icing over the top first, then the sides. Place cake in fridge to chill for at least 30 minutes to harden the icing, allowing for a smoother second coat.
Note: To keep your icing crumb-free, always wipe crumbs off your spatula before dipping it back into the
bowl.
Another Note: Using a cake turn table will make the icing process much easier! You can get a cake turn table at Walmart or Michaels for about $10 {I promise it’s worth it!}

Step 11: Spread on the second coat of icing, and move cake to plate or stand.


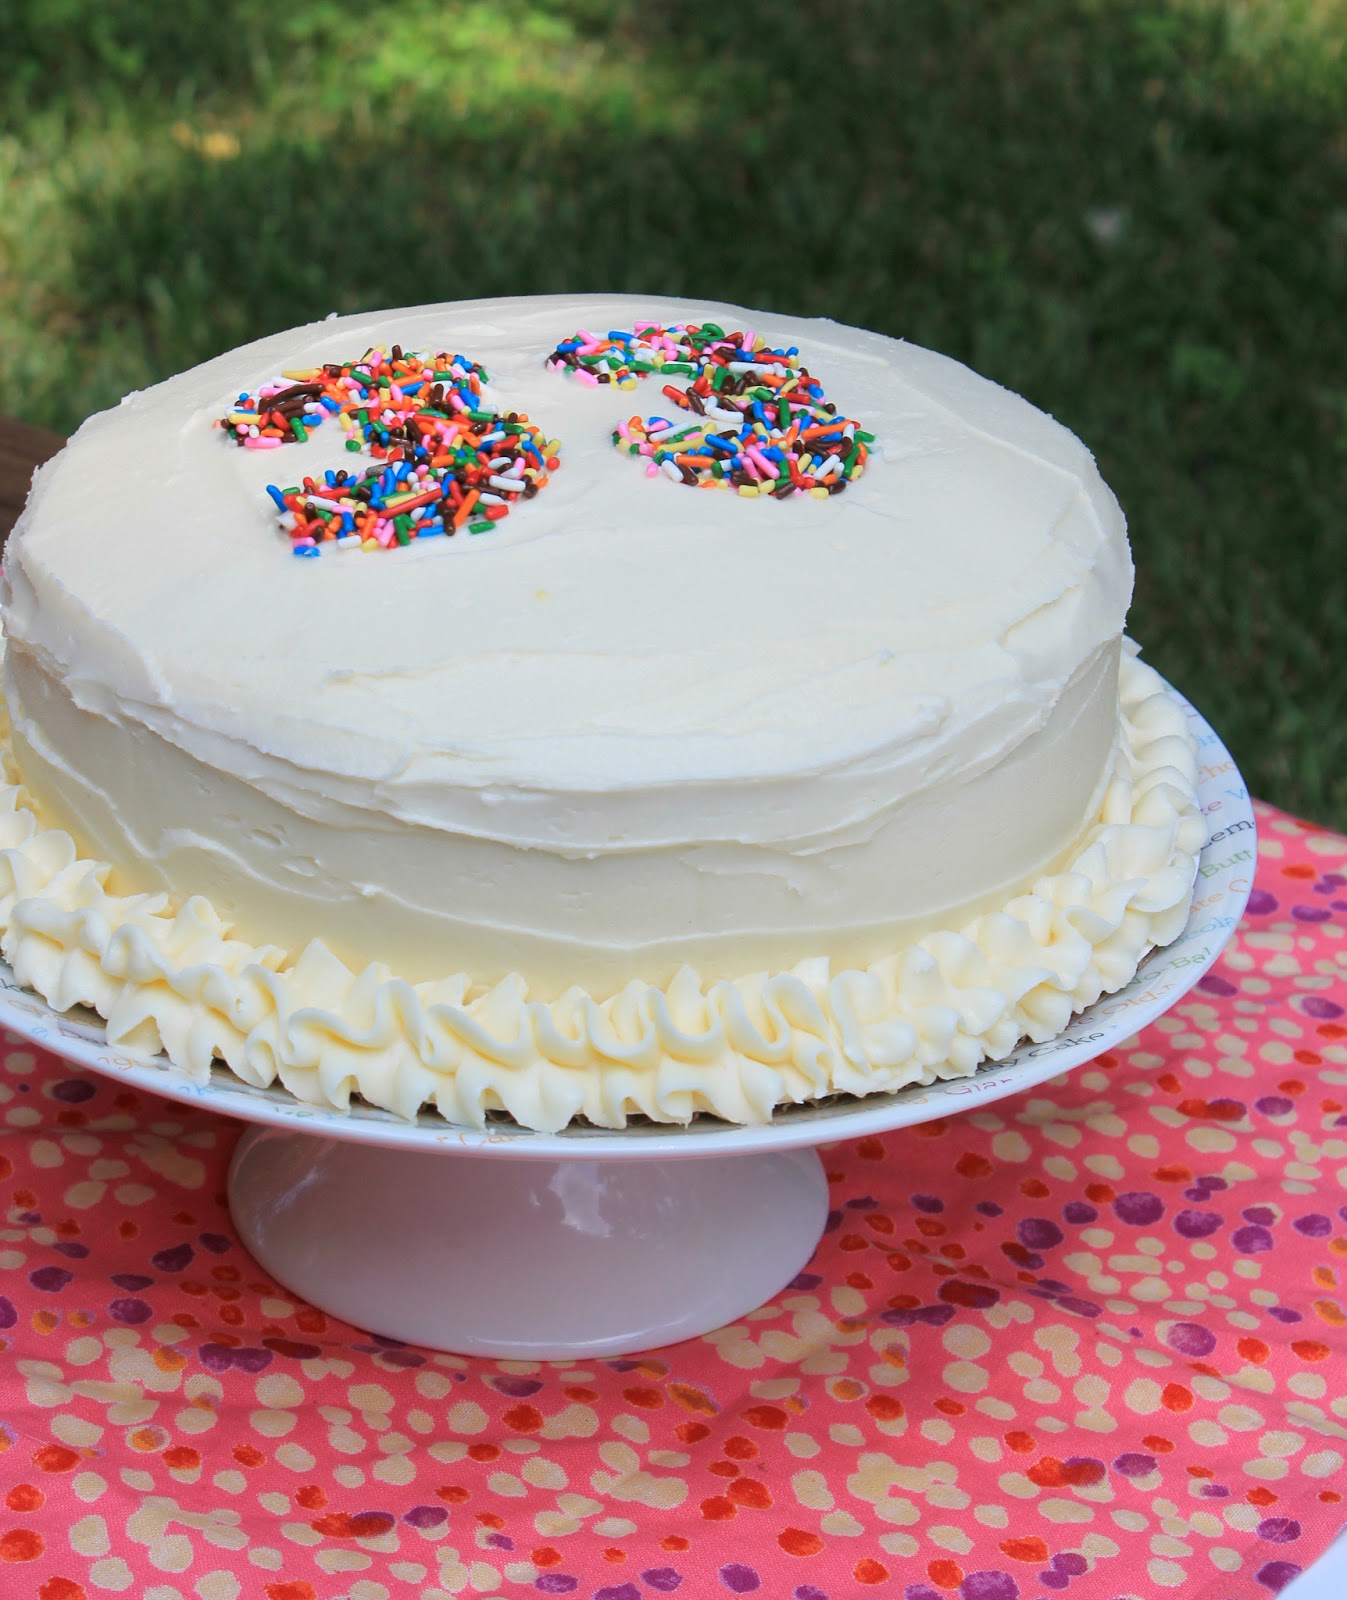
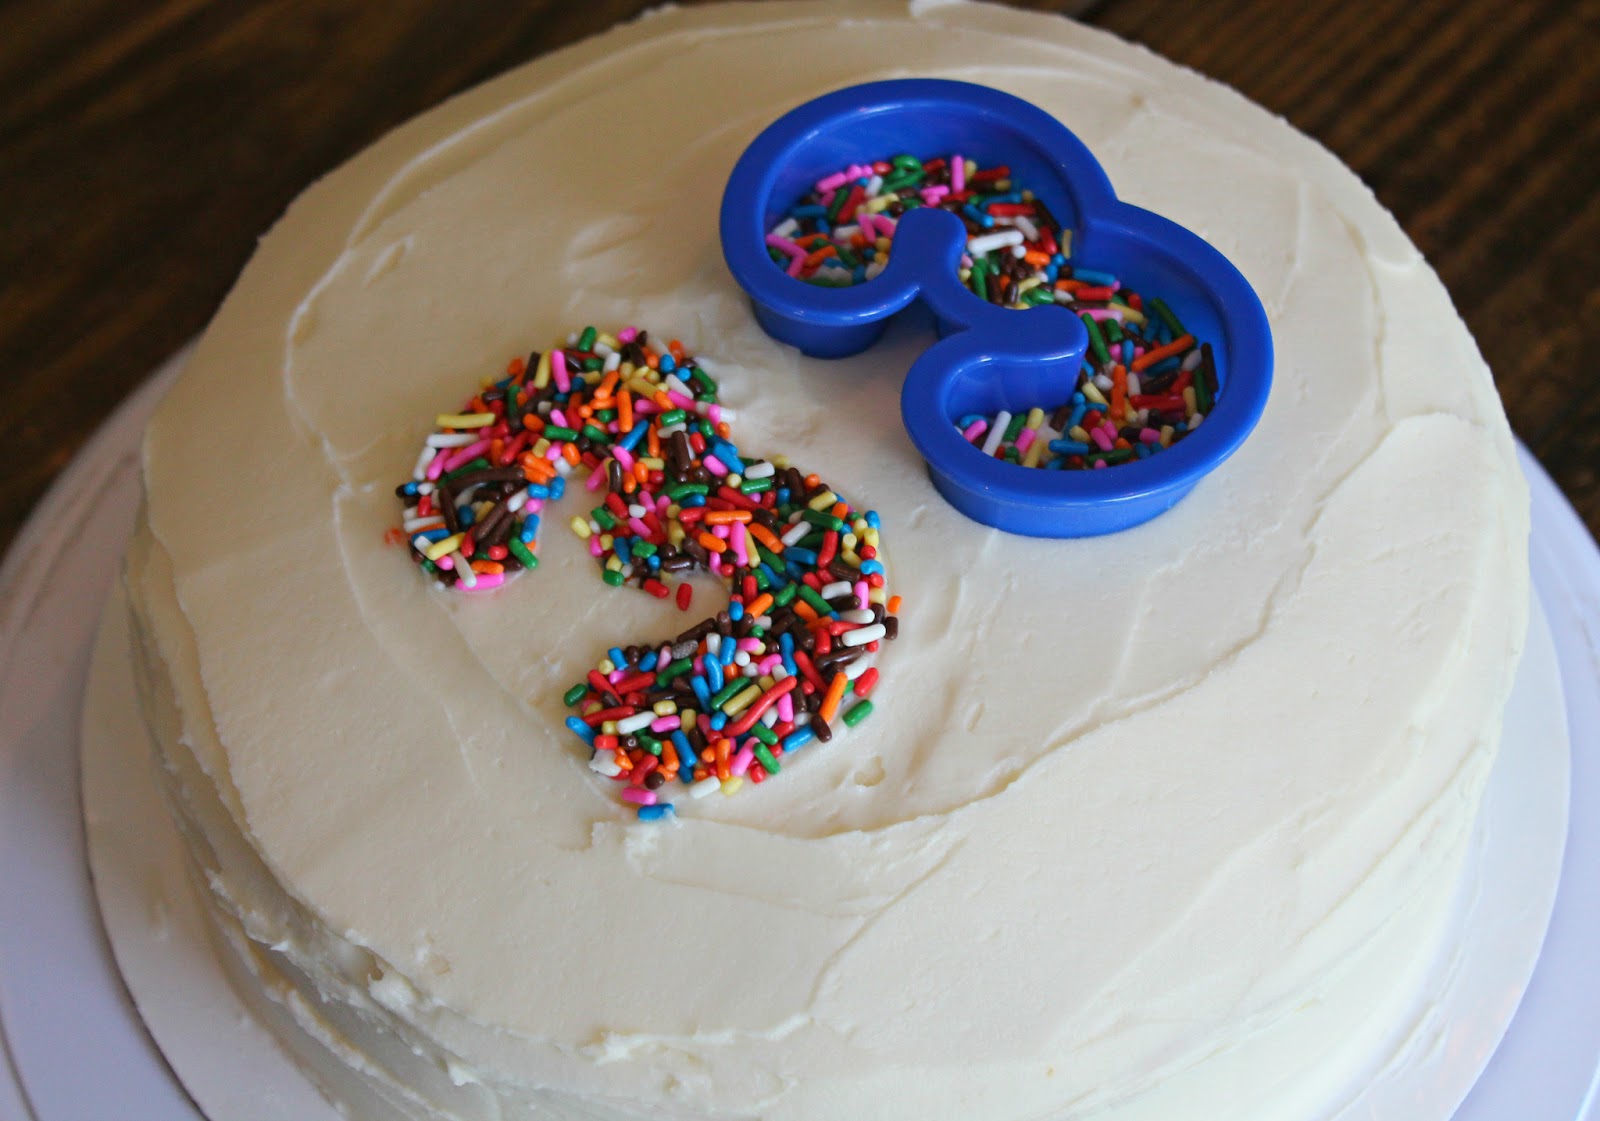
Step 12: Add the finishing decorative touches. To add numbers, letters or pictures to the cake, gently place a cookie cutter on top of the cake and pour just enough sprinkles to fill the inside of the cookie cutter. Then carefully press the sprinkles down so they stick into the frosting.

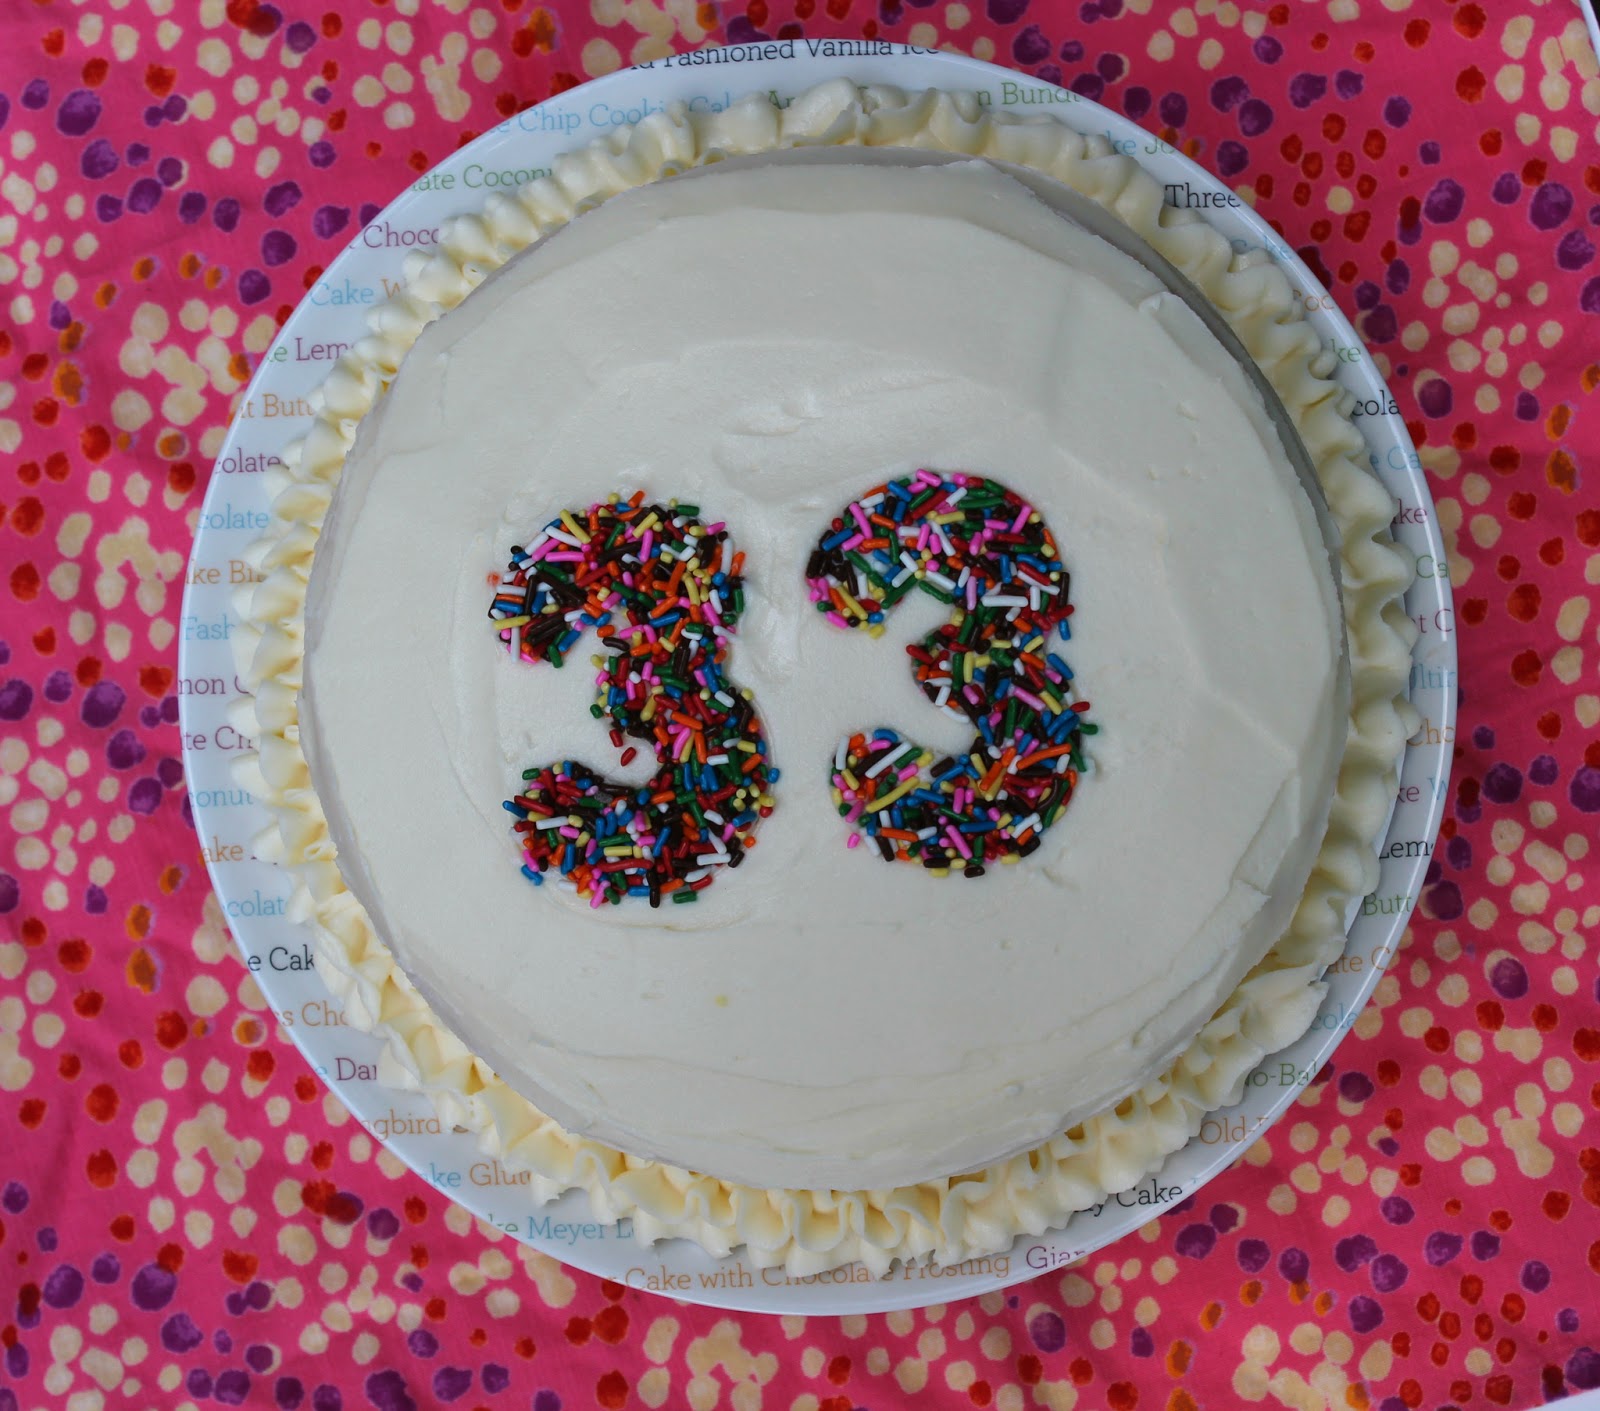
Time to eat cake!