When I first met Matt he was strongly opposed to the crockpot. He is paranoid that our house will burn down if one appliance is left plugged in {even if it’s not turned on} when we’re at work. To this day he will triple check to make sure I’ve turned off and unplugged my curling iron before we leave in the mornings. I can understand the curling iron, but the coffee pot? Do you know how annoying it is to reprogram the clock and timer every day? He finally got past the coffeemaker being plugged in but it took the longest time to convince him that the slow cooker was created to be left on all day!
Anyway, we’ve come a long way and now he’s cool with it which means we can enjoy really delicious meals when we walk in the door after work like this one…
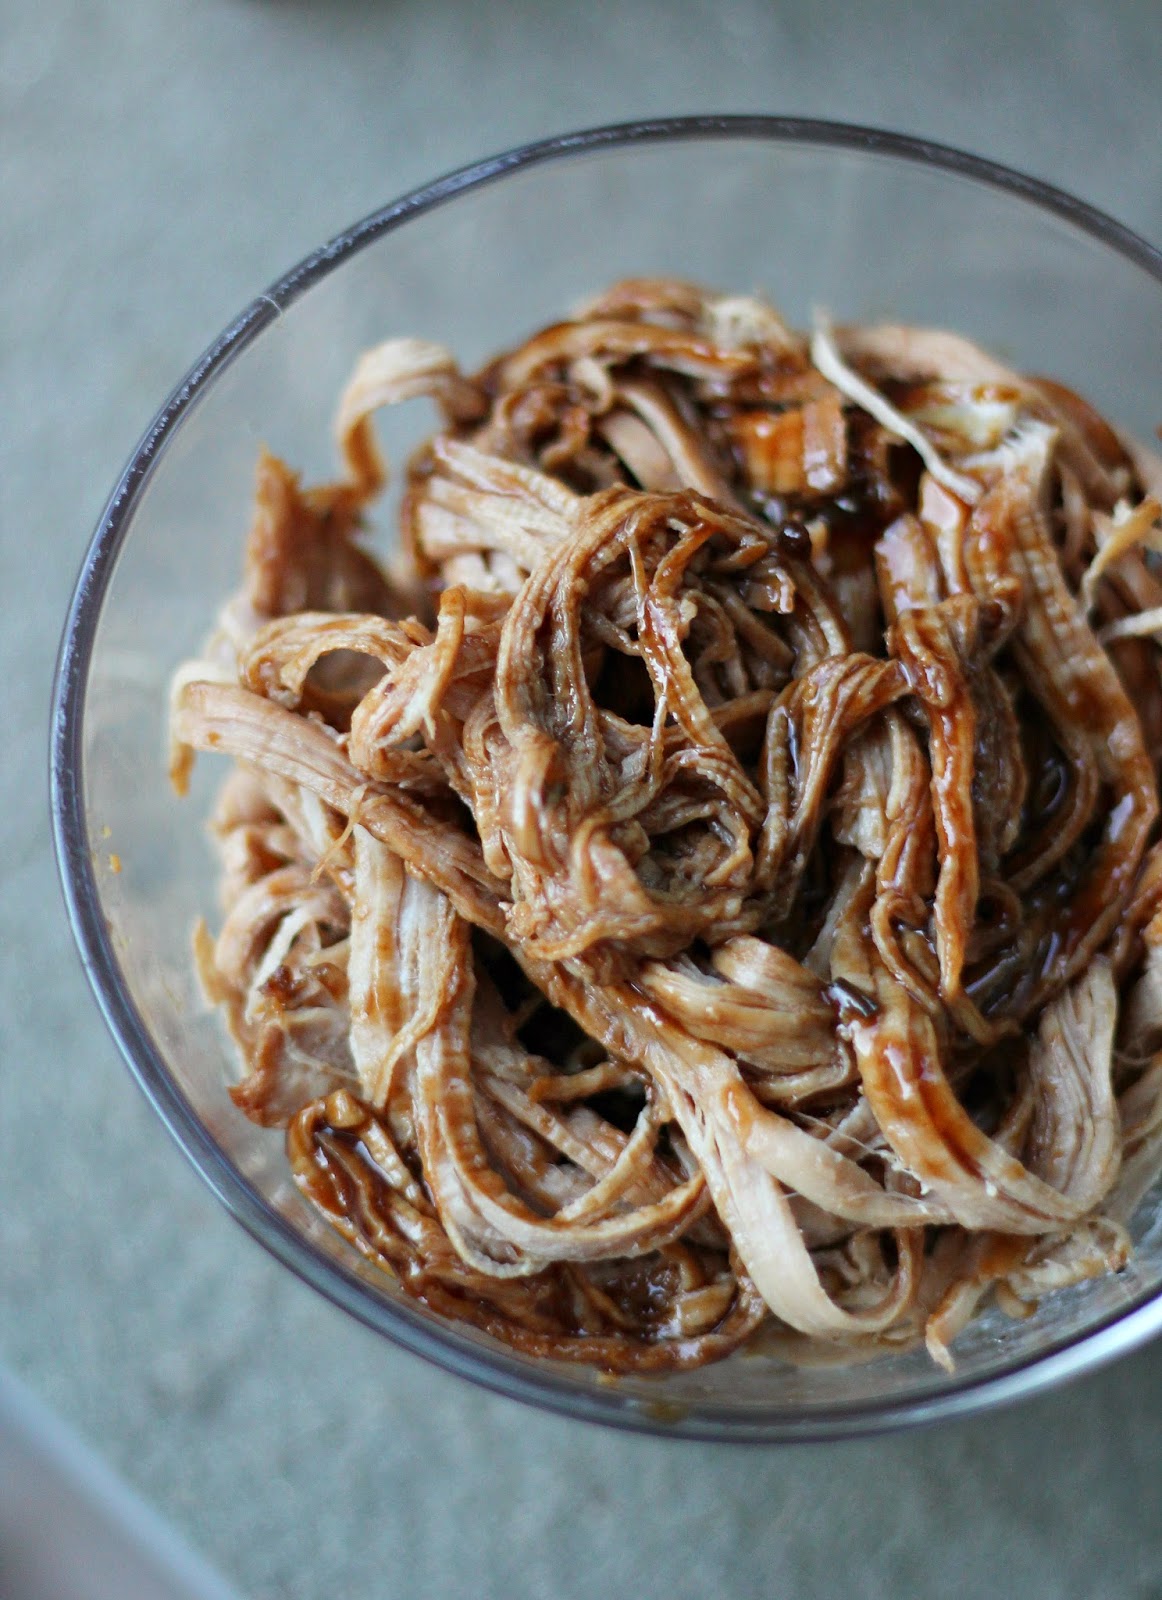
Crockpot Brown Sugar Balsamic Glazed Pork Tenderloin.
It’s super tender, juicy and requires pretty much no effort on my part which makes this recipe a winner!
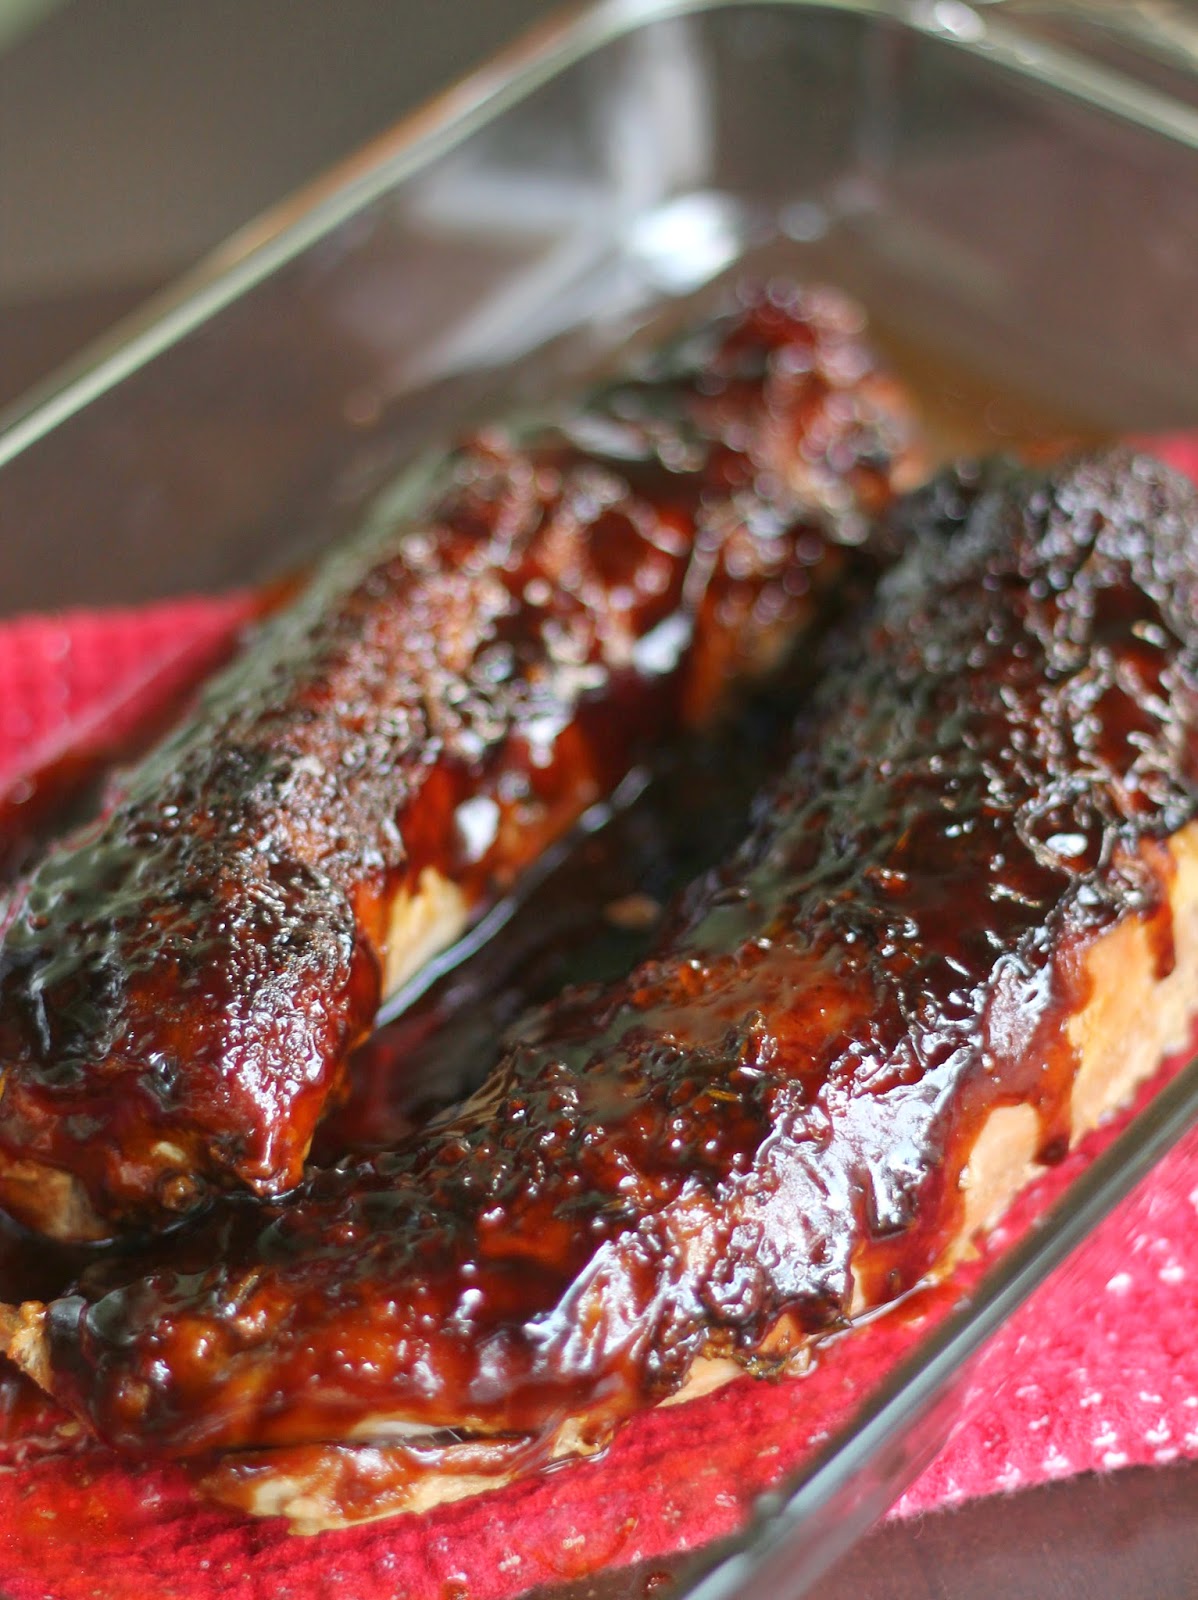
You should make this…as soon as possible.
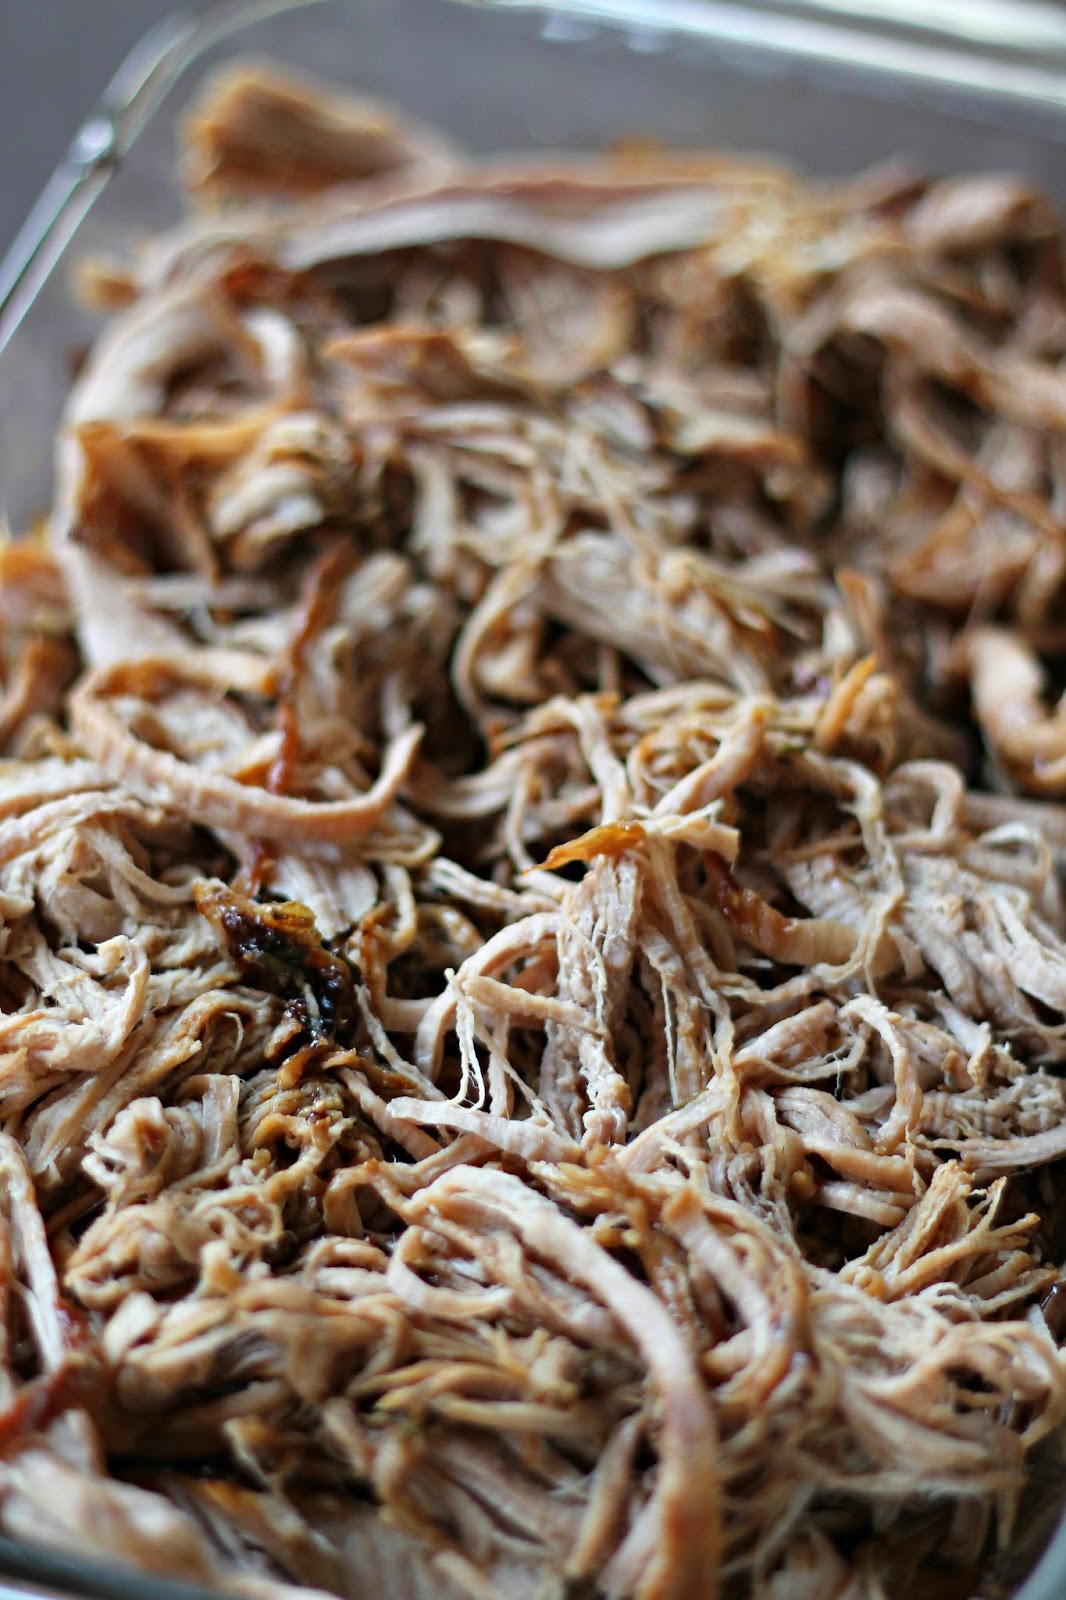
Crockpot Brown Sugar Balsamic Glazed Pork Tenderloin
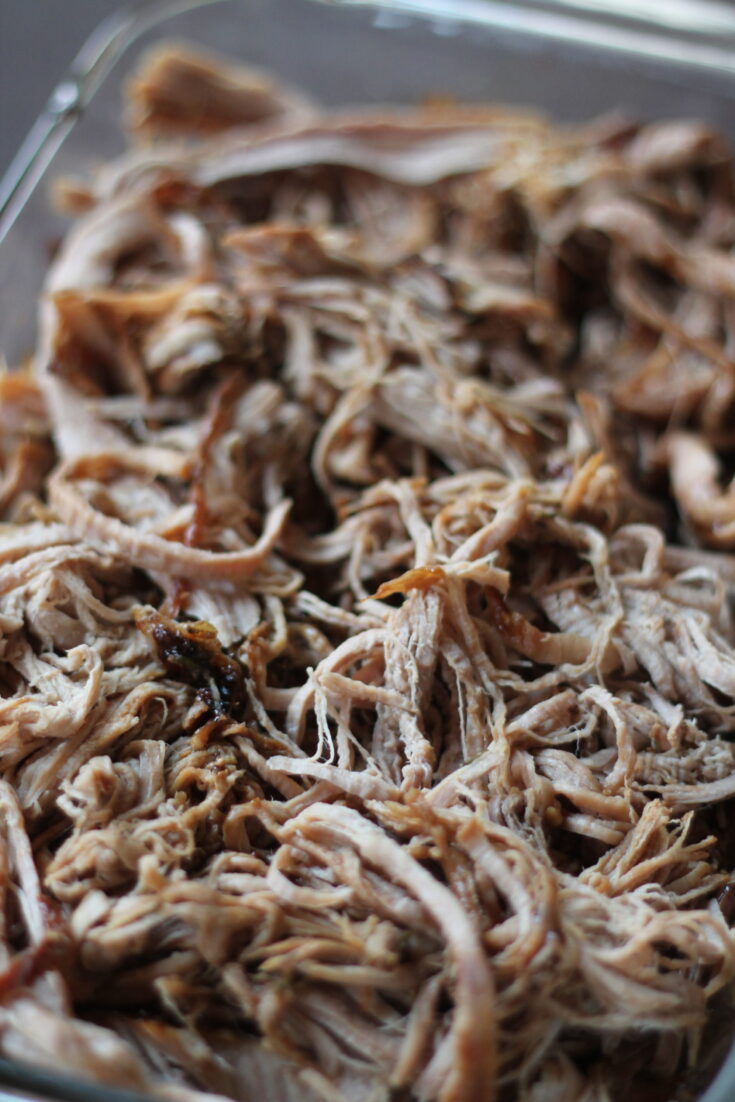
Ingredients
- 2 pounds Pork tenderloin
- 1 teaspoon Rosemary
- ½ teaspoon Salt
- ¼ teaspoon Pepper
- 1 clove Garlic; crushed
- ½ cup Water
- ½ cup Brown sugar
- 1 tablespoon Cornstarch
- ¼ cup Balsamic Vinegar
- 2 tablespoons Soy sauce
Instructions
- In a small bowl combine rosemary, salt, pepper and garlic. Rub over tenderloin. Place in slow cooker with ½ cup water.
- Cook on low for 6-8 hours.
- About an hour before the roast is done, mix together the ingredients for the glaze in a small sauce pan (brown sugar, cornstarch, balsamic vinegar, water, soy sauce).
- Heat over medium and stir until mixture thickens, about 4 minutes.
- Brush roast with glaze 2 or 3 times during the last hour of cooking. (For a more caramelized crust remove from crockpot and place on aluminum lined sheet pan, glaze, and set under broiler for 1-2 minutes until bubbly and caramelized. Repeat 2 to 3 more times until desired crust is achieved.)
- Serve with the remaining glaze on the side.